If you are planning a northern lights trip based in a city, the KP index can either be your best ally or a constant source of stress. Many apps throw KP numbers at you—2, 4, 7—without explaining what they actually mean when you’re standing on a harbor in Tromsø or on a hotel rooftop in Reykjavík.
In this article, we’ll strip the KP index down to what matters for real-world, city-based aurora hunting: how strong the storm needs to be for your latitude, how far from city lights you should go, and how to combine KP with cloud forecasts and timing so you don’t waste your nights staring at the wrong chart.
What the KP index really measures (in words that matter)
The KP index is a way to describe how disturbed the Earth’s magnetic field is, on a scale from 0 (very quiet) to 9 (extreme geomagnetic storm). The more disturbed it is, the more the auroral oval expands away from the poles.
For us on the ground, that means:
- Low KP (0–2): Auroras stay close to the magnetic poles. You usually need to be in or near the Arctic Circle to see them.
- Moderate KP (3–4): The auroral oval expands. Most northern Scandinavia, Iceland, Alaska and northern Canada have good chances on clear nights.
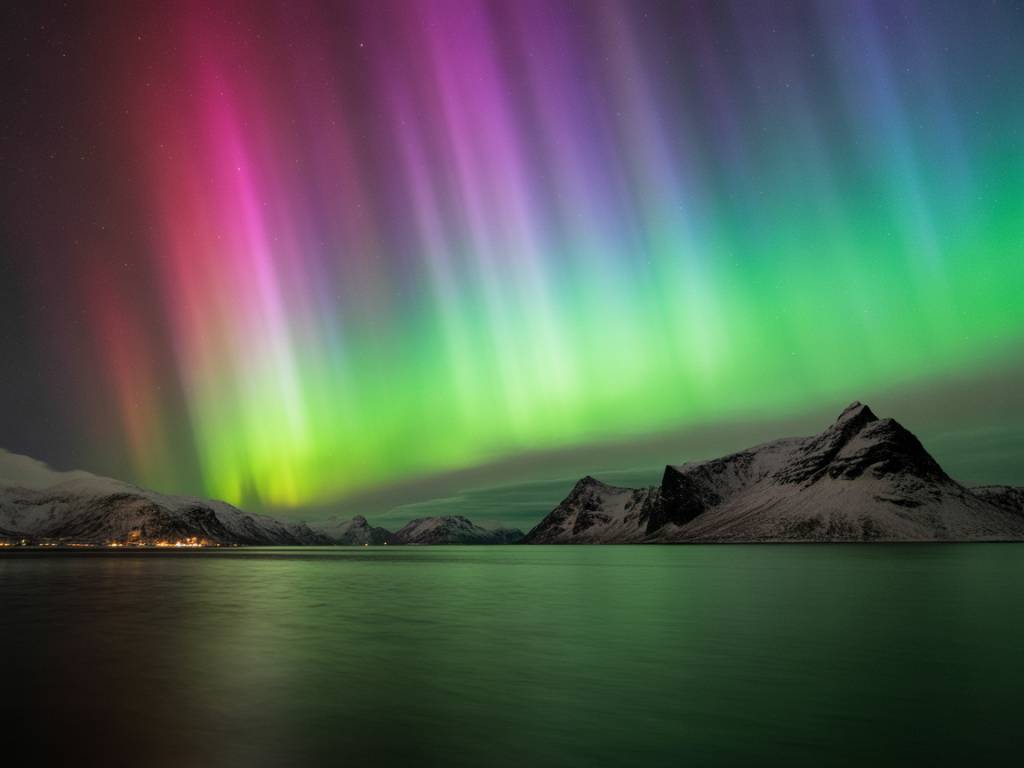
- High KP (5+): Geomagnetic storm level. The auroral oval pushes far south. Auroras can be visible from places like Scotland, northern Germany, even northern France or the northern U.S. when it really kicks off.
Important point: KP does not tell you how bright the aurora will look from your exact street, or whether clouds will block it. It only tells you how far from the pole the auroral oval is likely to reach.
Think of KP as the “range” of tonight’s aurora. Your job is to combine that range with your position, your sky conditions and your light pollution.
KP vs latitude: how much KP you really need from your city
Whether KP 2 is enough or you need KP 6 depends mainly on your latitude and your distance from the magnetic pole, not just the city name on your plane ticket.
Here is a practical reference for common aurora destinations, assuming:
- Dark skies (you moved outside the city or found a very dark suburban spot)
- Good transparency (no clouds, no heavy haze)
Typical KP needed for a decent chance of visible aurora low in the sky:
- Tromsø, Norway (~69°N): KP 1–2 already enough; KP 3+ usually good.
- Alta, Norway / Abisko, Sweden / Rovaniemi, Finland (~68–69°N): KP 1–2 can work; KP 3+ comfortable margin.
- Reykjavík, Iceland (~64°N): KP 2–3 good; KP 4+ often very active overhead.
- Fairbanks, Alaska / Yellowknife, Canada (~64–65°N): KP 1–2 enough; KP 3+ usually excellent.
- Bodø, Norway / Akureyri, Iceland (~67°N): KP 1–2 enough; KP 3+ often very strong.
Further south in Europe and North America, you need more KP:
- Edinburgh, Scotland (~56°N): KP 5 for low aurora on the northern horizon; KP 6–7 to see it more clearly.
- Copenhagen, Denmark / Hamburg, Germany (~55°N): KP 6 minimum; KP 7–8 for something obvious to the naked eye.
- Paris, France / northern U.S. states (~49–51°N): KP 7–8+ and very dark skies required.
Now add one more real-world filter: most of these cities are not dark. City lights eat low, faint aurora. This is where KP meets the reality of street lamps.
City lights vs KP: why “dark enough” beats “higher KP”
You can have KP 5 and still see nothing if you stand under white LED streetlights with a brightly lit harbor in front of you. For city-based aurora hunting, light pollution is your second enemy (after clouds) and often the one you underestimate.
Here’s how KP and light pollution interact:
- Low KP (1–3) + bright city: In places like Tromsø or Rovaniemi, the aurora might be present, but so low and faint that city glow washes it out. You need to move at least 10–20 minutes out of the center to a darker viewpoint.
- Moderate KP (3–4) + bright city: Aurora can occasionally be visible even from downtown in high-latitude cities, especially as green arches overhead. But you’ll still see much more if you step outside the brightest core.
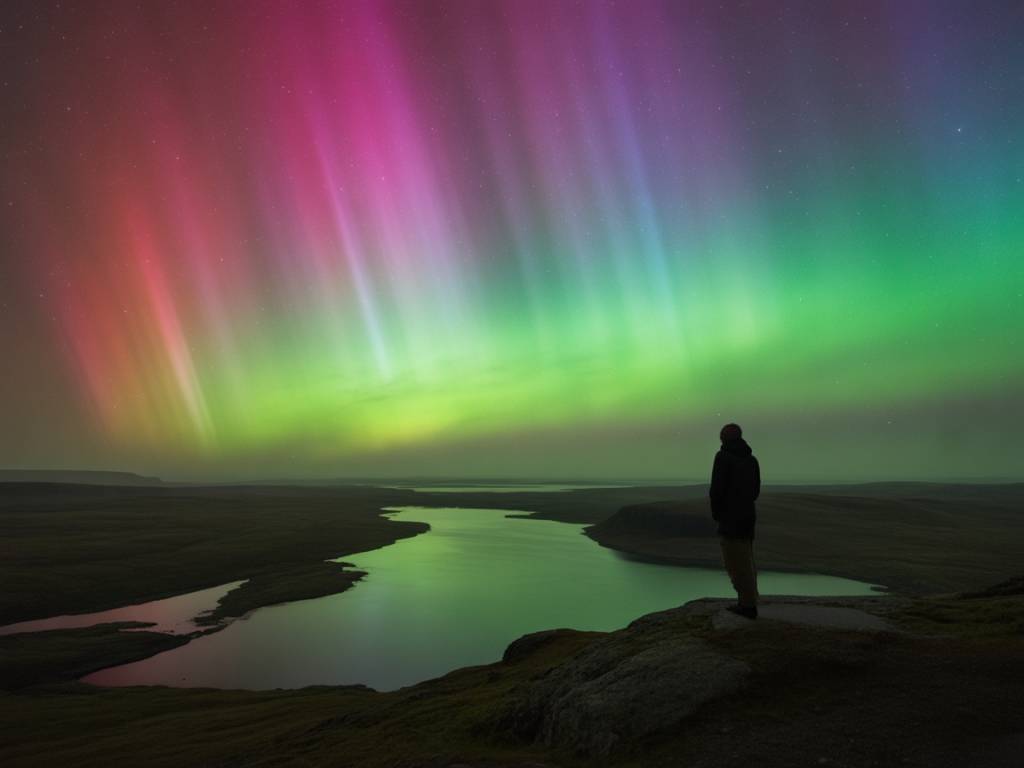
- High KP (5–7) + bright city: The aurora can be obvious even over a city, sometimes heading south in the sky. This is when people in unusual places see northern lights from balconies. Still, every bit of distance from city lights gives you more detail and color.
In practical terms: if you are based in a city, plan your evenings around how fast you can reach a darker spot once the KP and clouds look promising. Think in minutes of driving or bus time, not just in KP numbers.
Why KP alone is not enough: clouds, timing and direction
Many failed aurora trips have one thing in common: people watched KP and ignored the rest. Three other factors are just as important:
- Cloud cover: Even KP 8 is useless behind 100% thick cloud. High clouds can also dim the aurora, especially near cities where they reflect light pollution.
- Timing: KP is usually given as a 3-hour average. Short bursts can be missed if you only refresh your app every few hours. Auroral activity also tends to be higher around local magnetic midnight (often a bit later than clock midnight).
- Direction: The auroral oval mostly lies to the north of you (if you’re in the northern hemisphere), but on strong nights it can pass overhead and even to the south. If your only dark area is to the south of the city, this can still work on high KP storms.
The best aurora hunters treat KP as just one layer in a simple decision tree:
- Is it dark? (At least 2–3 hours after sunset and before dawn)
- Are the clouds broken enough somewhere reachable? (Check local satellite/cloud maps, not just a generic symbol)
- Is KP high enough for my latitude to put the oval above my northern horizon?
- Can I get to a dark(ish) spot fast when the answer is yes?
How to read KP forecasts in practice (city-based strategy)
Let’s say you are staying in a northern city like Tromsø, Reykjavík or Fairbanks. Here’s a field-tested way to use KP forecasts without obsessing over them.
1. Set your “usable KP threshold” before the trip
Before you leave home, decide:
- From your destination city, what KP makes it worth leaving the hotel? (e.g. KP 2 in Tromsø, KP 3–4 in Reykjavík, KP 5 in Edinburgh)
- How far you’re willing to go out of the city (time, not distance: 20, 40, 60 minutes).
This avoids last-minute “Should I go out? Should I stay?” debates at 23:30 when you’re tired.
2. Watch the trend, not just the current number
Use a reliable aurora forecast source that shows you:
- Current KP estimate
- Short-term forecast (1–3 hours)
- Solar wind data (things like Bz, speed) if you’re comfortable with it
You don’t need to become a space-weather pro. Just look for trends:
- Is KP rising from 1 to 3 to 4? Good sign: activity building.
- Is KP stable around 2–3 and you’re at 69°N with clear skies? You already have a fair chance.
- Is KP dropping from 5 to 3 and you’re only now getting clear? The peak might have passed, but there can still be substorms later in the night.
3. Combine KP with your local cloud map
Once KP is at or above your threshold, shift your attention to clouds:
- Where are the nearest gaps? North, south, inland, towards the coast?
- Do those gaps line up with a direction where you can escape city lights?
- How quickly are clouds moving? Do you need to hurry, or is the window wide?
Often, a modest KP with a local cloud gap beats a strong KP covered by a stubborn overcast.
4. Choose your plan A and plan B
For every promising night, have:
- Plan A: The main dark(ish) viewpoint you’ll go to when KP and clouds say “go”. This should be reachable in 20–40 minutes from your city base, with easy parking and a clear northern view.
- Plan B: A closer spot (even a hill on the city edge or a dark park) you can reach in 10–15 minutes if KP spikes suddenly or if the weather changes.
This way, when KP jumps or a gap opens, you don’t waste 30 minutes deciding where to go.
What different KP nights actually look like from cities
Some examples based on real-world patterns, assuming you are in Reykjavík or Tromsø and have a car.
Night A: KP 1–2, partly cloudy
- From downtown: probably nothing obvious; maybe a faint glow low north, easily drowned by lights.
- Action: If you’re keen and skies are clear inland, a 30–40 minute drive to a dark valley north or east can still deliver a subtle, low aurora, especially on long exposures (camera helps here).
Night B: KP 3–4, broken clouds
- From the city edge: clear view north with city lights behind you can already show green arcs and curtains as they brighten.
- Action: This is your “workhorse” night. Leave town 20–30 minutes earlier than the forecast peak, position yourself with a wide northern horizon and wait at least an hour. Substorms often spike suddenly.
Night C: KP 5–6, fast-moving showers
- From almost anywhere: when clouds open, the aurora can be strong overhead and even toward the south.
- Action: Here flexibility beats distance. Stay mobile, chase the gaps on the radar, and accept that you may be driving between showers. A spot 10–20 minutes out of town might outperform a perfect dark site one hour away if the latter is under a solid cloud deck.
Night D: KP 6–7 from a mid-latitude city (e.g. Edinburgh)
- From downtown: skyglow will hide most of the show.
- Action: As soon as forecasts hint at KP 6+, head to the darkest northern coastline or countryside within 30–60 minutes. Watch the northern horizon. At these latitudes, the aurora is often low, like a bright band with occasional pillars—easy to miss if you stay in the city glow.
Common myths about KP and city aurora chasing
“You need at least KP 5 to see aurora.”
Not true at all for high-latitude cities. In Tromsø, Reykjavik, Fairbanks, Yellowknife or Rovaniemi, KP 2–3 is often enough if the sky is clear and dark. Higher KP simply increases the chances and moves the oval farther south.
“KP is 0 or 1, I can sleep, no chance tonight.”
On some very quiet nights, yes, the odds are low even in the Arctic. But KP can rise quickly if solar wind conditions change. If you have limited nights and the sky is crystal clear at high latitude, a short outing even on a KP 1–2 forecast can still surprise you.
“The app says KP 6 all night, it’s guaranteed.”
No guarantee. KP forecasts are based on models and upstream solar wind measurements. They’re good, but not perfect. Real-time data can shift the prediction up or down. Always treat KP as a probability, not a promise.
“If KP is high, I don’t need to leave the city.”
High KP helps, but city light pollution still washes out detail and color, and clouds still block everything. Leaving the bright core of the city is nearly always worth it, even if it’s just 10 minutes to a darker shore or hill.
Pre-trip checklist: turning KP into a calm plan, not a stress factor
To make KP work for you instead of against your nerves, prepare these points before your trip.
- Know your latitude and KP thresholds
- Check where your city sits (e.g. 64°N, 69°N, 56°N).
- Note the minimal KP needed for a decent chance, as discussed above.
- Save 2–3 dark(ish) locations
- Look up viewpoints 10–40 minutes from the city: coastal lay-bys, lakes, roadside car parks, ski hills.
- Check access in winter: ploughed roads, safe parking, no avalanche or coastal wave hazards.
- Install one aurora app and one cloud/satellite app
- Aurora app: focus on simplicity and real-time KP / solar wind, not just colorful icons.
- Weather app or website: must show hourly cloud cover and preferably satellite loops.
- Decide your “go/no-go” rules
- Example: “If KP ≥ 3, less than 50% clouds toward the north, and it’s after 21:00, I go to spot A.”
- “If KP ≥ 5 and any clear gap within 30 minutes, I leave immediately for the closest dark spot.”
- Prepare gear for quick departures
- Warm layers ready in one bag: thermal base, mid-layer, down or synthetic jacket, hat, gloves, extra socks.
- Headlamp with red mode, tripod if you plan to photograph, spare battery.
- Car winter kit in the North: scraper, shovel, blanket, some snacks and hot drink.
- Manage expectations for each night
- On low KP/variable cloud nights: think “quiet hunting and maybe a subtle show”.
- On high KP/clear nights: think “high potential, but not guaranteed fireworks”.
When all this is ready, the KP index turns from a mysterious number into a simple trigger for your plan. You stop refreshing your phone every 30 seconds and start acting like what you are: a prepared aurora hunter who happens to be based in a city, using KP as one tool among several to get under the northern lights at the right place, at the right time.