How far should you drive out of town for a clear, dark northern lights view? People ask this all the time, and the honest answer is: it depends on the city, the weather, the moon, and your tolerance for cold and dark roads.
But you don’t need a PhD in astronomy to make a good plan. With a few simple rules and real-world examples from the main aurora destinations, you can quickly decide if you need to drive 10 km, 30 km, or 100+ km for better skies.
Why distance from the city matters for aurora watching
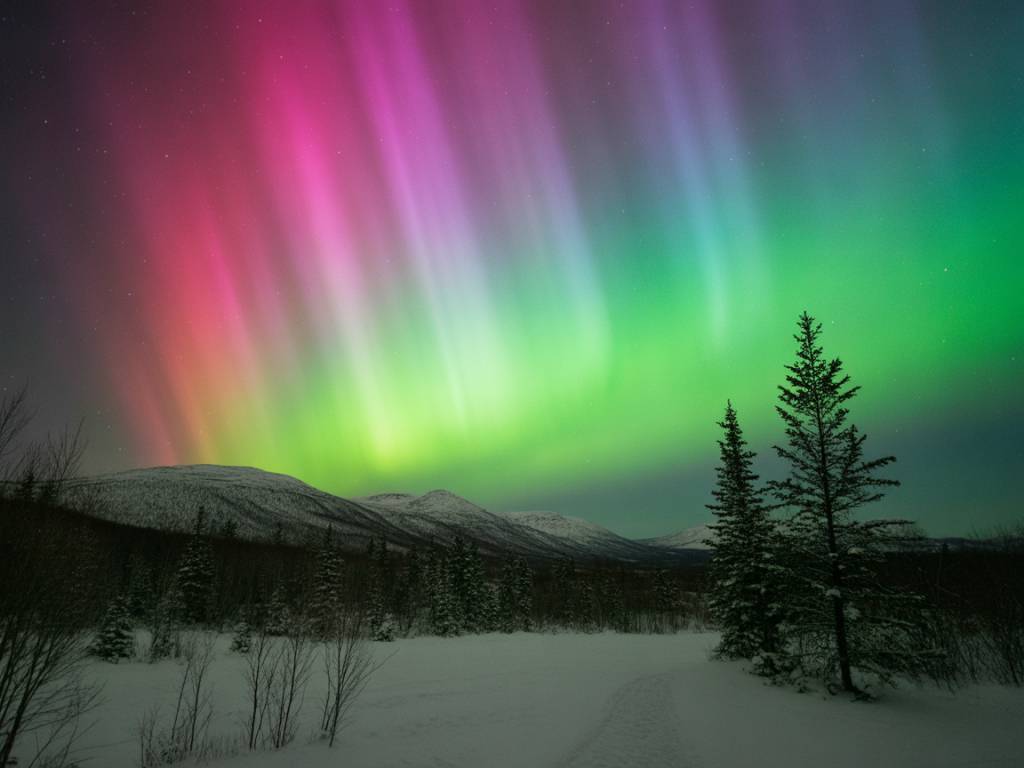
The main enemy of northern lights is not “weak aurora”. It’s light pollution and clouds. Even a strong KP can look washed out if you stand under LED streetlights and shopping mall parking lots.
When you move away from a city, two things improve:
That makes the aurora look:
Think of city light like mist on a window. The northern lights are there, but you’re looking through a veil. The further out you go, the thinner that veil becomes.
Simple rule of thumb: how far to drive by city size
This is a field rule I use when scouting. It’s not perfect science, but it works in practice for most northern cities with standard LED lighting.
From the city center, aim for:
These distances usually get you to:
In the high north (Norway, Finland, Lapland, Iceland, Alaska, Yukon, Northwest Territories), you often don’t need to go extremely far. Once you exit the built-up area and reach countryside, the sky quality improves quickly because there are fewer satellite towns and less sprawl.
In more populated regions (southern Canada, northern US, parts of northern Europe), you may need to drive longer because multiple cities and highways create overlapping domes of light.
How your latitude changes the distance you need
Your latitude (how far north you are) also changes the game. Being under the auroral oval means the lights can appear directly overhead and are easier to see, even with some light pollution.
Very high latitude (above ~65°N: Tromsø, Alta, Abisko, Kiruna, Rovaniemi, Yellowknife, Fairbanks):
Mid-high latitude (60–65°N: Reykjavik, Anchorage, southern Lapland, northern Scotland on good nights):
Lower latitude aurora chasing (below 55–60°N: Scotland, Ireland, northern US, central Europe on strong storms):
In short: the further south you are, the more every lumen of city light hurts your chances, so the more distance you need.
Real-world examples from popular aurora cities
Let’s break the theory into practical numbers you can actually use when planning your night out.
Reykjavik, Iceland
Reykjavik has around 140,000 people and a broad light dome, especially to the east. On clear nights with active aurora, you can see a glow even inside the city, but for proper structure and photos, you want to get out.
Good distances:
Popular directions:
What I do when staying in Reykjavik: I aim for at least a 20–25 minute drive out of the dense light zone, then adjust based on cloud cover and road conditions.
Tromsø, Norway
Tromsø is a classic example of a medium city under the auroral oval. From the center, it doesn’t take much to escape the worst of the light.
Good distances:
Typical escape routes:
The key around Tromsø is actually less about more kilometers, and more about getting over small ridges and away from direct view of the city valley. Sometimes 12 km plus one hill is better than 25 km in a flat corridor facing the city glow.
Fairbanks, Alaska
Fairbanks is excellent for aurora but has sprawling lights and many roadside businesses. However, it’s surrounded by dark forest and low mountains.
Good distances:
Many lodges and cabins are already built in that 20–40 km belt specifically for aurora watching. If you self-drive, look for:
Watch for ice fog in low valleys around Fairbanks. In that case, don’t just drive “farther”; drive to higher and clearer air, even if it’s only 15–20 km from town.
Rovaniemi & Finnish Lapland
Rovaniemi’s lights are fairly concentrated around the city itself. Once you cross the river and drive 10–20 km out, the improvement is immediate.
Good distances:
The big advantage here: once you exit the built-up area, you rarely hit another town big enough to matter. A few scattered farm lights won’t kill your chances, as long as they’re not directly in your northern field of view.
Yellowknife, Canada
Yellowknife is surrounded by lakes, rock, and forest with minimal other settlements.
Good distances:
Several pullouts and lakeside spots along the Ingraham Trail are within this distance band and used nightly by both local watchers and tour operators.
When you need to go much farther
Some regions are simply too populated and lit to get truly dark skies with a short drive, especially for lower-latitude aurora events.
Typical cases:
If you’re chasing a rare strong storm (for example KP 7–9) in central Europe, the northern US, or southern Canada, plan like a deep-sky stargazer:
In these situations, you’re not just trying to see structure overhead; you’re trying to catch a faint arc or pillars hugging the northern horizon. Any glow in that direction will drown it.
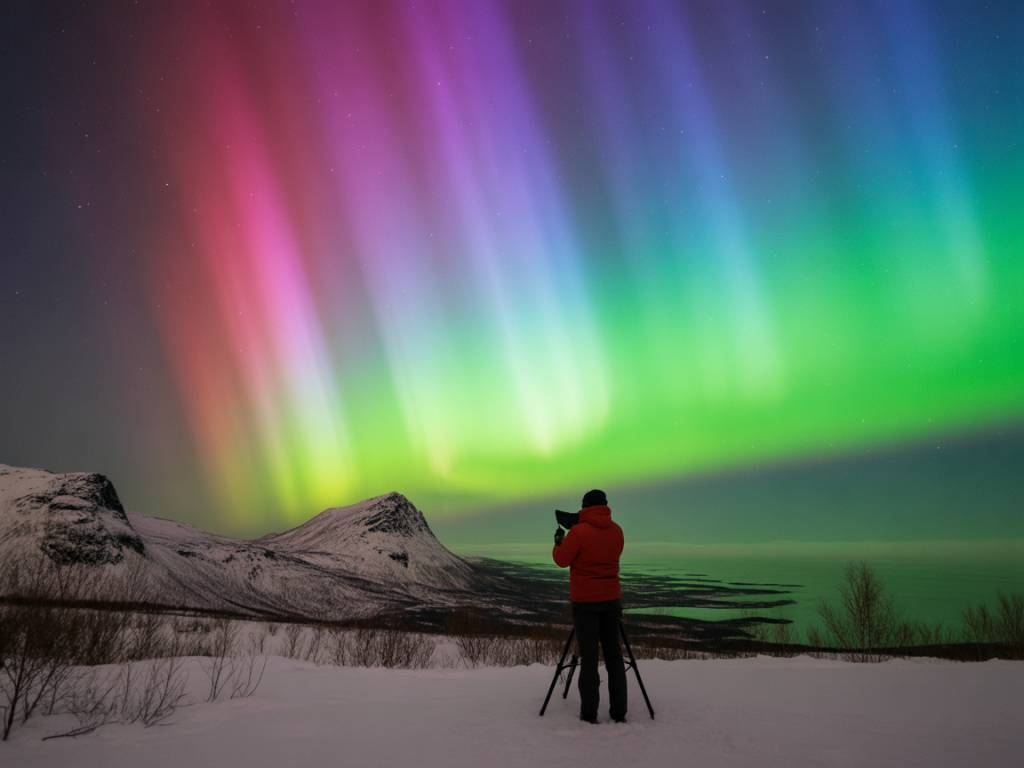
How to choose a spot: maps, clouds and roads
Distance alone is not enough. You need:
Use a light pollution map:
Check cloud forecasts, not just KP:
Verify the spot on satellite / street view when possible:
I always prioritize a safe, moderately dark spot with good cloud conditions over a theoretically perfect but risky dark-sky site down a remote, unplowed road.
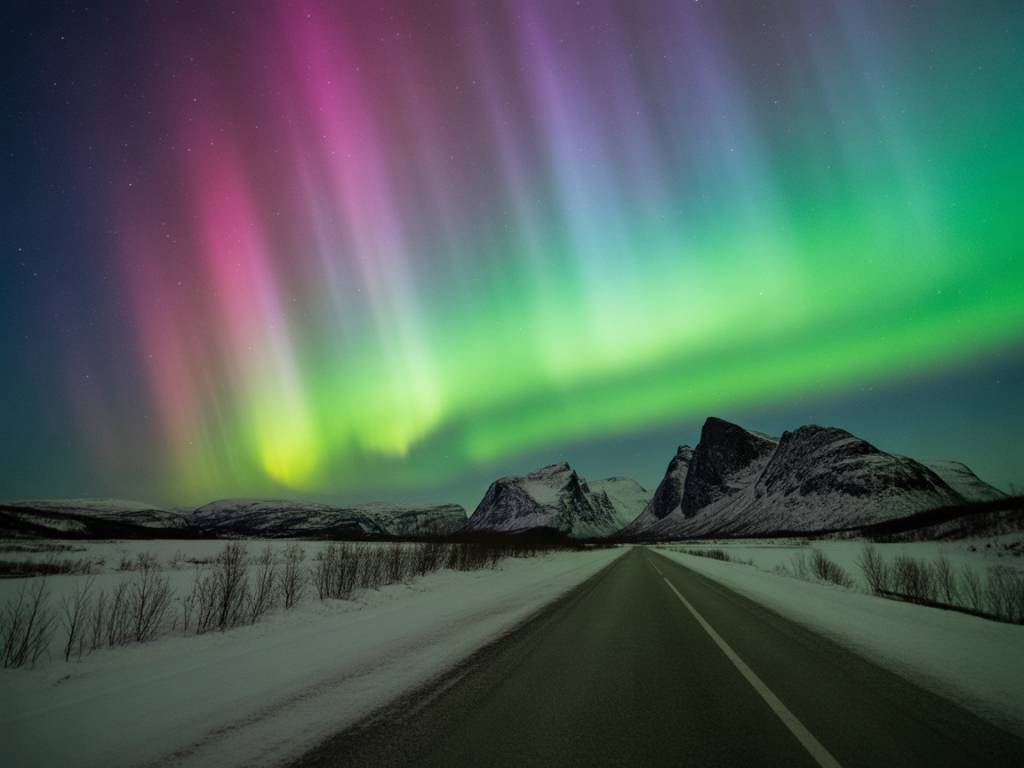
Safety: how far is “too far” on winter roads?
There is a point where an extra 10–20 km of darkness is not worth the added risk or stress.
Ask yourself:
As a practical rule in winter:
Remember: you can always do multiple short hops (for example, 15 km, then another 10 km if conditions look good and roads are fine), rather than committing to a long, isolated drive at once.
What about moonlight?
The moon is another “light source” in your sky, but it behaves differently from cities.
Distance from the city still helps under moonlight. Even with a bright moon, removing the city dome makes the contrast better. However, on strong aurora nights, a slightly brighter moonlit sky with no city lights is usually preferable to very dark but cloudy conditions farther away.
If you can’t leave the city at all
Sometimes you’re stuck: no rental car, poor roads, limited time. You can still maximize your chances even within or just at the edge of town.
Look for:
Turn off any headlamps and phone screens while waiting. Give your eyes 10–15 minutes to adapt. On strong KP nights, you may still see distinct arcs or curtains, even with some light pollution.
Just keep expectations realistic: inside a city, you’re not chasing the perfect postcard photo; you’re chasing the experience of seeing the aurora at all, and that’s already something.
Putting it all together: a quick planning checklist
When you sit down in the afternoon to decide “How far do we drive tonight?”, run through this simple checklist:
Then choose one target within ~20–30 km as your “main” spot, and optionally a second one a bit farther as backup if the first is cloudy or too bright.
You don’t need to chase absolute perfection. For most travelers in the auroral zone, the sweet spot is simple:
From there, the aurora will do the rest. Your job is just to give it a dark enough stage.