Why urban aurora hunting is different
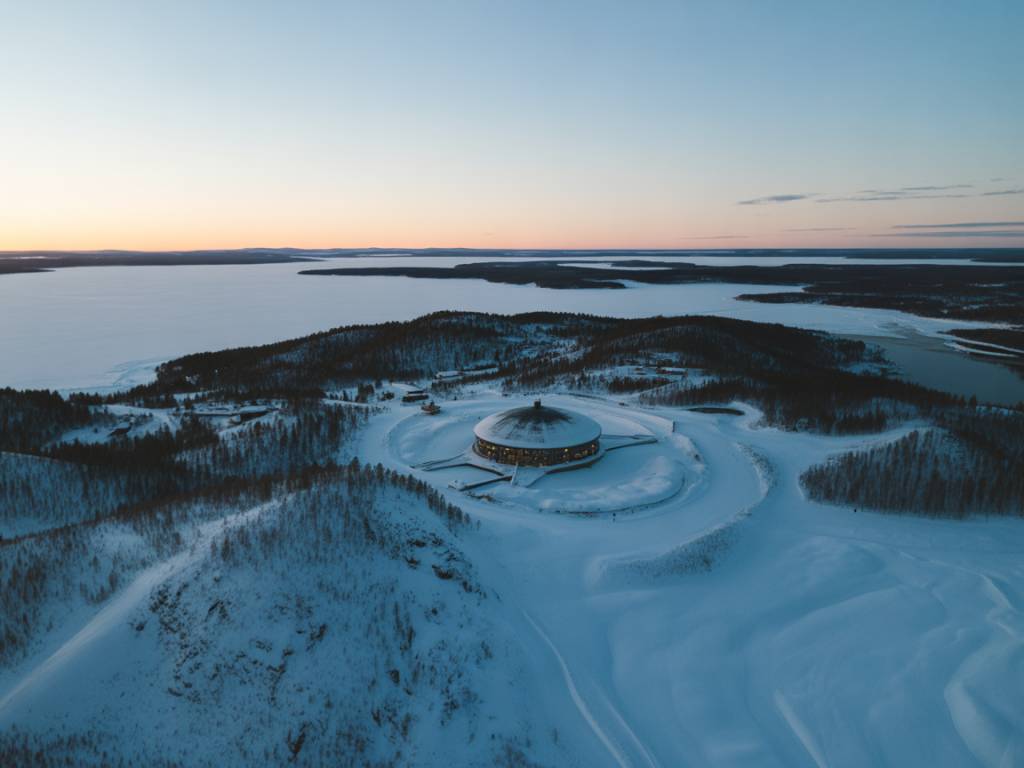
Most people imagine northern lights in the middle of nowhere: frozen lakes, cabins, zero light pollution. In reality, a lot of aurora “hunting” happens close to cities, after dinner, between workdays. That changes everything – especially for safety.
When you chase auroras near your city, you’re not only dealing with darkness and cold. You’re sharing the space with traffic, industrial areas, dog walkers, trains, and sometimes wildlife. Streetlights help you move but hurt your eyes’ night vision. And unlike on a dedicated aurora tour, no guide is watching the clock, the clouds and the road for you.
So the goal of this article is simple: give you a practical, low-stress routine to enjoy the northern lights safely within 15–45 minutes of an urban area. Less guesswork, fewer bad surprises, more time looking up.
We’ll focus on three things:
- How to choose safe, realistic spots near your city
- How to move, park and wait without taking dumb risks
- How to adapt quickly when the weather or the forecast changes
Think of it as an urban field manual for night-time aurora sessions.
Safety basics before you leave home
Good aurora nights often start fast: the KP jumps, clouds open, and social media screams “GO NOW!”. That’s exactly when people rush and skip basic checks. Here’s a simple pre-departure routine that takes 10 minutes and can save you a lot of trouble.
1. Tell someone your plan
- Share your approximate location(s) and time window (“North of town, old quarry parking, between 22:30 and 01:00”).
- Send a pin location if you’re going somewhere you don’t usually visit.
- Set a latest “I’m home” time and text when you’re back.
2. Check the road situation, not just the KP index
- Look at a real-time traffic map for accidents, road closures or snowplough activity.
- If there’s strong wind, expect drifting snow on smaller roads and avoid narrow farm lanes.
- In coastal cities, check for slippery conditions from freezing rain or wet snow.
3. Battery and navigation
- Phone battery above 60% before departure (cold will eat the rest).
- Offline map downloaded for your region (Google Maps or similar).
- Address or coordinates saved for at least one “safe backup spot” closer to home in case conditions change.
4. Clothing check: can you stand still for 45 minutes?
You’re not going for a fast winter walk; you’re planning to stand around looking at the sky. That’s when people get cold quickly.
- At least two layers on legs, three on torso (base, insulation, outer shell).
- Windproof outer layer, even in the city – windchill matters more than temperature.
- Hat, neck buff, thin gloves inside thicker mittens if you use a camera.
- Dry spare socks in the car bag.
If you already know you’ll be freezing after ten minutes, you’ll rush your decisions outdoors. That’s when safety mistakes appear.
Choosing safe and dark-enough spots near your city
Perfect darkness is not realistic near a big town. That’s fine. You don’t need a wilderness sky to see auroras, especially during active nights. What you do need is a balance of:
- Reasonably dark northern horizon
- Safe access and simple roads
- Legal, spacious parking
- No need to walk along busy roads in the dark
Here’s how I scout spots around cities during the day and reuse them safely at night.
1. Start with the northern sector
Use a map and draw an imaginary 60–90° wedge to the north of your city center. That’s your priority area for urban auroras in the Northern Hemisphere. In that wedge, look for:
- Lakes or rivers with public access
- Viewpoints, coastal promenades, piers
- Open fields with official parking or picnic areas
- Suburban parks that open onto a clear northern view
A simple test: if you can see a wide sky band from NW to NE with minimal buildings in front, it’s a workable urban spot.
2. Check the safety profile in daylight
If you can, visit new locations before dark. Pay attention to:
- Type of traffic (fast road, residential street, industrial zone)
- Presence of footpaths or shoulders where you could safely stand
- Lighting: streetlights behind you are better than shining directly into your eyes
- Signs indicating restricted areas, private property, or no-parking zones
If a spot feels sketchy in daylight, it won’t feel better at midnight with your camera out.
3. Favour known, public places over “secret” dark corners
Near cities, I usually prioritise:
- Public parking areas by lakes or beaches
- Well-known viewpoints used by locals
- Church or community hall parking lots facing north (if allowed and not disturbing residents)
- Small marinas or harbours with open northern view
Are these places brighter than a remote forest road? Yes. Are they much safer for solo or first-time urban aurora hunters? Also yes.
4. Prepare at least one “easy exit” spot
Have one location that satisfies three conditions:
- Less than 15 minutes from home
- Direct route along main roads only
- Safe to reach even in quickly worsening weather
On marginal nights or when you’re tired, go only to that spot. If the activity or sky doesn’t cooperate, you’re back in bed quickly and safely.
Navigating at night without getting lost
Most people overestimate their sense of direction at night, especially when excited by a sudden aurora alert. That’s how cars end up on unploughed side roads or people wander into private fields.
1. Use your car as your main “base camp”
When you chase near a city, there’s usually no reason to hike 2 km into the darkness. In most cases, you can:
- Park legally
- Walk 20–100 m to improve your view
- Return easily to the warmth and safety of the vehicle
You’ll miss a few ultra-dramatic compositions, but your risk profile drops dramatically.
2. Avoid “shortcut” roads you don’t know
Apps love to propose small backroads to save 3 minutes. At night, in winter, with possible ice or drift, that’s rarely worth it.
- Stick to primary and secondary roads, even if they’re slightly longer.
- If your GPS suggests a narrow lane through dark fields, zoom in and check if there’s a wider alternative.
- When in doubt, re-route via a known suburb or village rather than an unknown “gray zone” on the map.
3. Save your exact parking location
Small detail, big impact when snow covers everything.
- Once parked, drop a pin or label your location in your map app.
- If you walk farther than 50–100 m from the car, use the map to track your route.
- In low-visibility conditions, follow your recorded path back instead of “cutting across the field” in a straight line.
4. Use a headlamp properly
A headlamp is essential, but it can also blind drivers or other observers.
- Keep it on low power most of the time.
- Point it slightly down when near roads or other people.
- Use the red-light mode if you have one, to keep your night vision and avoid “flashbang” effects.
Staying visible and alert to traffic
This is the main risk for urban aurora hunters: getting too focused on the sky and forgetting you’re standing near moving vehicles. The solution is simple: behave like a road worker at night, not like a ninja photographer.
1. High-visibility is not optional near roads
- Wear something reflective: a safety vest, reflective bands on legs and arms, or a jacket with reflective strips.
- If you often chase from roadside lay-bys, keep a hi-vis vest permanently in your car.
- Reflective gear is cheap, light, and dramatically increases your safety radius in headlights.
2. Where to stand – and where not to
- Never stand in the traffic lane to “quickly get a shot”.
- Avoid the inside of tight bends or hill crests where drivers have poor visibility.
- Stay on the far side of guardrails when possible.
- If you need to cross a road, turn your headlamp to maximum for a few seconds and cross decisively, not slowly.
3. Car lights: balancing safety and light pollution
When parked:
- Make sure your car is fully off the road, wheels not touching the lane.
- Use hazard lights briefly if you’re in a slightly exposed location, then turn them off once you’re sure other drivers have understood you’re stationary.
- If someone stops to check on you, be courteous and explain you’re just observing the sky and will move if needed.
Don’t turn your vehicle into a lighthouse for 2 hours. You’ll destroy your own night vision and that of anyone around you.
Weather, cold and staying comfortable
You can’t control geomagnetic activity, but you can fully control how your body reacts to 1–3 hours outside at night. Comfort equals patience, and patience is often what separates a missed display from a great sighting.
1. Understand the “standing still” factor
A temperature of -5°C with light wind is fine if you’re walking. Stand still next to your tripod for 40 minutes and it feels more like -15°C. Plan for this from the start:
- Wear one more layer than you’d use for a brisk winter walk.
- Thicker socks + insulated boots with room for your toes to move.
- Chemical hand warmers in coat pockets and boots if you’re sensitive to cold.
2. Use the car as a warm-up cycle
Set a simple rule: every 20–25 minutes, you go back into the car for 5–10 minutes of heat. During that time, you can:
- Check updated cloud and aurora forecasts on your phone.
- Warm hands and feet completely.
- Evaluate if you’re still alert enough to continue or it’s time to go home.
3. Manage humidity and wind
- In coastal cities, humid air will cool you faster than the thermometer suggests. Add a windproof layer even at 0°C.
- Avoid sitting directly on cold metal or stone benches. Bring a small foam pad if you know you’ll sit to wait.
- If it starts snowing heavily and the sky is 100% covered, treat it as a stop sign and head back via main roads.
Gear checklist for urban aurora chasers
You don’t need a professional setup to safely enjoy the aurora near your city. But there are a few items that make the night smoother and safer.
Essential safety and comfort gear
- Headlamp with red mode + spare batteries
- Reflective vest or bands
- Insulated boots, hat, gloves, extra socks
- Thermos with hot drink + simple snack (nuts, chocolate, sandwich)
- Phone power bank and cable
- Small first-aid kit (bandages, painkillers, basic disinfectant)
If you plan to photograph
- Sturdy tripod that won’t blow over in the wind
- Wide-angle lens (f/2.8 or faster if possible)
- Spare battery kept warm inside your jacket
- Simple lens cloth (urban humidity and sea spray can fog your glass)
For urban observers, simplicity beats complexity. One camera, one lens, one tripod is usually enough. The fewer items you handle in the dark, the easier it is to keep track of your surroundings.
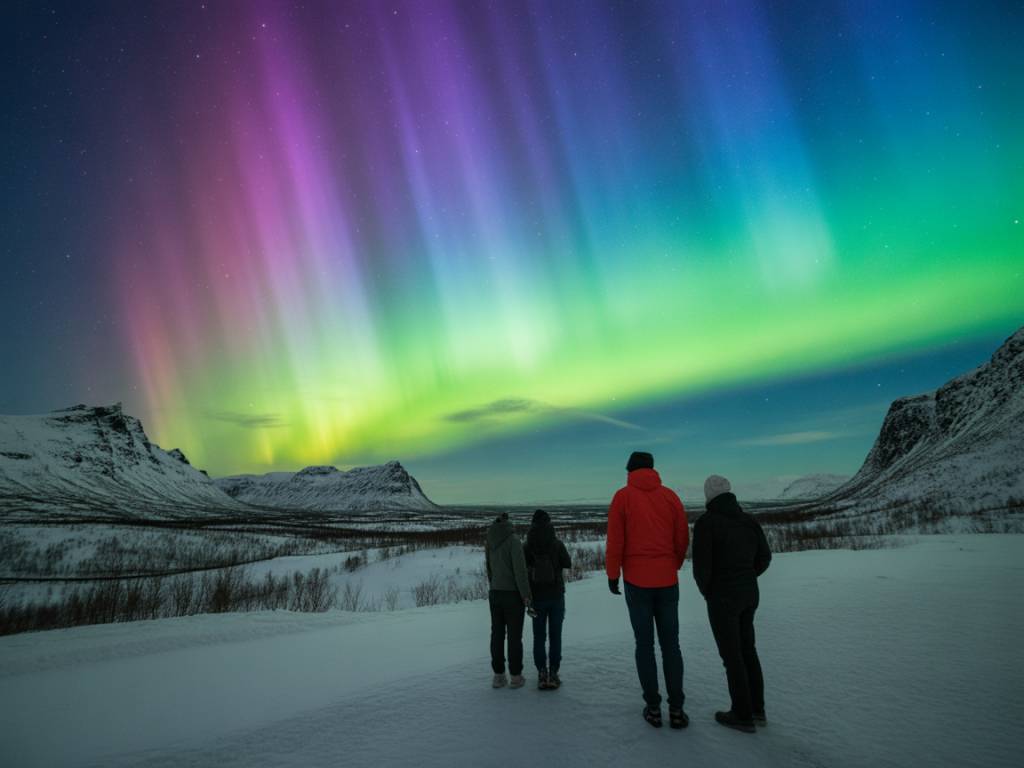
Going in a group and managing expectations
Near cities, you’ll often find other people on the same mission: locals with phones, serious photographers, families with kids. This can improve safety – more eyes, more cars – as long as you stay organised.
1. Group chasing: basic rules
- Agree on a maximum time on site before you leave home (for example “midnight hard stop”).
- Decide in advance how you’ll communicate if cars get separated (messaging app, walkie-talkies, simple text like “we are stopping at X parking”).
- Keep headlamps low when others are shooting – and ask them to do the same.
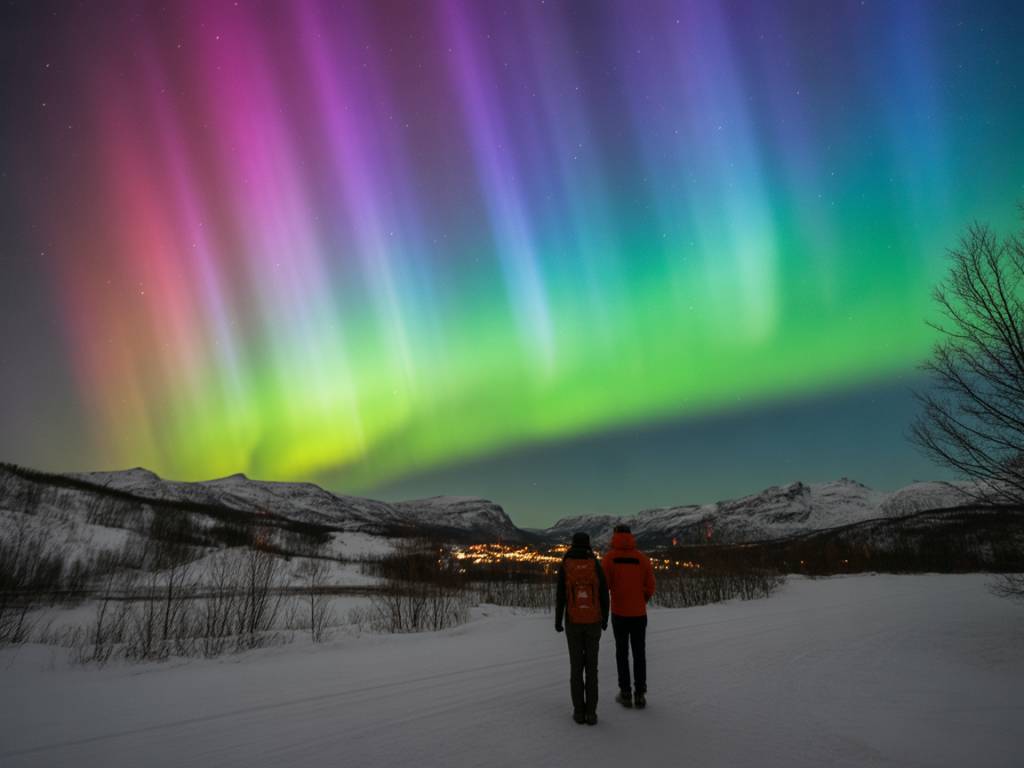
2. If you’re going solo
- Prefer known public places with occasional traffic over isolated dead-ends.
- Avoid explaining your exact plans to strangers on site; keep it friendly but vague.
- If a spot feels uncomfortable for any reason, trust your instinct and move on.
3. Expectation management: city edition
Aurora hunting near a town is usually about:
- Seeing the arc and movement with your own eyes
- Maybe catching a few decent photos between streetlights
- Spending a special hour outside your normal city routine
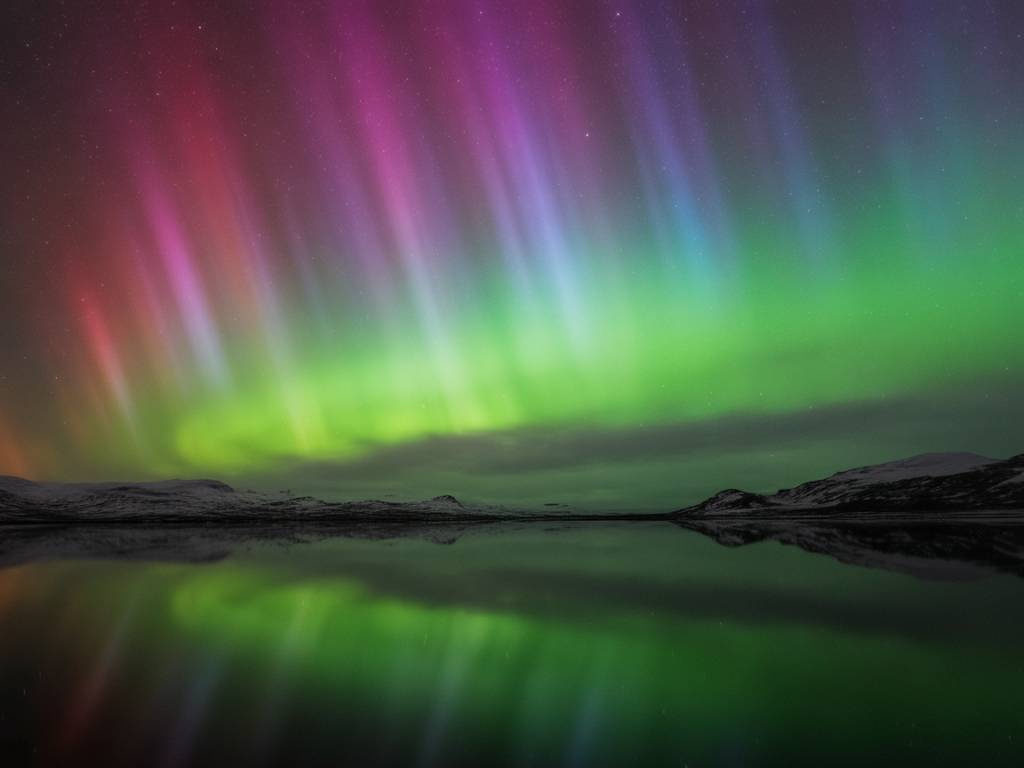
It’s not always about the “perfect” sky. Some of my best urban sessions were modest KP nights where a simple green band appeared above an industrial area, reflected in half-frozen harbour water. Technically imperfect, but memorable, and reached safely from the city within 20 minutes.
If you adopt that mindset – safety first, comfort second, spectacle third – you’ll last longer in the game. And when that big geomagnetic storm finally hits on a clear night, you’ll already have your urban routine dialed in: tested spots, known routes, warm clothes ready, and a realistic plan.
That’s how you turn “maybe I’ll see something” into “I know exactly where I’m going, how long I’ll stay, and how I’ll get home in one piece” – even when the sky decides to surprise you.