Same lights, different ends of the planet
When people ask me about the difference between aurora borealis and aurora australis, they usually expect a long scientific answer. In practice, the reality is simple: it’s the same phenomenon, generated by the same solar processes, playing out at opposite ends of the Earth.
But for travelers, “same phenomenon” doesn’t mean “same trip”. The big differences are geographic, practical and seasonal. Where you go, how you plan, how easy it is to get under dark skies – that changes a lot between North and South.
So let’s keep the theory short and focus on what actually matters on the ground if you’re planning an aurora trip: what changes between Arctic and Antarctic skies, and how to choose your target.
What actually is an aurora?
First, the common base. Both aurora borealis (north) and aurora australis (south) are produced by the same mechanism:
- The Sun ejects charged particles (solar wind, sometimes boosted by solar storms).
- The Earth’s magnetic field funnels those particles toward the polar regions.
- These particles collide with atoms and molecules in the upper atmosphere (mostly oxygen and nitrogen).
- The excited atoms release energy as light: green, red, purple curtains and arcs across the sky.
So:
- Aurora borealis = polar lights seen in the Northern Hemisphere.
- Aurora australis = polar lights seen in the Southern Hemisphere.
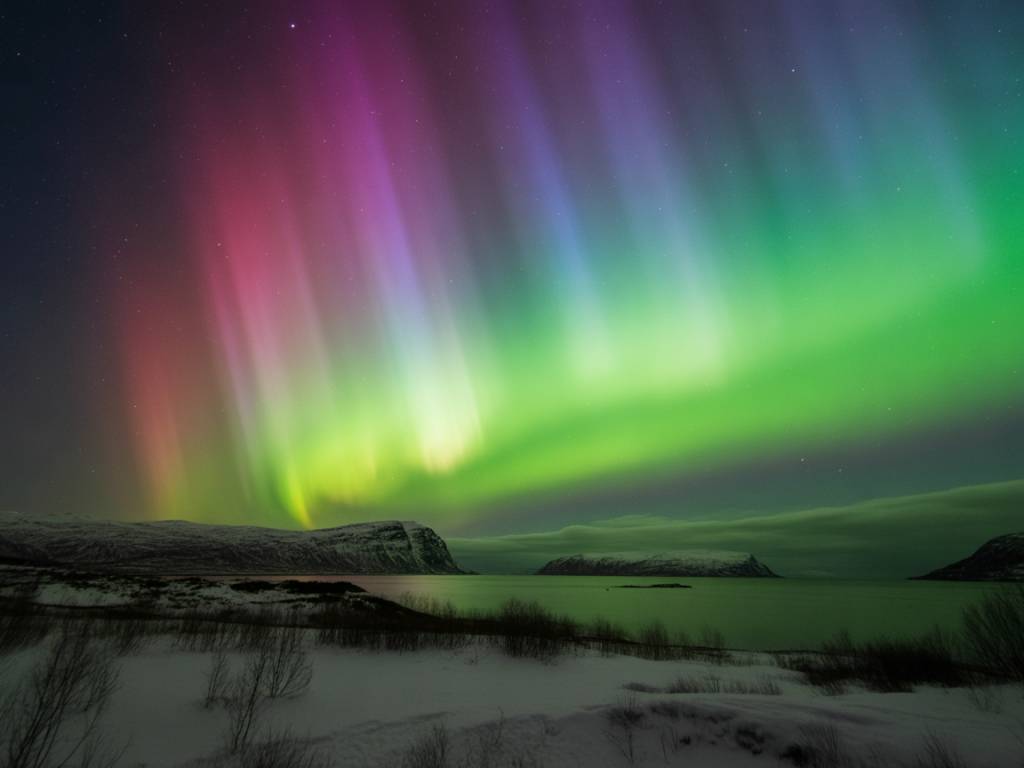
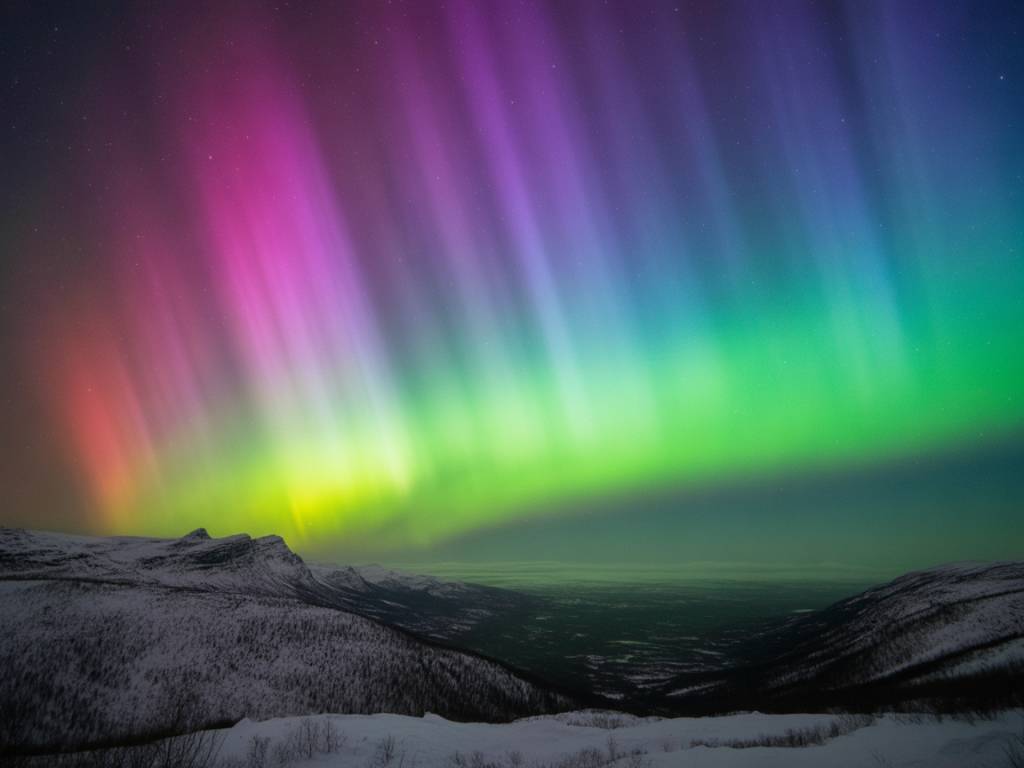
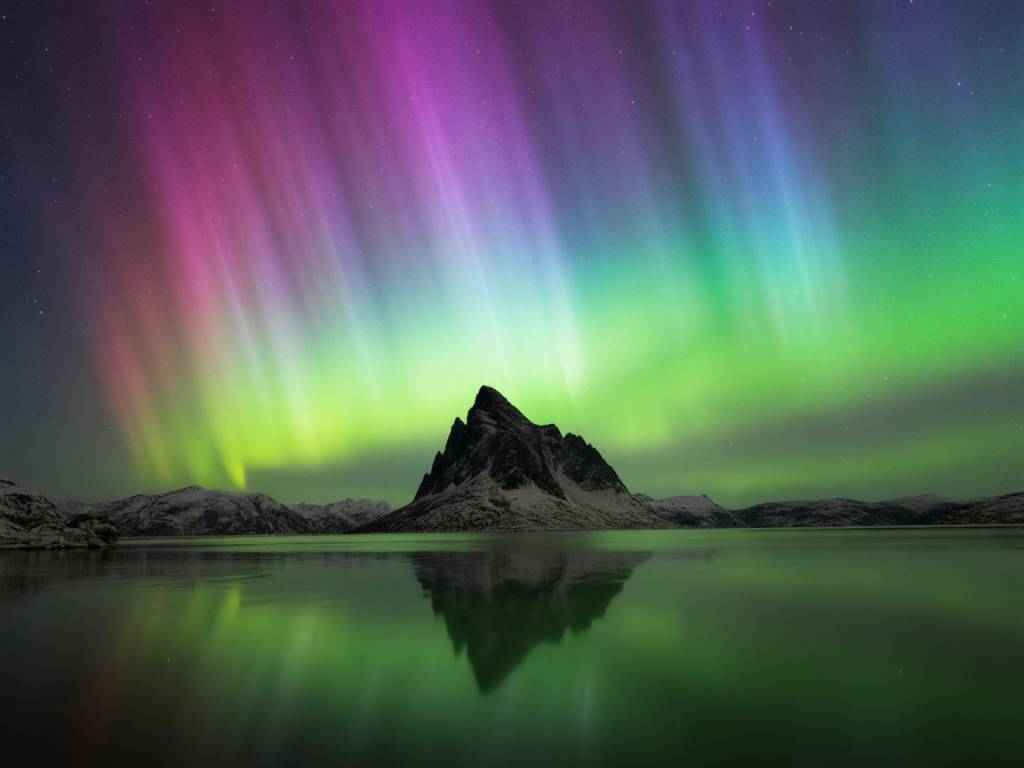
No difference in physics, no difference in basic shapes or colors. A strong southern aurora could look visually identical to a strong northern one if you swapped the landscape under it.
Where you can actually see them
This is where the gap between North and South becomes very real for travelers.
In the North (aurora borealis), you have:
- Many accessible regions under the auroral oval: Norway, Sweden, Finland, Iceland, northern Canada, Alaska, Greenland.
- Cities with airports, hotels, rental cars and guided tours directly inside or very close to good aurora zones.
- A large road network and winter infrastructure designed for people who actually live there year-round.
In the South (aurora australis), you mostly have:
- The Southern Ocean and Antarctica under the most active part of the auroral oval.
- A few reachable land areas under the “edge” of the oval: southern New Zealand, southern Tasmania, the tip of South America (very marginal), some sub‑Antarctic islands (logistically complex).
- Very limited public infrastructure in the latitudes that are ideal on paper.
In practice, if you want to plan a realistic aurora trip:
- Northern lights = you can fly in, rent a car, book a cabin, and hunt lights over several nights with high flexibility.
- Southern lights = you often stay much farther from the core auroral oval and rely more on strong geomagnetic activity to bring the lights far enough north to be visible from land.
That doesn’t mean the south is a bad choice. It just means logistics come first. The sky is generous; airline schedules are not.
Latitudes: how “deep” you need to go
The auroral ovals (north and south) sit roughly around geomagnetic latitude 65–70° and expand toward the equator during strong storms. But the key difference is how much land they cover.
North:
- Plenty of land right under the oval: Tromsø, Abisko, Finnish Lapland, northern Iceland, parts of Yukon and Alaska.
- Good compromise zones around 63–66°N where you can see aurora frequently but still have infrastructure (Reykjavík area, Fairbanks, Kiruna etc.).
South:
- The best latitudes are mostly over water or Antarctica.
- Southern New Zealand and Tasmania sit typically around 42–47°S, often north of the main oval.
- To see auroras from there, you rely more heavily on stronger geomagnetic activity (higher Kp) and a clear view toward the southern horizon.
So while a Kp 2–3 can make for a solid show in northern Lapland, you’ll usually want Kp 4–6 for a decent display from places like Hobart or Dunedin. The same global solar event, but you’re observing from different “distances” to the auroral zone.
Seasons: when to go North vs South
Both auroras need the same basic rule: darkness. No dark sky, no show, however strong the Sun is.
For aurora borealis:
- Main season in the Arctic: roughly late August to mid‑April.
- Deep winter (December–January): longest nights, but also coldest, often with more cloud and tough driving conditions.
- Shoulder seasons (September–October and February–March): still long nights, often milder, with better chances of mixed activities (hiking, photography with some daylight).
For aurora australis:
- Best periods: roughly March–September, centred around local autumn and winter.
- In southern New Zealand and Tasmania, you don’t get the same extreme day/night variation as inside the Arctic Circle, but winter still means longer nights and more time windows for clear skies.
- In Antarctica (for scientific crews, not typical tourists), mid‑winter brings almost continuous darkness – but tourism access is extremely limited at that time.
If you’re planning a standard trip with commercial flights and hotels:
- North: aim for September–March, depending on how much cold and darkness you want.
- South: aim for the southern hemisphere winter and shoulder seasons, with a bias toward the darker months around June–July if you can handle the chill.
Weather and cloud cover: Arctic vs Southern Ocean
The aurora can be perfect above your head, but if you have 100% cloud cover, you will see nothing. Weather patterns differ noticeably between the two hemispheres.
Northern aurora zones (Scandinavia, Iceland, Alaska, Canada):
- Frequent low pressure systems and variable cloud, especially along the coasts.
- But also a dense road network and many micro‑climates: you can often “chase gaps” by driving 30–150 km inland or toward higher ground.
- Inland arctic areas (Finnish Lapland, interior Alaska) often have more stable clear spells in mid‑winter, with stronger surface temperature inversions and fewer maritime clouds.
Southern aurora zones (Tasmania, New Zealand, Southern Ocean):
- Dominated by the roaring forties and furious fifties: strong westerlies, frequent fronts and passing showers.
- Cloud cover can change quickly, sometimes giving short clear windows between frontal bands.
- Fewer roads and less land to move around compared to northern Scandinavia, but in places like Otago or the Tasmanian highlands, you still have some flexibility to seek clearer skies.
In both hemispheres, try to reduce “weather stress” with a few simple strategies:
- Plan at least 3–4 nights in an aurora‑friendly area rather than betting everything on a single evening.
- Keep your accommodation flexible, or at least keep your evenings unscheduled, so you can move quickly if a clear slot appears in the forecast.
- Monitor local cloud maps and short‑term forecasts (1–3 hours) rather than obsessing over a 10‑day outlook that will change anyway.
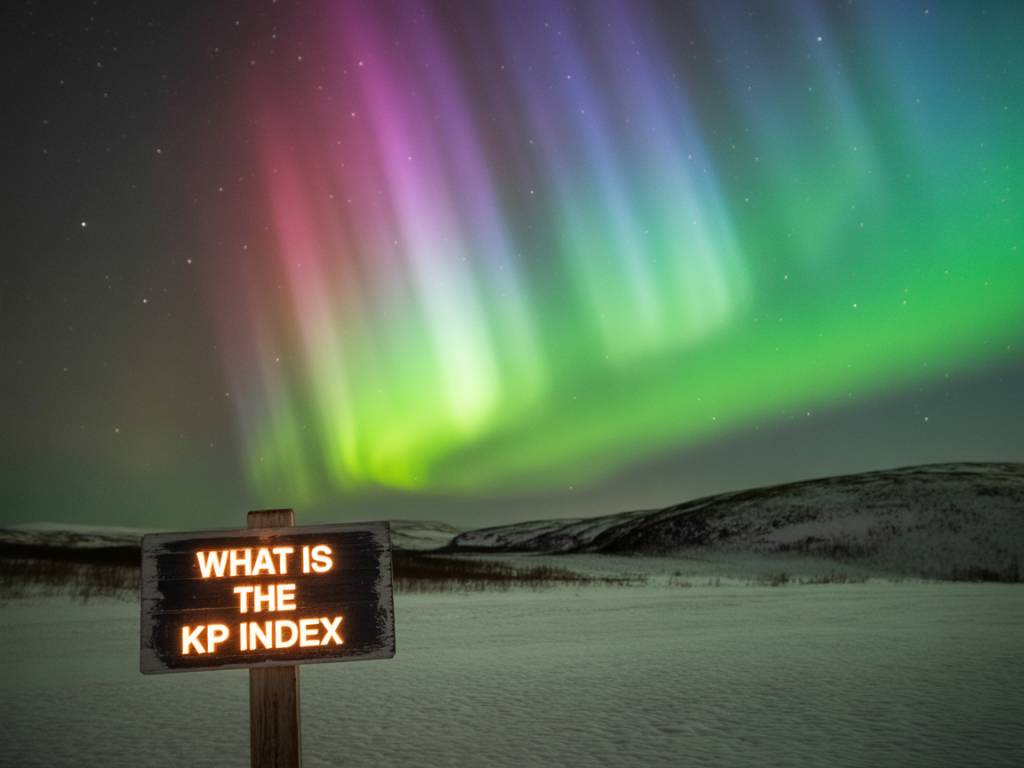
How Kp and geomagnetic activity play out North vs South
The Kp index is global. A Kp 5 storm means the geomagnetic disturbance has roughly the same strength for the planet as a whole. But what you see depends on your latitude and viewing direction.
In the North:
- If you are inside or very close to the auroral oval (e.g. Tromsø, Kiruna, Rovaniemi, Fairbanks), you can see auroras even with low Kp (1–2), as long as the sky is dark and clear.
- Higher Kp values shift the show farther south; that’s when cities like Edinburgh, Hamburg or even Paris might get a faint glow low on the northern horizon.
In the South:
- Most travelers are located well north of the core auroral oval (e.g. Hobart at ~43°S latitude).
- You depend more on moderate to strong geomagnetic activity (Kp 4–6) to move the visible aurora far enough toward your latitude.
- The aurora is usually seen low in the southern sky, often like a band or arc near the horizon rather than directly overhead, unless the storm is very strong.
From a planning standpoint: if you have flexibility and your main goal is “increase the probability of seeing any aurora, even with modest Kp”, the northern hemisphere gives you more accessible options directly under the auroral oval.
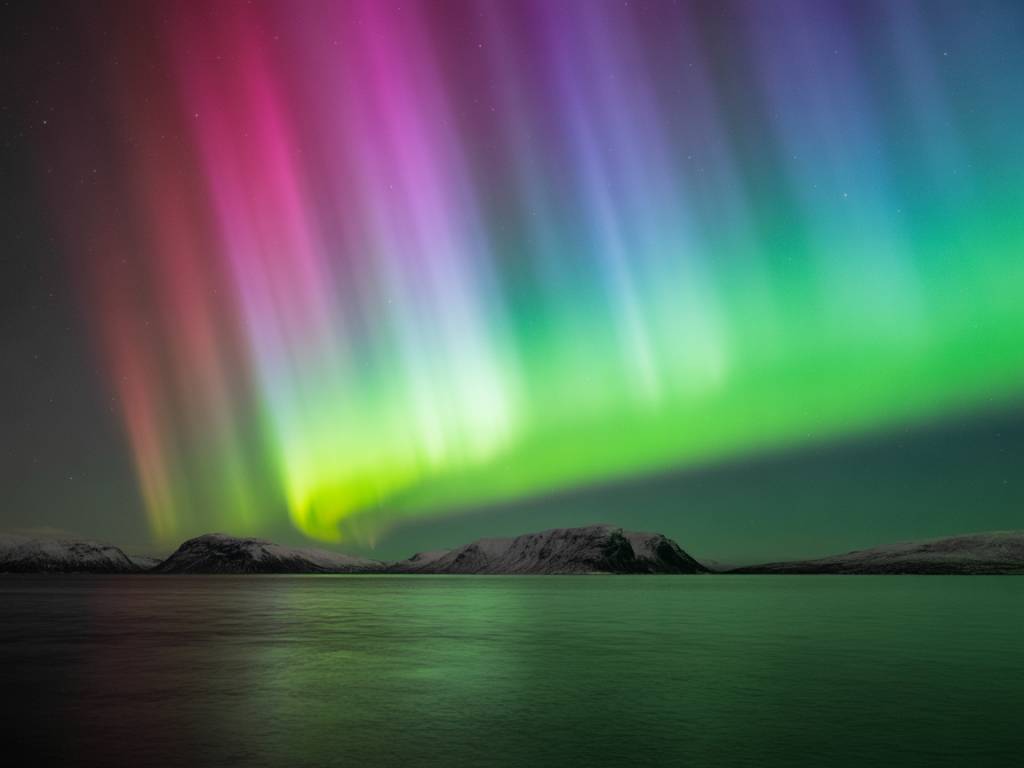
What the lights actually look like
Visually, aurora borealis and aurora australis are twins:
- Colors: green dominates (oxygen around 100–200 km altitude), with possible red tops, pink edges and occasional purple/violet structures from nitrogen.
- Shapes: arcs, bands, curtains, rays, coronas, pulsating patches and diffuse glows – all of these exist in both hemispheres.
- Behaviour: steady quiet arcs, slow ripples, sudden “substorm” explosions where the whole sky comes alive for 10–30 minutes – again, identical physics.
If you showed an experienced aurora photographer a single frame isolated from its landscape, they probably could not tell if it was borealis or australis. The difference comes from the foreground:
- North: fjords, Arctic forests, snow‑covered cabins, mountain silhouettes.
- South: southern coasts, highlands, isolated trees, sometimes the core of the Milky Way in the same frame in southern winter.
For the human eye, intensity and speed also depend more on the strength of the solar activity and your position under the oval than on which hemisphere you’re in.
Accessibility and comfort: who should go where?
If your priority is to maximize chances of seeing an aurora with a standard one‑week vacation, the Arctic usually wins. Reasons:
- More flight options and competition on prices (e.g. to Iceland, Northern Norway, Finland, Alaska).
- Dedicated aurora tourism infrastructure: tours, guides, real‑time alerts, cabins positioned under dark skies.
- Ability to chase clear breaks in the clouds by road within a few hours’ radius.
The Southern Hemisphere, in contrast, suits a slightly different profile:
- You already plan to visit New Zealand, Tasmania or Patagonia, and aurora is a “bonus objective”.
- You live in Australia or New Zealand and want to try your luck during geomagnetic storms without flying across the world.
- You enjoy night sky photography and are happy to combine aurora attempts with Milky Way and southern sky imaging, accepting a lower hit rate.
An expedition to Antarctica or a sub‑Antarctic island increases your southern aurora odds dramatically, but that’s not a typical holiday decision: prices and logistics put it in the “once in a lifetime” or professional category.
Gear and preparation: North vs South
The core equipment is the same, but the way you handle cold and logistics varies between hemispheres.
Shared basics:
- Tripod and camera capable of manual exposure and ISO control (or at least a modern smartphone with good night mode).
- Headlamp with red light mode to protect night vision.
- Spare batteries kept warm in an inside pocket.
- Layered clothing, windproof outer shell, warm hat and gloves.
Extra focus for the North:
- Proper winter boots and traction (spikes or cleats) for icy surfaces.
- Serious insulation: down jackets, thermal base layers, mittens over thin liner gloves.
- Car preparedness: snow brush, shovel, emergency blankets, enough fuel, and a realistic sense of how far you can safely drive at night on snow.
Extra focus for the South:
- Wind protection: coastal sites in Tasmania and New Zealand can be very windy and damp, which chills faster than dry cold.
- Attention to tides and surf: some of the best southern viewing spots are beaches or headlands; never set up where waves or a rising tide can surprise you in the dark.
- Road access: in rural areas, factor in long, unlit roads and wildlife on the road at night (kangaroos, wallabies, livestock).
In both cases, treat the aurora outing like a mini‑expedition, not a stroll to the corner shop. The show often starts when you’re already cold and tired.
Managing expectations: intensity and frequency
The single biggest difference for most people is not the color of the lights, it’s the frequency of clear, active nights over a typical trip timeframe.
In the North:
- Spend 4–7 nights under or near the auroral oval in peak season, and your odds of seeing at least some auroral activity are generally high, provided you stay flexible with weather.
- You can have quiet nights and spectacular ones; on an average trip, expect at least 1–2 “good” displays if you’re persistent.
In the South:
- If you’re in Tasmania or southern New Zealand for a week, you may or may not get a geomagnetic storm strong enough to push the aurora into your sky, and clouds might interfere.
- Statistically, you’re playing a more “sporadic jackpot” game if aurora is your sole objective.
This doesn’t make one hemisphere better than the other, but the strategy is different:
- North: plan a dedicated aurora trip and optimize everything around it (location, moon phase, length of stay).
- South: plan a varied trip (hiking, landscapes, astrophotography), then build in some late‑night watch windows when conditions and Kp look promising.
So, which one should you chase first?
If we strip it down to the practical essentials:
- If aurora is your top travel dream and you’re ready to invest a full trip into it, start with the aurora borealis. You get better access, more stable odds and abundant backup plans if weather misbehaves.
- If you already live in the Southern Hemisphere or are planning a trip to New Zealand or Tasmania for other reasons, keep an eye on aurora alerts and be ready to pivot your evening plan if a storm hits. The aurora australis is a fantastic “bonus” when it shows up.
- If you’re chasing symmetry and have already seen the northern lights, planning a targeted southern lights trip can be a rewarding challenge – just step in with realistic expectations about frequency and strength.
On paper, aurora borealis and aurora australis are identical twins drawn by the same solar pencil. On the road, they live in very different neighborhoods. Choose the hemisphere that matches your budget, your tolerance for cold and clouds, and how much of your itinerary you are willing to dedicate to the chase – then let the Sun do the rest.