One of the most common reactions I hear on aurora trips is: “It looked so faint in the sky, but your photo is amazing. Why doesn’t my eye see that?” If you’ve ever felt a bit disappointed comparing reality to the photos on Instagram, this article is for you.
We’re going to keep it simple and practical: what your eye can (and cannot) do at night, how a camera “cheats”, and how to read aurora photos so you don’t get fooled by over-optimistic images when you plan your trip.
What your eyes actually see in the dark
First, a quick reality check about human vision at night.
Your eye has two main types of sensors:
- Cones: work well in daylight, see color, need a lot of light.
- Rods: work in low light, very sensitive, but almost color-blind.
The problem is that the aurora often sits right between these two worlds: bright enough to be seen, but not always bright enough to fully wake up your color-seeing cones.
That’s why weak auroras often appear as:
- Greyish or whitish arches
- Diffuse “clouds” that don’t move like normal clouds
- A faint glow at the horizon
Meanwhile, your camera behaves differently. It doesn’t care about rods and cones. It just collects light over time.
How cameras “cheat” the aurora brighter
A camera does three things that your eyes can’t do in real time:
- Long exposure – it keeps the shutter open for several seconds.
- High ISO – it amplifies the weak signal.
- Large aperture – it lets a lot of light in at once.
Imagine you’re filling a bucket with rain:
- Your eyes are like checking the bucket every second: not much water, not very impressive.
- Your camera is like waiting 10 seconds and then looking: same drizzle, but the bucket looks fuller, so the rain “seems” stronger.
With auroras, it’s the same idea. A faint green arc that feels barely visible to your eyes can look intense and saturated on camera if the settings are pushed:
- Exposure: 10–20 seconds
- ISO: 3200–6400 (or more)
- Aperture: f/2.8 or wider
This doesn’t make the aurora “fake”, but it does mean the camera is integrating light over time in a way your brain never does.
Why your photos look better than your memory
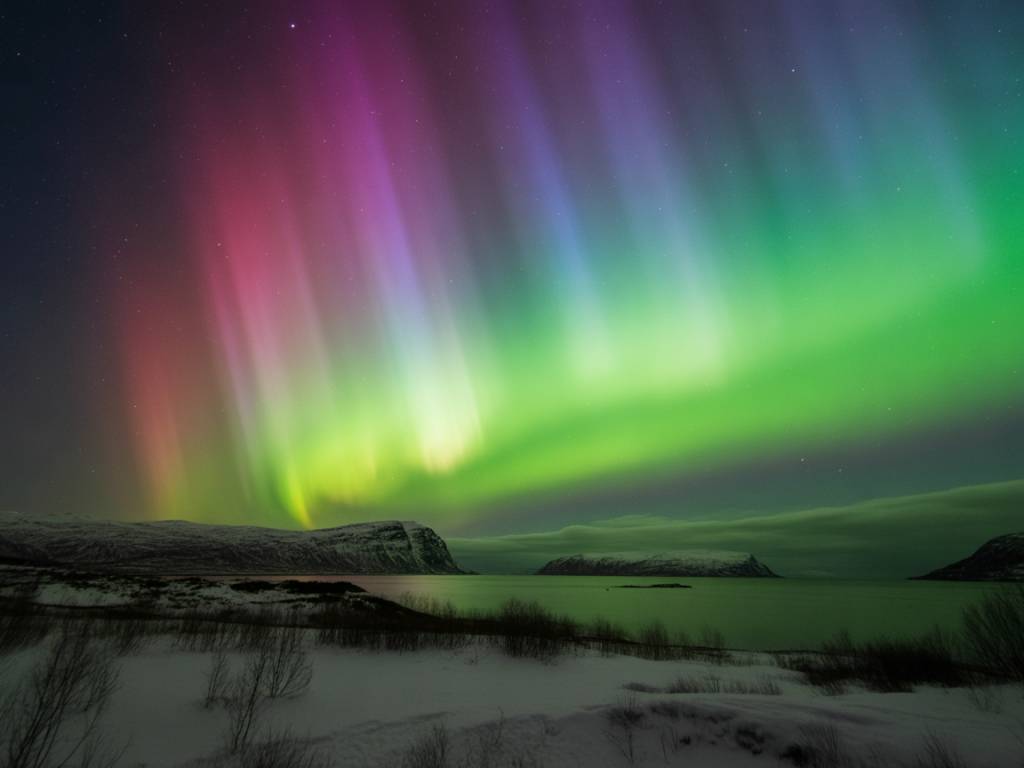
On a normal night in northern Norway, Iceland, Finland or Swedish Lapland, you’ll often get what I call “camera auroras”:
- To the eye: pale, milky arc, sometimes a bit of movement.
- On camera: bright green, sometimes with hints of pink or purple at the edges.
The reasons:
- Color sensitivity: your rods (night vision) are poor at seeing green and red compared to a camera sensor.
- Signal accumulation: a 5–10 second exposure collects more photons than your eye does in an instant.
- Post-processing: many images you see online are edited for contrast, saturation and clarity.
This gap between “eye reality” and “camera reality” is biggest when the aurora is weak to moderate. On a truly strong storm, your eyes and camera will both be impressed – but that’s not every night.
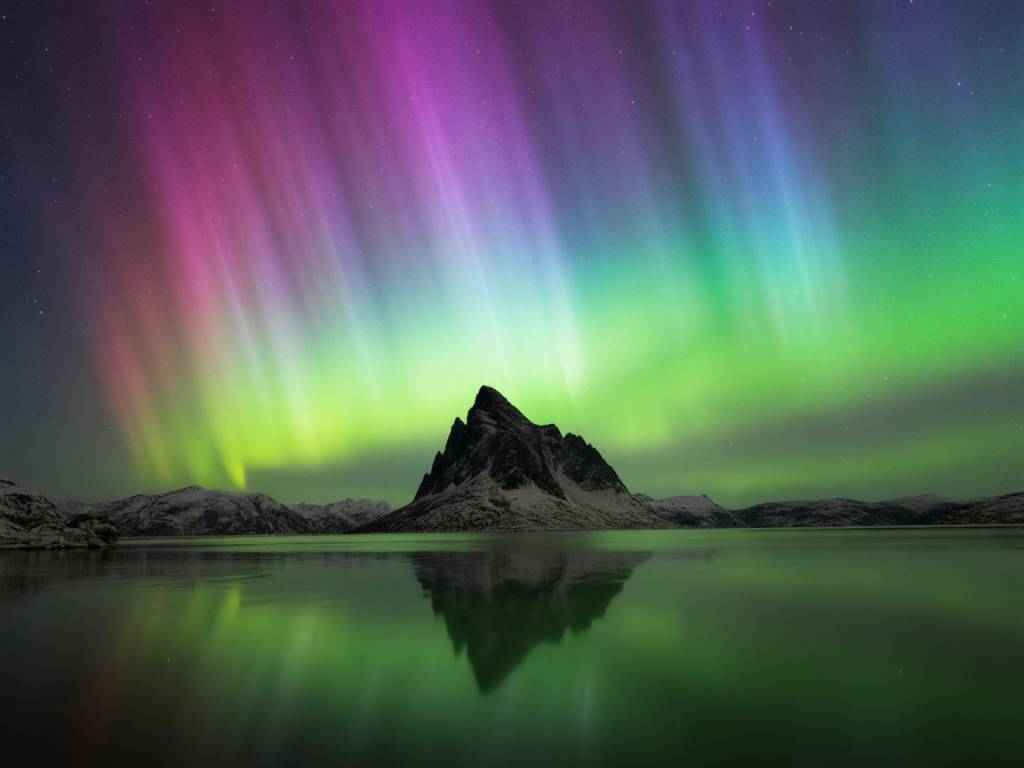
When the aurora really looks like the photos
Your eye starts to see strong color and structure when two things happen:
- The aurora is bright and fast-moving (typically KP 4–6 with good local conditions).
- You’re under dark skies with minimal light pollution.
In those moments, you can often see:
- Clearly green bands overhead
- Pulsating or rapidly dancing curtains
- Pillars and rays shooting upwards
- Sometimes pink or purple edges on the lower parts
That’s when people say “No photo can do this justice.” And interestingly, they’re right: cameras can’t fully capture the three-dimensional feeling, the speed and the scale of a really active display.
So it’s not that photos are always “lying”; they’re just excellent at making weak auroras look strong, and not so good at conveying how incredible the strongest ones feel in person.
How to read aurora photos without getting misled
When you’re planning a trip, it helps to look at aurora photos with a bit of skepticism. Ask yourself:
- How bright is the foreground?
If you see a very bright, detailed foreground (buildings, trees, snow) under a sky full of aurora, that usually means a long exposure and/or high ISO. In reality, your eyes would see a much darker landscape, and the aurora might look less intense than in the image. - Do the stars look like short lines?
Star streaks mean long exposure (e.g. 15–30 seconds). Longer exposures exaggerate the brightness and saturation of the aurora compared to what you see live. - Is there a clear EXIF example?
Sometimes photographers share settings like “ISO 3200, 10s, f/2.8”. Good practice, but remember: an aurora that needs ISO 3200 and 10 seconds to look great on camera probably looks fairly faint to your eyes. - Is the entire sky glowing uniformly?
If the whole sky is nuclear green and the snow is bright as day, you’re likely looking at a heavily edited shot or a composite. Real auroras, even strong ones, often have darker gaps and variations.
Use these clues to adjust your expectations: “This is probably a camera-enhanced moment” versus “This looks like a genuinely bright display.”
Typical scenarios you’ll encounter in the field
Here’s how it often plays out on real nights, with real travelers.
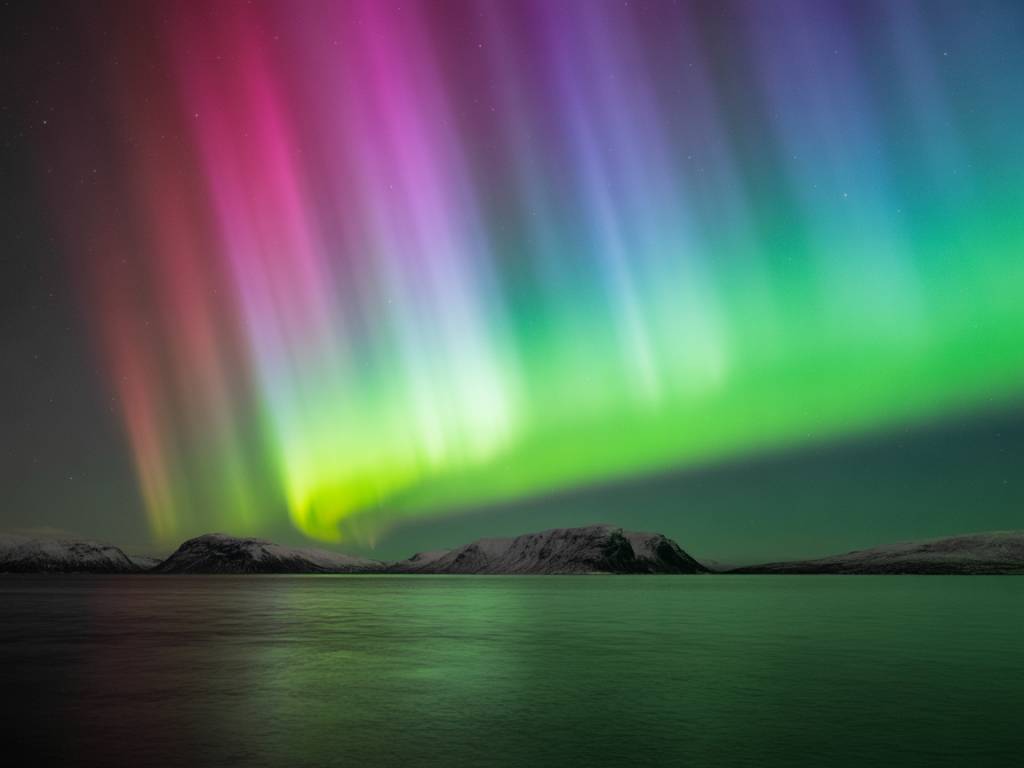
Scenario 1: The “cloud or aurora?” arc
- To the eye: a pale, static arch low on the northern horizon, looks like a thin, grey cloud.
- On camera (5–10s exposure): a clear green arc with structure.
- Reality check: this is a weak aurora. Nice for photos, modest for the naked eye. If you’re out for the first time, it’s still special, but not the big show.
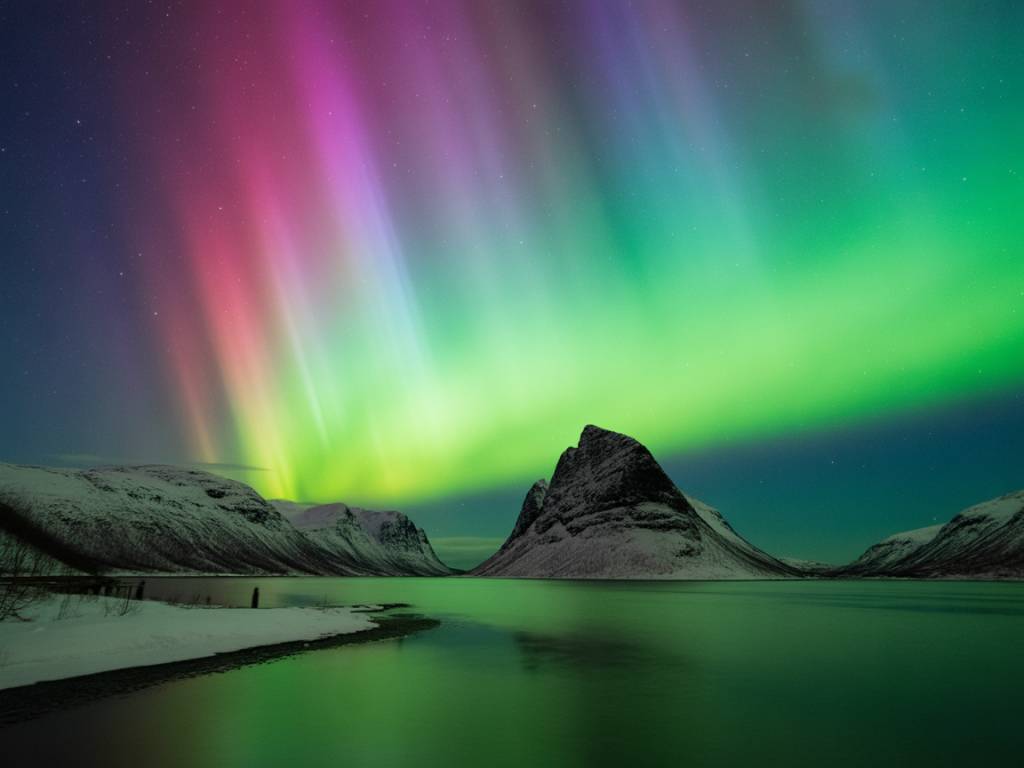
Scenario 2: Slow-moving green curtains
- To the eye: obvious green color, gentle movement, visible structure.
- On camera (2–5s exposure): bright saturated greens, sometimes some purple at the bottom.
- Reality check: good night. This is the kind of aurora most people picture when they book a trip, but less dramatic than a full storm.
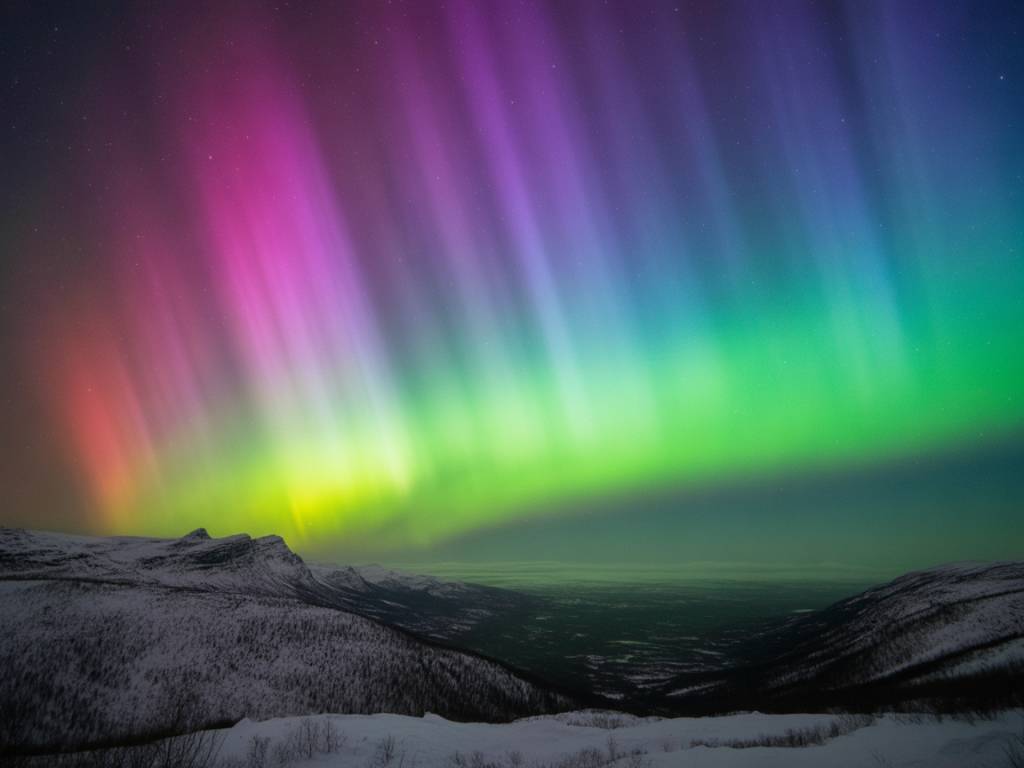
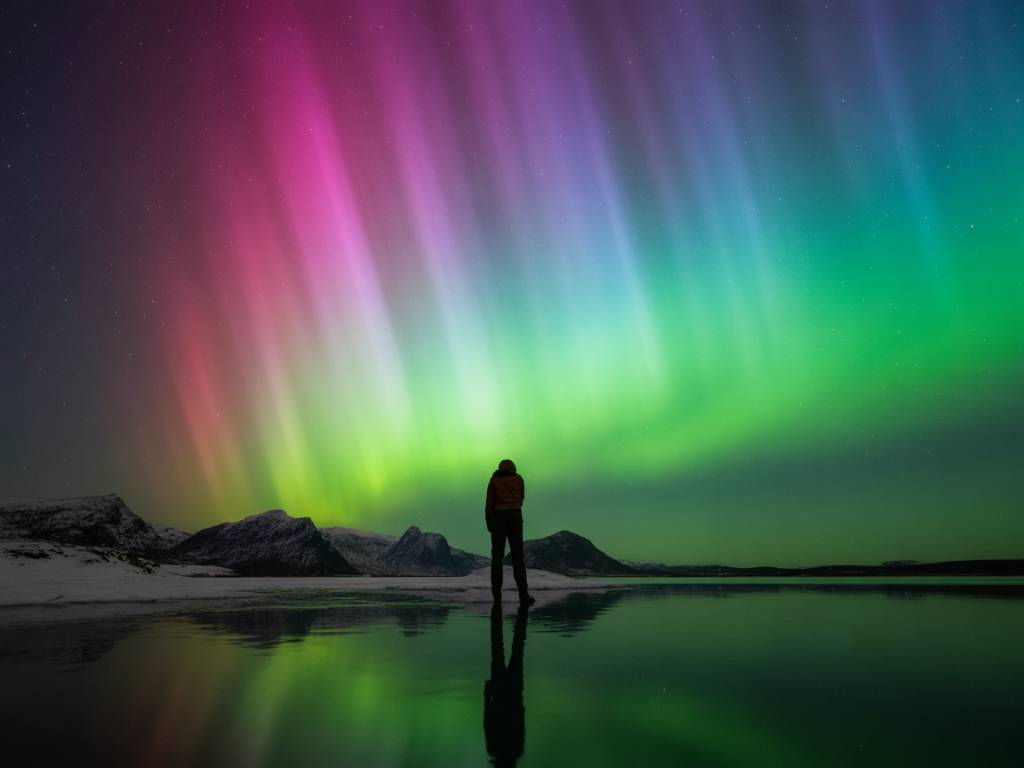
Scenario 3: Overhead storm
- To the eye: sky filling with rapidly moving bands, curtains, rays shooting overhead; strong green, often noticeable pinks and purples.
- On camera (1–2s exposure): so bright you need to shorten exposure to avoid overexposure, intense color, lots of contrast.
- Reality check: this matches the “bucket list” experience. Videos and photos still can’t fully express what it feels like to stand under it.
Understanding which scenario you’re in helps you decide: stay longer, move location, or accept that it’s a “camera night” rather than a “jaw-dropper night”.
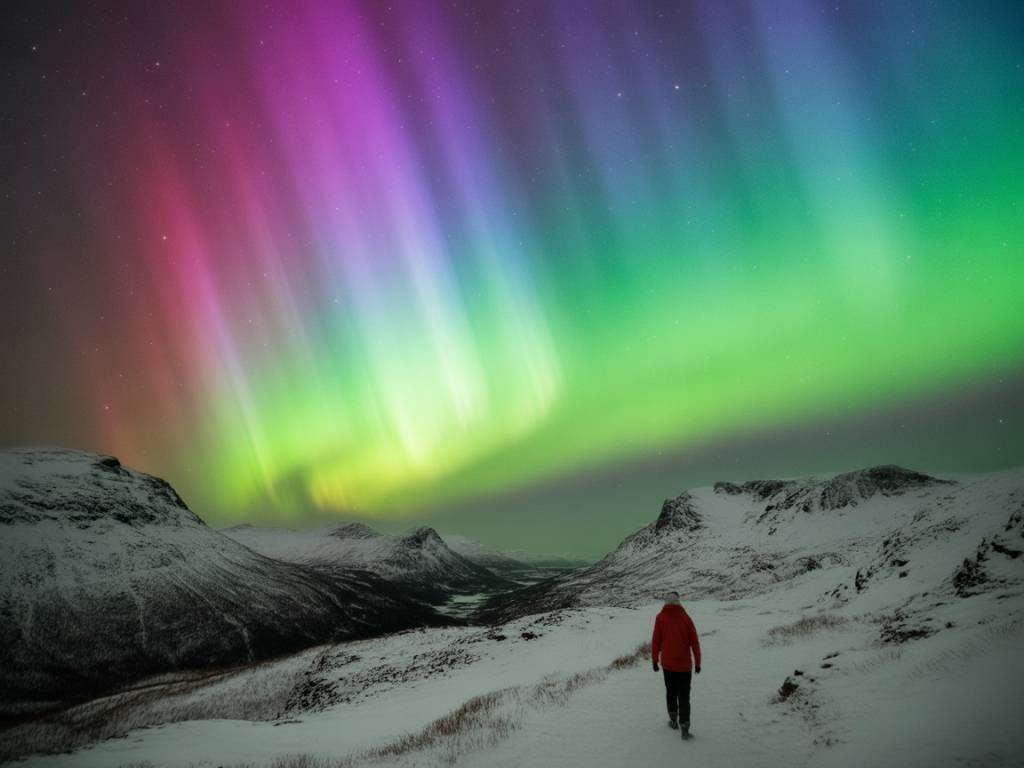
How to see more with your own eyes
You can’t turn your eyes into cameras, but you can improve what you see.
- Protect your night vision
Avoid looking at phone screens at full brightness. Use red-light mode if you have it. It takes 20–30 minutes for your eyes to adapt fully to the dark. - Step away from city lights
Even a small town will wash out weak auroras. If possible, drive or walk 10–20 minutes away to darker surroundings, with the northern horizon as open as possible. - Use “averted vision”
Try looking slightly next to the aurora instead of straight at it. Your rods (better at low light) are more sensitive off-center, and you might pick up more detail and movement. - Be patient
Aurora often fluctuates. A faint arc can suddenly brighten for 5–10 minutes, then fade. Many good shows I’ve seen happened in short bursts between long quiet periods. - Aim for moonless or low-moon nights
A small moon can be helpful to light the landscape, but a very bright moon will dilute weak auroras. If your dates are flexible, check both aurora forecasts and moon phases.
Camera settings that won’t lie to you (too much)
If you’re photographing the northern lights, you can choose to “tell the truth” or to create more dramatic images. Both are fine, as long as you know which you’re doing.
For a more realistic look, try:
- Exposure: around 2–6 seconds when the aurora is active, 8–10 seconds when it’s faint.
- Aperture: f/2–f/2.8 if your lens allows it.
- ISO: start around 1600–3200 and adjust.
Shorter exposures and lower ISO produce darker but more natural-looking images that are closer to what you actually see (especially if you avoid heavy editing afterwards).
If your goal is to document the “experience” for yourself, err on the realistic side. If your goal is pure art, feel free to push the settings – just remember that what you publish might raise unrealistic expectations for others.
Managing expectations on an aurora trip
Understanding the eye–camera gap is one of the best ways to reduce “aurora stress” during your trip.
- Don’t expect every night to match Instagram
Many stunning images online show either strong storms or very processed photos of modest auroras. Most nights in the auroral zone are somewhere in between: good, interesting, but not always epic. - Celebrate the “first contact” moments
Your first faint arc, your first moving curtain, your first overhead ray – each step is part of the experience, even if it’s not a postcard scene yet. - Use your camera as a tool, not a judge
The camera can tell you “Yes, that grey arc really is aurora” when your eyes aren’t sure. That alone is worth going out, especially on marginal nights. - Plan for multiple nights
I usually recommend 3–5 nights in a good aurora region. This gives you a mix of conditions: maybe one strong night, a couple of moderate ones, and some clouded-out evenings.
Once you accept that the camera is amplifying the show on weaker nights, every real-time movement in the sky becomes more meaningful instead of “disappointing compared to the photo”.
Why this difference actually makes aurora chasing more interesting
The gap between what the camera sees and what your eyes see isn’t a problem to be solved; it’s part of the game.
On quiet nights, your camera becomes a sort of “aurora detector,” picking up subtle arcs and glows that you’re just starting to learn to recognize. You start spotting patterns: how a faint arc at 20:00 can become a strong display at 22:30, how the sky changes with different KP values and cloud cover, how moonlight helps or hurts depending on conditions.
On stormy nights, you can safely put the camera down for a while and just watch. You’ll notice things no sensor can truly record: the way a curtain suddenly tears apart overhead, the feeling that the whole sky is alive and breathing. That’s when the aurora stops being a photography subject and becomes a real, physical event happening all around you.
So if your first impression is “It’s fainter than in the photos,” remember that the camera is just one version of the story. Train your eyes, manage your expectations, and use your equipment wisely. The more time you spend under the northern sky, the less you’ll worry about matching Instagram – and the more you’ll enjoy the show that’s actually in front of you.