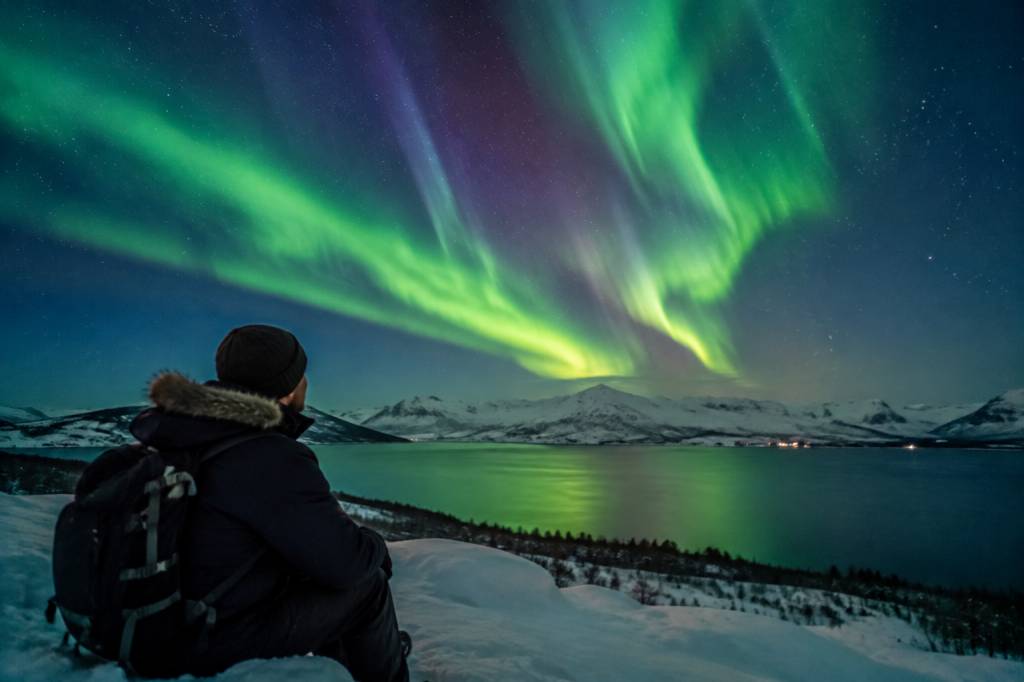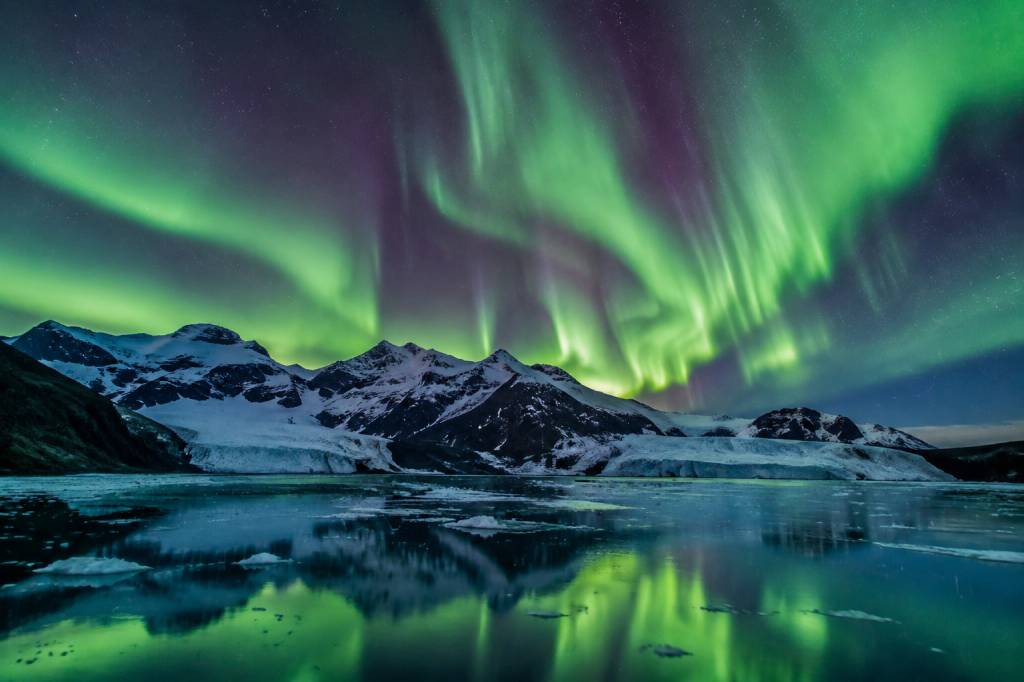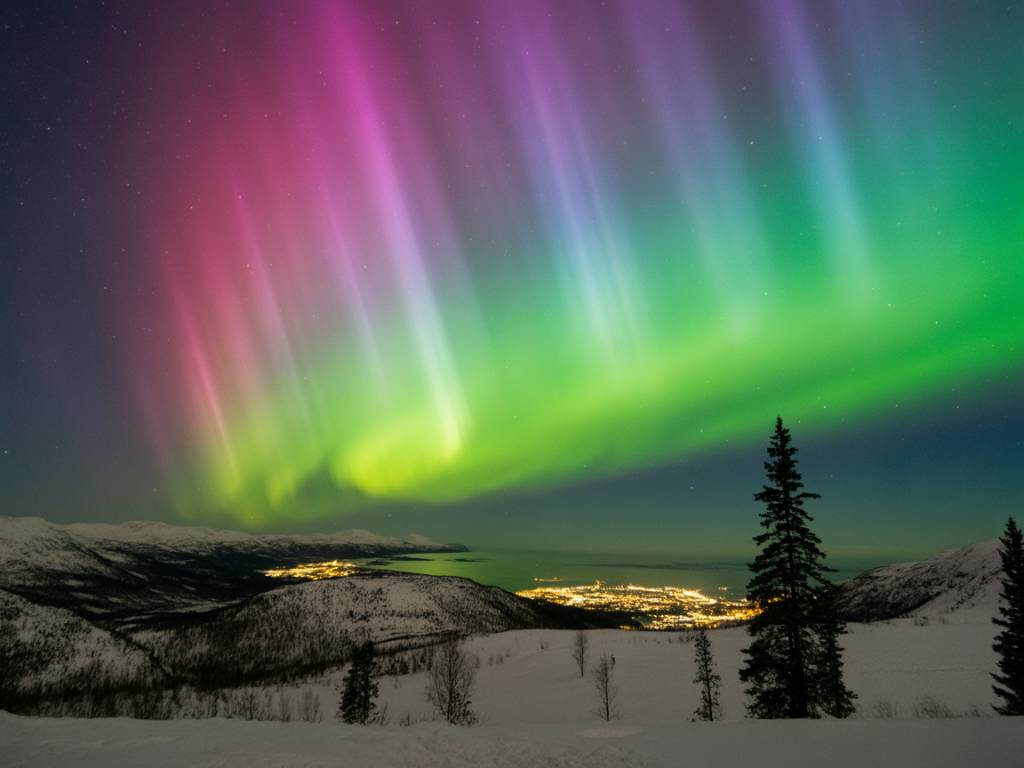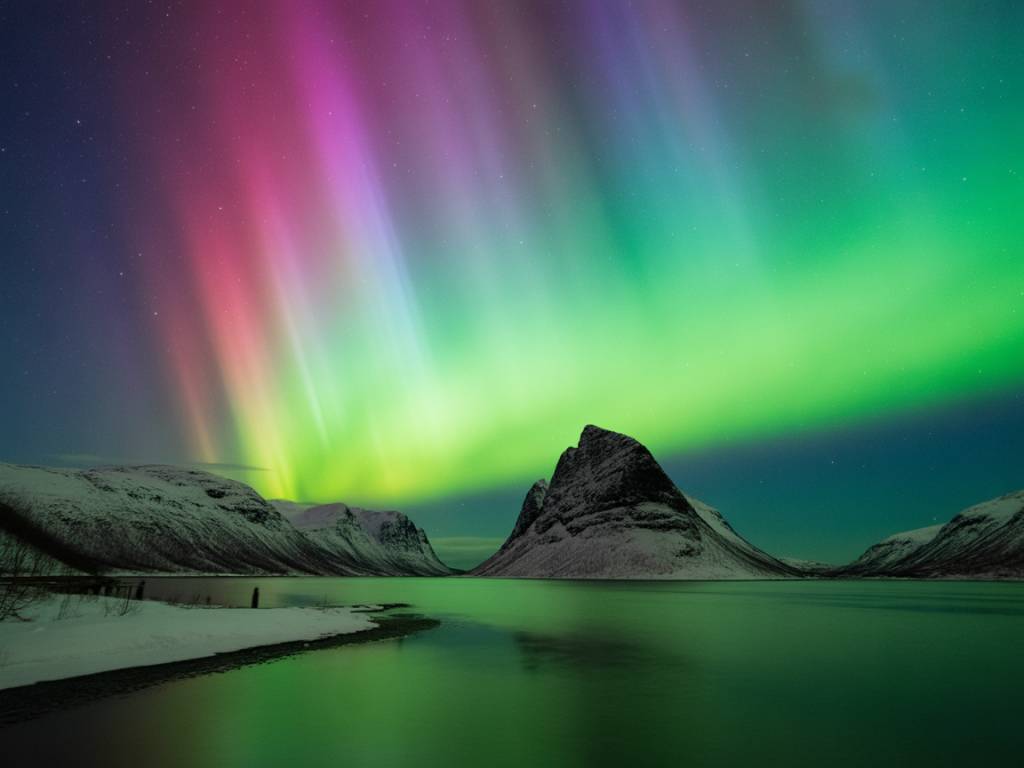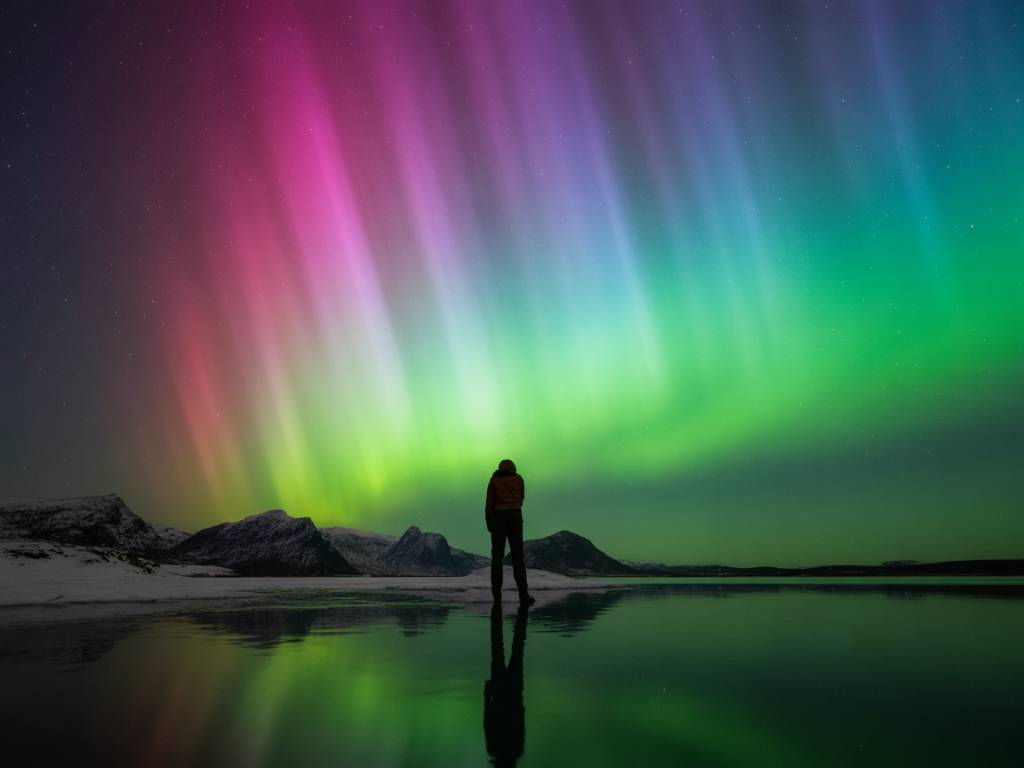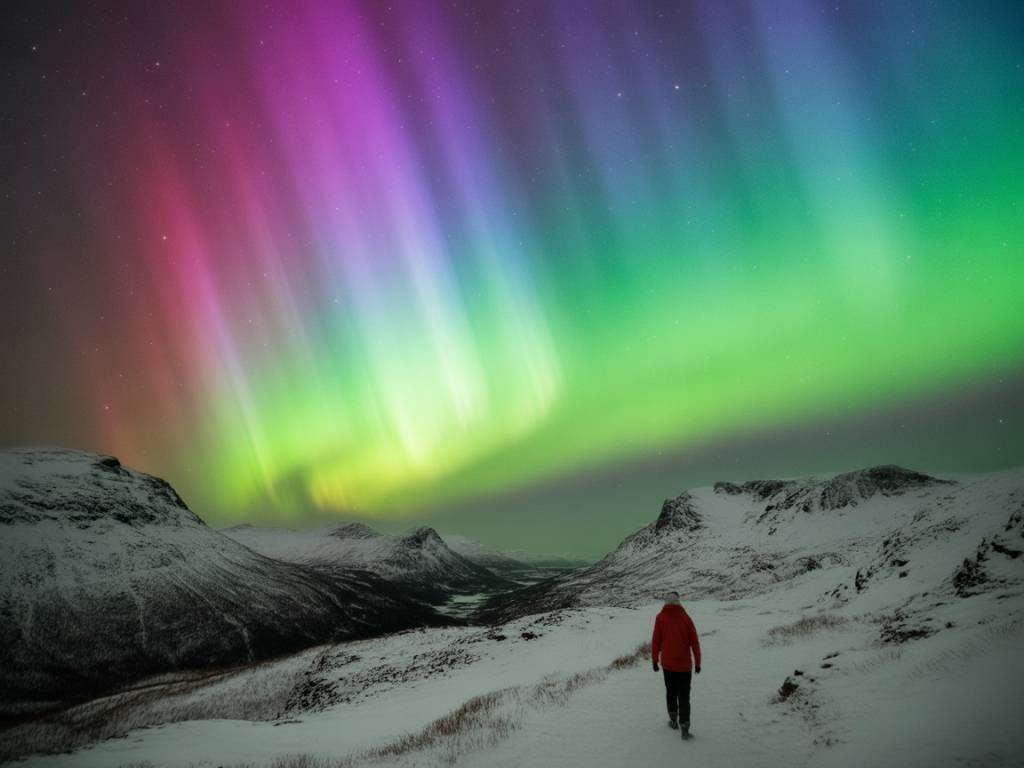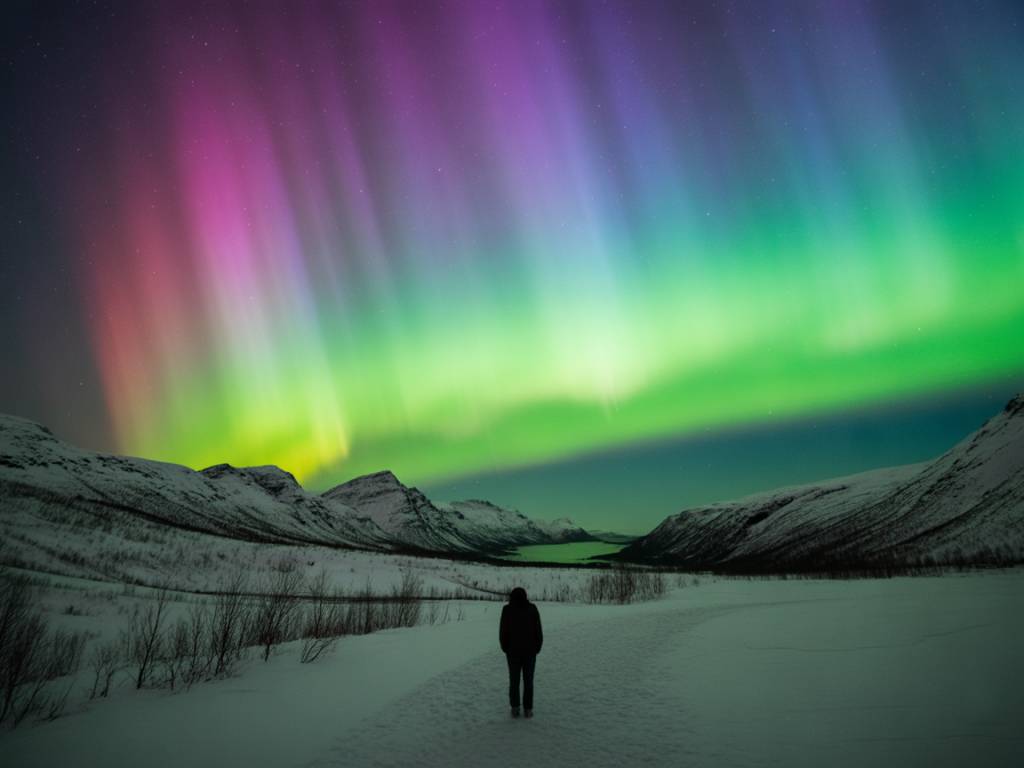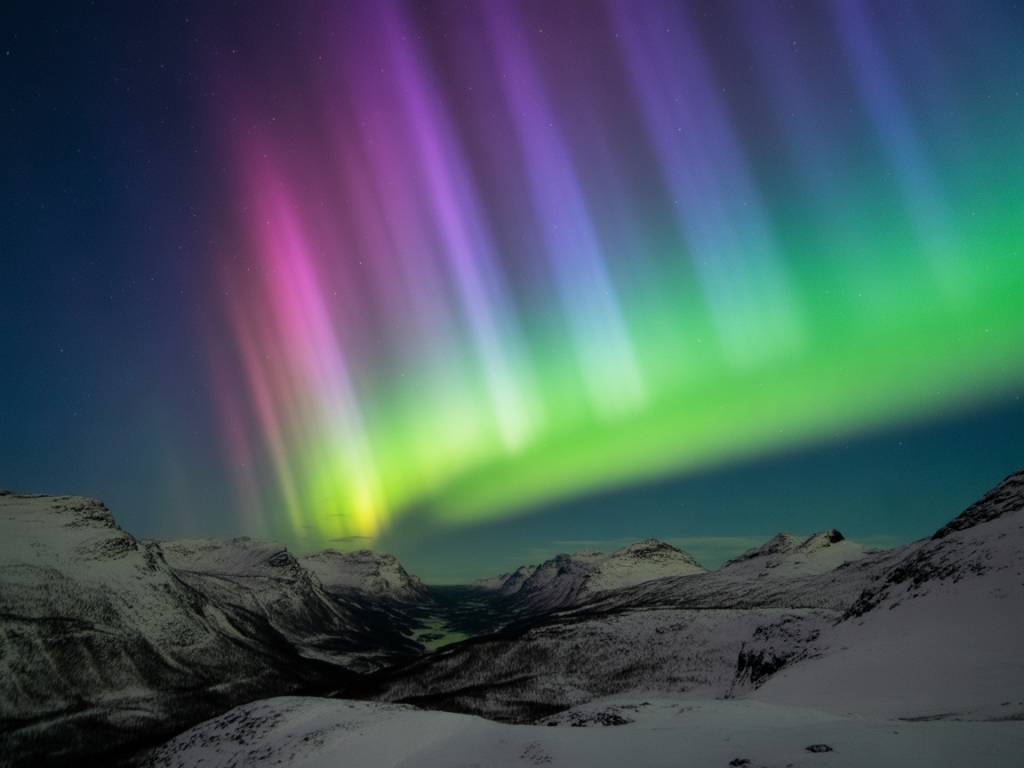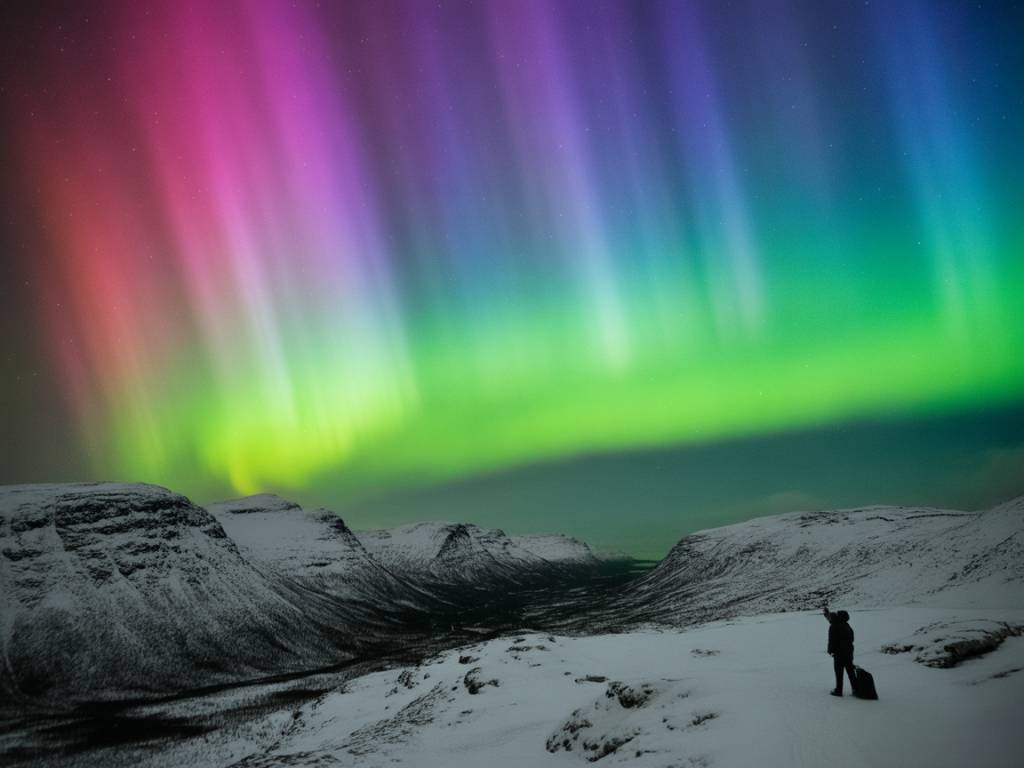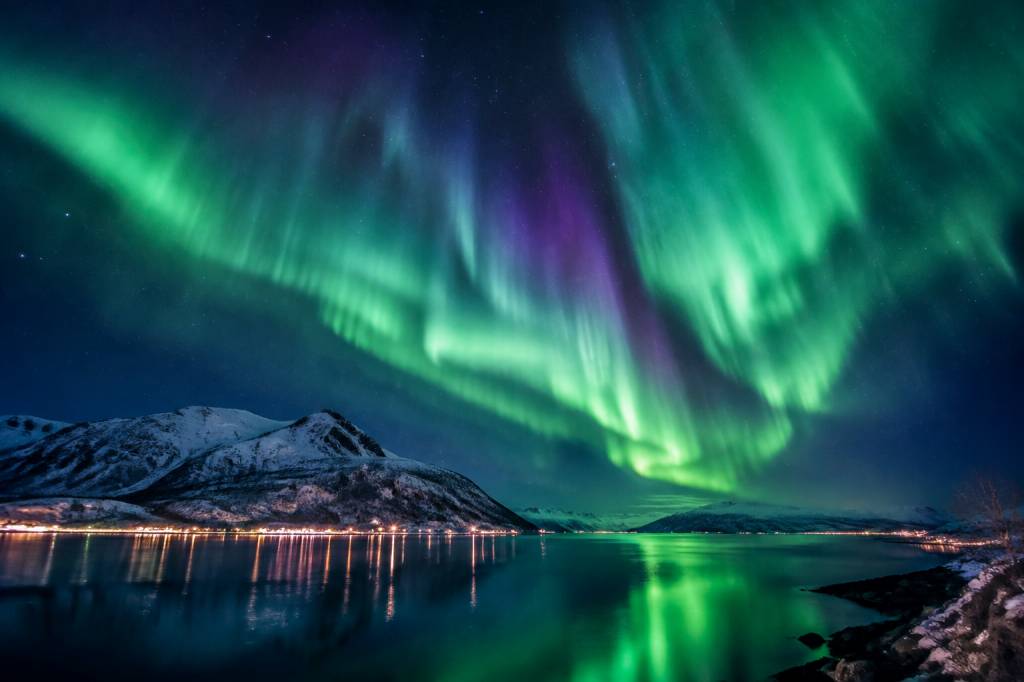

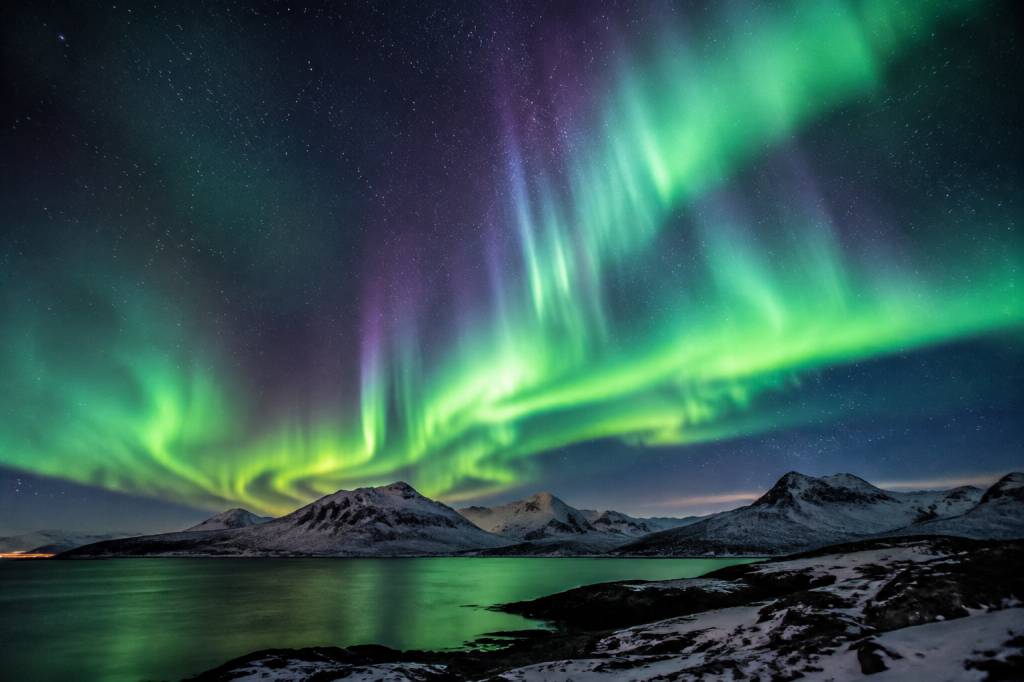
Few natural events create as much anticipation as the aurora borealis. One minute, you are standing in a dark, frozen landscape, checking a forecast on your phone. The next, a pale green arc appears above the horizon and slowly grows into a moving curtain of light. It can last for seconds, or it can fill the entire sky for an hour.
But the northern lights are not magic in the strict scientific sense. They are the visible result of activity on the Sun, the Earth’s magnetic field and gases in our upper atmosphere. Understanding that process helps you make better decisions in the field: where to go, when to wait, how much cloud cover is acceptable and why a high KP number does not always guarantee a good show.
What is the aurora borealis?
The aurora borealis is a natural light display visible mainly in the northern hemisphere. Its southern counterpart is called the aurora australis. Both are produced by the interaction between energetic particles from the Sun and Earth’s upper atmosphere.
The Sun constantly releases a stream of charged particles called the solar wind. During stronger solar events, such as solar flares or coronal mass ejections, the Sun sends significantly more particles and energy toward space. If this material reaches Earth, it interacts with our magnetosphere, the magnetic region surrounding the planet.
Earth’s magnetic field guides many of these charged particles toward the polar regions. There, they collide with atoms and molecules high above the surface. These collisions release energy as light. The glowing patterns may appear as arcs, rays, curtains, spirals or rapidly moving patches across the sky.
Most auroral activity takes place roughly 80 to 500 kilometres above Earth. That is far higher than commercial aircraft normally fly, which is why the lights seem to cover the entire sky from the observer’s perspective. The display is high overhead, but it can extend hundreds or even thousands of kilometres across the atmosphere.
Why is the aurora usually green?
Green is the colour most travellers expect, and for good reason. It is produced mainly when energetic particles excite oxygen atoms at an altitude of approximately 100 to 150 kilometres. As the oxygen atoms return to their normal energy state, they emit green light.
Other colours are possible:
- Red: usually produced by oxygen at higher altitudes, where the atmosphere is thinner. Red auroras are less common and often appear during stronger geomagnetic storms.
- Blue and violet: generally linked to nitrogen molecules and ions at lower altitudes.
- Pink: may appear where red and green emissions overlap, particularly along the lower edge of a bright auroral curtain.
- White or grey: a weak aurora can look colourless to the human eye, especially before the eyes have adjusted to the darkness.
This last point matters in practice. Cameras are more sensitive to colour than human eyes. A display that photographs as bright green may initially look like a pale grey cloud when you see it directly. Give your eyes 15 to 20 minutes away from bright phone screens, and the colour often becomes easier to detect.
What does the KP index actually tell you?
The KP index is a scale from 0 to 9 that describes global geomagnetic activity. A higher number generally means that the auroral oval expands farther south from the magnetic poles. This is useful, but it is not a simple “aurora strength” rating for your exact location.
At high-latitude destinations such as Tromsø, Kiruna, Rovaniemi, Reykjavik or Fairbanks, auroras can be visible with a KP of 1 or 2 if the sky is clear and local conditions are dark. During a KP 5 or KP 6 event, the oval may move farther south, allowing displays to be seen from parts of the United Kingdom, Germany, northern France or the northern United States.
A high KP value does not solve every problem. Strong geomagnetic storms can produce excellent auroras, but they may also arrive with more cloud, snow or unstable weather. Conversely, a modest KP forecast under a perfectly clear sky can deliver a memorable display.
When planning an observation, treat KP as one indicator among several. Check the following:
- Cloud cover and cloud type
- Solar wind speed and density
- Bz direction, especially whether it is southward
- Local darkness and moonlight
- The expected timing of the activity
- Your ability to reach a darker location quickly
The Bz component is particularly important for advanced forecasting. A sustained southward Bz helps the solar wind connect more efficiently with Earth’s magnetic field. However, Bz can change quickly, so a forecast several hours ahead should never be treated as a guarantee.
When is the best time to see the northern lights?
The aurora can occur at any time of year, but it is only visible when the sky is dark enough. In northern locations, the summer months bring long daylight and, above the Arctic Circle, the midnight sun. This makes aurora hunting impractical from roughly late May to late July, depending on your destination.
The main viewing season usually runs from late August or September through early April. The exact dates vary by latitude:
- Tromsø and northern Norway: late August to early April
- Abisko and Kiruna: September to early April
- Rovaniemi and Finnish Lapland: late August to early April
- Reykjavik and Iceland: late August to mid-April
- Fairbanks and interior Alaska: late August to mid-April
There is no universal “best month.” September and October can offer relatively mild roads and dark nights. December brings a strong winter atmosphere but also short daylight and frequent cloud or snowfall in some areas. February and March often provide a useful balance of longer daylight, colder but more stable conditions and plenty of darkness after dinner.
The most active periods are often around local magnetic midnight, but this is not a fixed clock time. A practical starting window is approximately 21:00 to 02:00 local time. Strong displays may appear earlier or later, so avoid packing up simply because nothing has happened at midnight.
Best places to see the aurora borealis
Tromsø, Norway
Tromsø is one of the easiest bases for first-time aurora travellers. It has frequent flights, a wide choice of accommodation and organised tours for visitors without a car. The city itself suffers from light pollution, so the best views are usually outside the central area.
Popular nearby areas include Ersfjordbotn, Kvaløya and the roads toward Sommarøy. These locations offer darker skies, but winter driving can be demanding. Roads may be narrow, icy and exposed to sudden weather changes. If you rent a car, check tyre conditions, road closures and parking rules before leaving Tromsø.
For a simple plan, start by checking the cloud forecast for Kvaløya and the mainland. If the western side is covered, the eastern side of the region may offer clearer conditions. This is where a local forecast and a flexible route are more valuable than chasing the highest KP number.
Abisko and Kiruna, Sweden
Abisko has a strong reputation because of its local climate. The surrounding mountains can create a rain shadow, often leaving the area clearer than nearby locations. This is not a guarantee, but it is a significant advantage when cloud covers much of northern Scandinavia.
The Aurora Sky Station above Abisko is a recognised viewing site, while the village itself also provides dark access points. Kiruna is a practical transport hub with accommodation and car rental options. From there, travellers can reach Abisko by train or road.
Abisko is particularly suitable for visitors who prefer a quieter setting and want to reduce the number of short-distance location changes. Dress for long periods outdoors. A clear night can still mean temperatures well below freezing, and waiting beside a road is not the same as walking around a heated hotel.
Rovaniemi and Finnish Lapland
Rovaniemi is accessible and well suited to families. It has a large tourism infrastructure, many northern lights excursions and easy connections from Helsinki. However, the town centre is too bright for the best views. Tour operators usually travel to darker areas outside the city.
For independent travellers, locations around Ounasvaara, Norvajärvi or the rural roads north of Rovaniemi may work when conditions are clear. Do not stop randomly on a main road. Use official parking areas or safe pull-offs, wear reflective clothing and keep away from traffic.
Further north, towns such as Sodankylä, Saariselkä and Inari offer darker skies and often less urban light pollution. Saariselkä is a useful base for travellers who want comfortable accommodation close to open landscapes, while Inari provides excellent access to large, dark areas around Lake Inari.
Reykjavik and northern Iceland
Reykjavik is a convenient entry point, but the city’s lights can reduce visibility. On a clear night with moderate activity, you may see the aurora from darker coastal areas such as Grótta, although wind and cloud can change quickly.
Travelling outside the capital improves your chances. The south coast, the Snæfellsnes Peninsula and northern Iceland all provide darker locations. Iceland’s main challenge is not usually finding an impressive landscape; it is finding a clear and safe location in a country where wind, ice and road conditions can deteriorate rapidly.
Always check the Icelandic Road and Coastal Administration before driving. A spectacular forecast is not a reason to attempt a closed or unsafe road.
Fairbanks and interior Alaska
Fairbanks sits beneath the auroral oval and is one of the strongest destinations for frequent activity. The interior climate can also provide clearer winter nights than coastal areas, although temperatures may be severe.
Good viewing areas include locations outside the city with an unobstructed northern horizon. Many lodges and tours offer heated cabins or shelters, which can make a major difference during long waits. In Fairbanks, the aurora season is commonly considered to run from late August through mid-April.
Winter visitors should prepare for road conditions, limited mobile coverage and very low temperatures. Keep the fuel tank topped up, carry emergency supplies and never leave a vehicle without checking how far you are from help.
How to choose a viewing location
You do not always need a famous viewpoint. A good aurora location has four basic qualities:
- A mostly clear view toward the northern horizon
- Low artificial light
- Safe access and legal parking
- A practical way to leave if weather or road conditions worsen
Open lakeshores, beaches, plateaus and fields are often better than dense forests or narrow valleys. Trees can create attractive foregrounds for photographs, but they may hide low auroral arcs. If the activity is weak, a wide horizon is more useful than a scenic landmark.
Check the moon phase as well. A bright moon reduces contrast in the sky, but it can illuminate snow-covered landscapes and create beautiful foreground detail. A new moon gives darker skies and stronger contrast, particularly for faint auroras.
Cloud cover: the forecast detail that matters most
Cloud is the main reason aurora trips fail. The solar forecast may be excellent, but the lights are above the clouds, not below them. Always compare several forecast models and look at the cloud layers rather than relying only on one percentage.
High, thin cloud may still allow a bright display to show through. Thick low cloud usually blocks it completely. Satellite imagery is valuable because cloud forecasts can be inaccurate in mountainous or coastal areas. Check the latest satellite loop shortly before leaving your accommodation.
Plan a short route with one or two alternatives. A 30-minute drive to a clear area is often more effective than a three-hour journey based on a vague forecast. The goal is not to cover the entire Arctic. The goal is to stand under a clear, dark patch of sky at the right time.
Practical equipment for a comfortable night
Warm clothing is more important than expensive camera equipment. Use several layers, insulated boots, a hat that covers the ears and gloves that allow you to operate a phone or camera. Hand warmers can extend battery life, but they should not be placed directly against delicate electronics where condensation may form.
- Headlamp with a red-light mode
- Fully charged phone and a power bank
- Thermos with a hot drink
- Reflective vest or reflective strips near roads
- Tripod for photography
- Wide-angle lens with a low f-number, if using a camera
- Spare batteries kept warm inside an inner pocket
For photographs, begin with a wide aperture, a shutter speed of 2 to 10 seconds and a high ISO. Adjust according to the brightness and movement of the aurora. A fast-moving display requires a shorter exposure, while a faint arc may need more time. Do not spend the entire night looking only at a screen. Take a few images, then look up.
How to manage expectations
An aurora forecast is a probability, not a reservation. Even during a strong storm, the display may remain hidden behind cloud, occur before you arrive or appear as a faint arc rather than a dramatic green curtain.
Give yourself several nights if possible. A three- or four-night stay is much more reliable than a single evening, because it creates room for poor weather and changing solar conditions. Build daytime activities into the trip so that an inactive night does not feel wasted.
When the forecast looks promising, leave enough time to reach your chosen location, set up safely and let your eyes adjust. The best viewing point is rarely the one with the most impressive name. It is the place where the sky is clear, the horizon is open and you can wait without unnecessary stress.
That is the practical science of the aurora borealis: monitor the Sun, respect the weather, choose darkness and remain flexible. The lights decide when the show begins, but good preparation determines whether you are in the right place to see it.