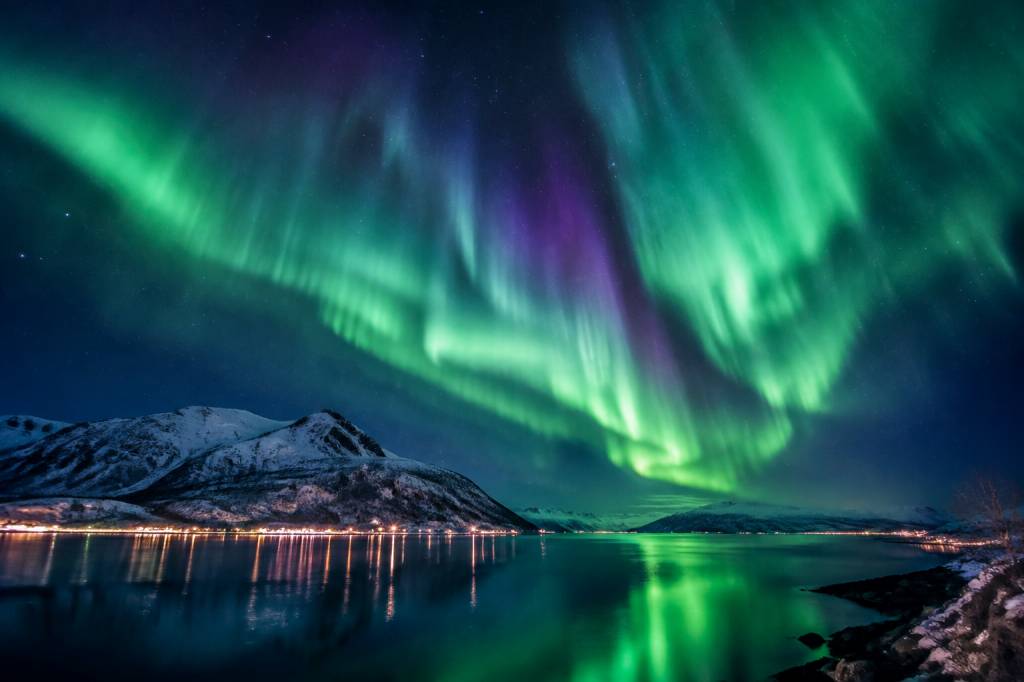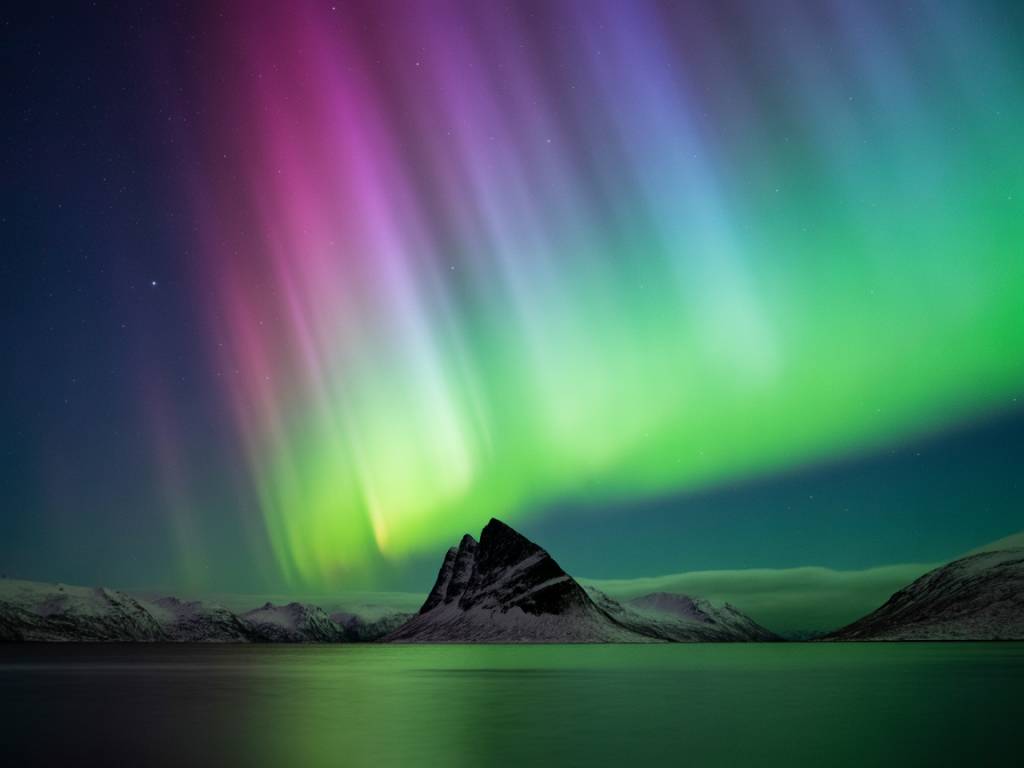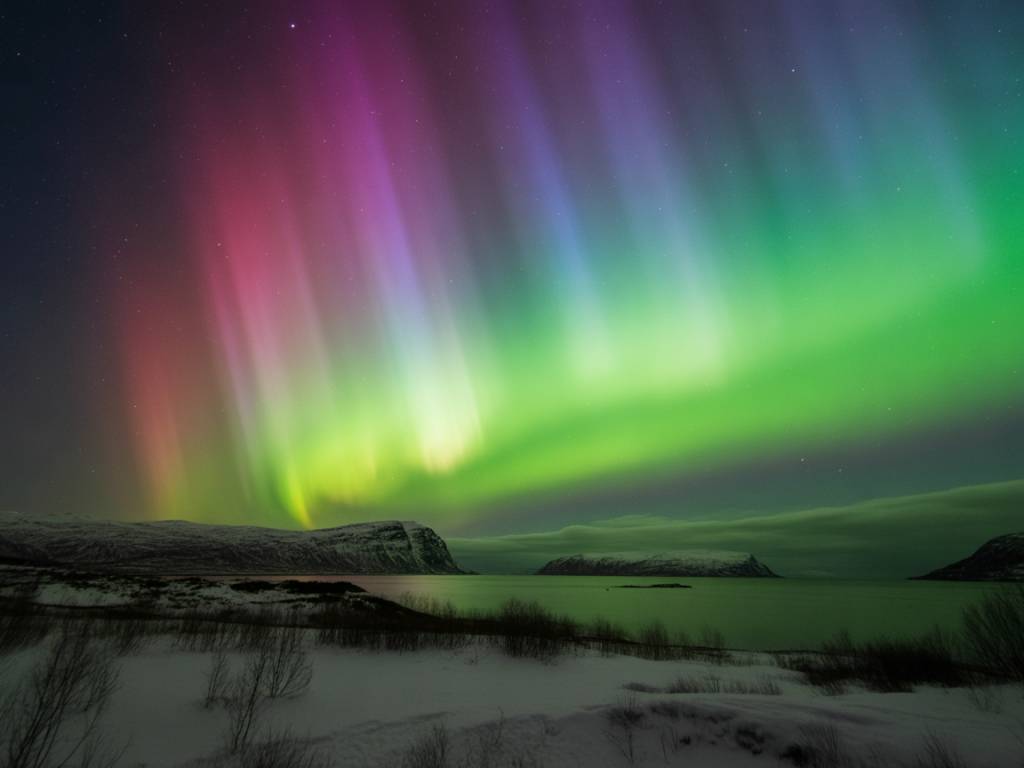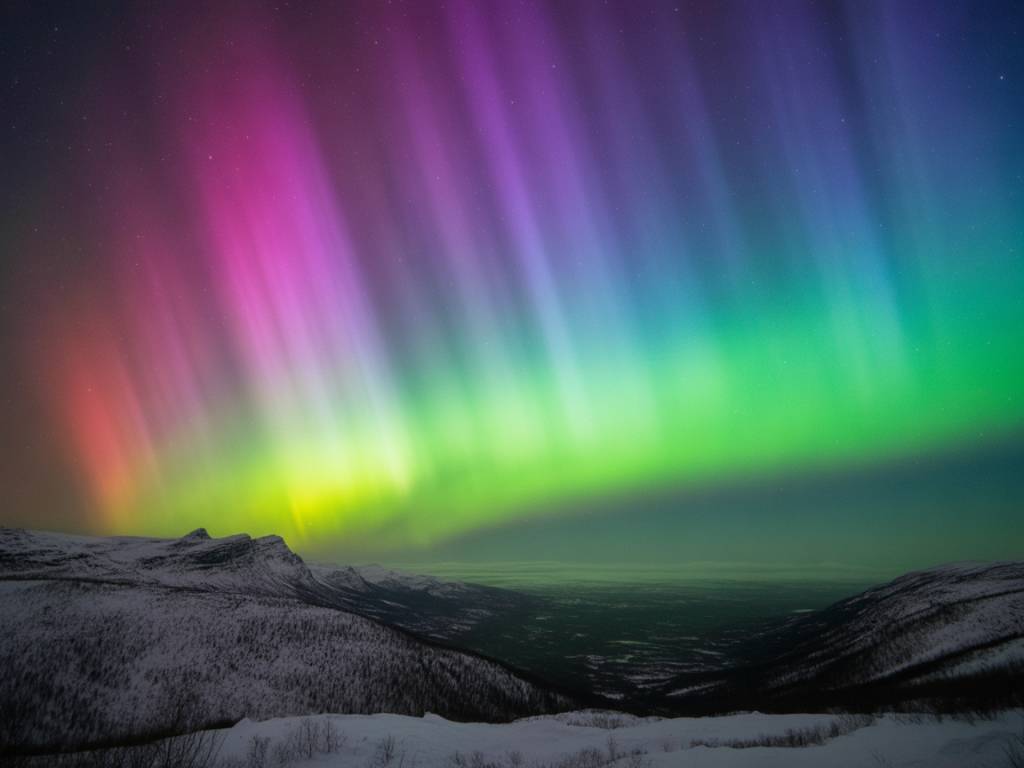

Seeing the Northern Lights tonight is rarely a question of luck alone. The strongest aurora forecast can still fail under thick cloud, while a modest geomagnetic alert may produce a memorable display from a dark shoreline. The practical approach is to combine three things: solar activity, local weather and a clear plan for the hours around darkness.
This guide explains how to read the live aurora forecast, when to go outside, where to look and what to do if the first location is cloudy. Forecasts are useful, but they are not promises. The sky decides the final result.
What the live aurora forecast is really telling you
Most aurora forecasts combine several measurements. The most familiar is the KP index, a global indicator of geomagnetic disturbance. It ranges from 0 to 9. A higher KP value generally means that the auroral oval expands farther south, making the lights visible from locations that do not usually see them.
However, KP is not a direct brightness scale. A KP 5 display may be excellent in one location and disappointing in another if the cloud cover is heavy or the Moon is bright. Conversely, a lower KP level can still produce green arcs directly overhead for travellers already beneath the auroral oval.
Pay attention to these elements in the live forecast:
- Solar wind speed: faster solar wind can support stronger geomagnetic activity, especially when combined with a favourable magnetic field.
- Bz direction: a sustained southward Bz value often allows more energy from the solar wind to enter Earth’s magnetic field. This can make the difference between a quiet night and an active one.
- Cloud cover: this is often more important than the KP index. A spectacular forecast is invisible through a solid layer of low cloud.
- Darkness: auroras can occur during daylight, but you need a dark sky to see them. Check local sunset, the end of civil twilight and moonrise.
- Visibility and precipitation: snow, rain, fog and blowing ice can reduce contrast and make driving difficult even when the sky above is clear.
One useful rule is simple: activity tells you whether the lights may appear; weather tells you whether you can see them.
Best viewing times tonight
The aurora can appear at any time during the night, but activity often becomes more noticeable between approximately 9 p.m. and 2 a.m. local time. This is a useful planning window, not a fixed appointment. Displays can begin earlier in the evening or continue after midnight.
For a practical evening plan, check the forecast in three stages:
- Before sunset: identify the clearest area, check road conditions and choose a primary viewing point.
- Two to three hours after sunset: look for early activity and confirm that the cloud forecast is accurate.
- Around local midnight: remain flexible. Many travellers leave too early, just before the sky becomes more active.
If you are staying in northern Scandinavia, Iceland, Alaska or northern Canada during the darker season, you may have a long viewing window. In December and January, darkness can last for much of the day. In late spring and summer, however, the aurora may be active but impossible to see because of bright twilight.
Do not rely only on an app notification. An alert may arrive after the display has already started, or it may be triggered by activity that never develops into a visible show at your location. Set aside at least two or three hours if the cloud forecast is promising. Aurora hunting involves waiting, but waiting in the right place is much better than driving randomly between viewpoints.
How cloud cover changes the plan
Cloud cover is the main reason aurora trips fail. Forecast maps often show percentages, but those numbers need interpretation. A forecast of 40 percent cloud may mean broken patches with excellent viewing gaps, or a thick cloud bank covering the exact horizon where the aurora is strongest.
Look at the cloud layers rather than one general percentage:
- Low cloud: the most damaging layer for aurora viewing. It can cover the entire horizon and create a flat, grey sky.
- Middle cloud: may block weaker displays but can sometimes allow bright auroral structures to show through.
- High cloud: thin cirrus may be barely noticeable during a strong display, although it can soften detail and reduce contrast.
Use a satellite image shortly before leaving. Weather models can be wrong by several kilometres, particularly near coastlines, fjords and mountain valleys. If the city centre is cloudy, a short drive may improve the view. If the entire region is covered, driving farther may only add risk without improving your chances.
In northern Norway, for example, coastal cloud can remain trapped around Tromsø while clearer conditions develop inland toward the surrounding valleys. In Iceland, the opposite can happen: a clear patch near the coast may disappear as weather moves quickly across the island. Always keep a nearby backup point and check the road before committing to a longer route.
Where to watch from a city
You do not always need to leave town. A city location can work when the aurora is bright, especially if you can reach an open waterfront, elevated park or northern-facing viewpoint.
Inside a city, move away from direct lights. Street lamps reduce your ability to see faint green arcs, and bright buildings can make your eyes take longer to adapt. Give your eyes at least 15 to 20 minutes in darkness before judging the sky.
Useful urban options often include:
- waterfront paths with an unobstructed view toward the northern horizon;
- large parks outside the brightest commercial streets;
- open hills or lookouts that are accessible and safe after dark;
- hotel balconies or quiet residential areas, provided local access rules allow it.
In Tromsø, the waterfront may be convenient, but stronger displays are easier to appreciate outside the brightest central streets. In Reykjavík, city lights can interfere with weak activity, so areas such as Öskjuhlíð or the coastline may offer a better compromise. In Rovaniemi, move away from the main hotel clusters and look for an open area with a clear northern view.
Never block roads, park on private land or walk onto frozen lakes simply because a map shows an attractive viewpoint. A dark location is not automatically a safe location.
When it is worth driving outside the city
A short drive makes sense when the city forecast is cloudy and a clear area is visible nearby. It is also worthwhile when the aurora forecast is weak and you need darker skies to see a faint display.
Before leaving, check:
- the latest cloud and satellite images;
- road conditions, wind and visibility;
- fuel levels and mobile phone coverage;
- parking availability and access restrictions;
- the return route, including any mountain pass or exposed coastal road.
Allow more time than the map suggests. Snow, reindeer, poor visibility and unfamiliar junctions can turn a 30-minute drive into a much longer journey. Avoid stopping on the shoulder of a main road. Use designated parking areas, wear reflective clothing and keep a headlamp available.
A good aurora location needs three basic qualities: a dark view, an open horizon and safe access. A famous viewpoint is not necessarily the best choice on a windy night with icy steps.
What to take outside tonight
Cold affects both people and equipment faster than most first-time observers expect. Standing still beside a car for two hours feels very different from walking through town.
- warm base layers rather than one heavy cotton layer;
- insulated boots with good grip;
- thick gloves, ideally with thin touchscreen liners;
- a hat and neck warmer;
- a headlamp with a red-light mode;
- spare batteries or a power bank kept inside a warm pocket;
- a thermos with a hot drink and a small snack;
- a tripod and camera suitable for long exposures.
Keep spare batteries close to your body. Cold batteries lose power quickly, and a camera that showed half a charge in the car may shut down after a few minutes outside. Do not spend the entire night looking at the screen. Check the camera briefly, then look up. The sky is the reason for the trip.
Camera settings for a first attempt
You do not need a professional camera to record the aurora. A recent smartphone can capture bright activity if it has a night mode, but keep it stable against a tripod or solid surface.
For a mirrorless or DSLR camera, begin with these settings:
- manual focus set close to infinity, checked against a distant light;
- wide aperture, often between f/1.4 and f/2.8;
- ISO between 800 and 3200, adjusted for brightness;
- shutter speed between 2 and 10 seconds for a starting point;
- timer or remote shutter to avoid movement.
If the aurora is moving quickly, shorten the exposure. A five-second exposure can turn sharp rays into a blurred green patch. If the display is faint and slow, a longer exposure may collect more light. Take a test image, check the histogram and adjust gradually.
How to recognise a real aurora
Weak aurora often looks grey or colourless to the naked eye, particularly from a light-polluted location. A phone camera may show green before your eyes do. This is normal; camera sensors collect light more effectively during a long exposure.
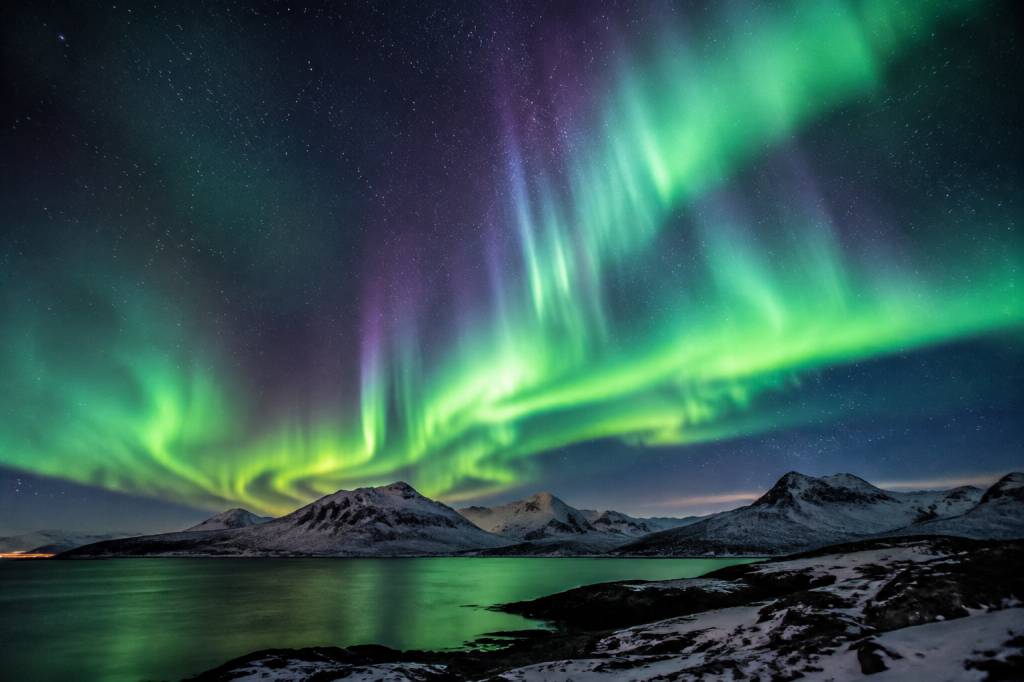
Look for a pale arc, vertical rays or a soft band that changes position over several minutes. Clouds usually move as a broad, textured layer and may reflect nearby city light. The aurora tends to form structured shapes that shift, brighten and fade independently of the cloud movement.
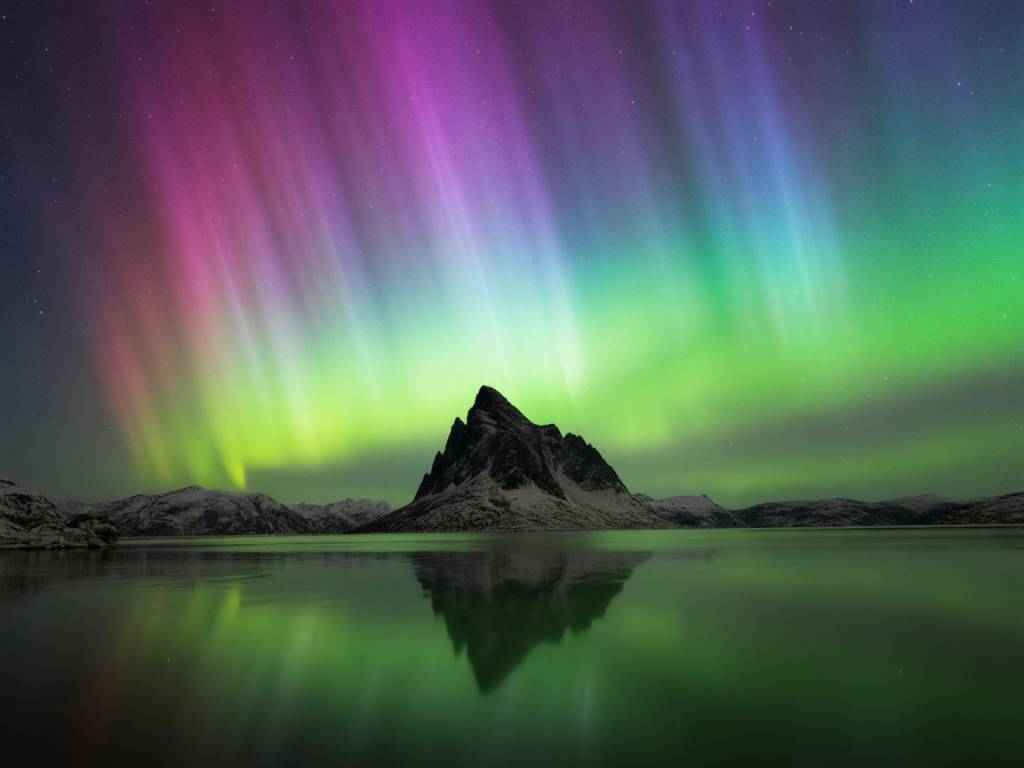
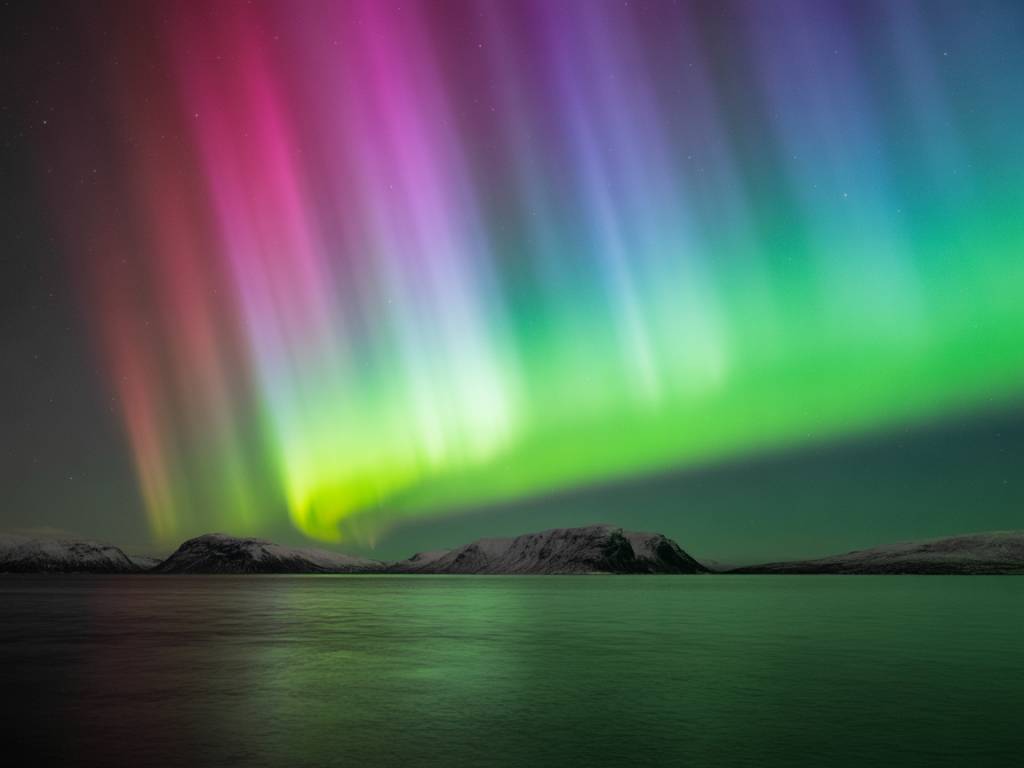
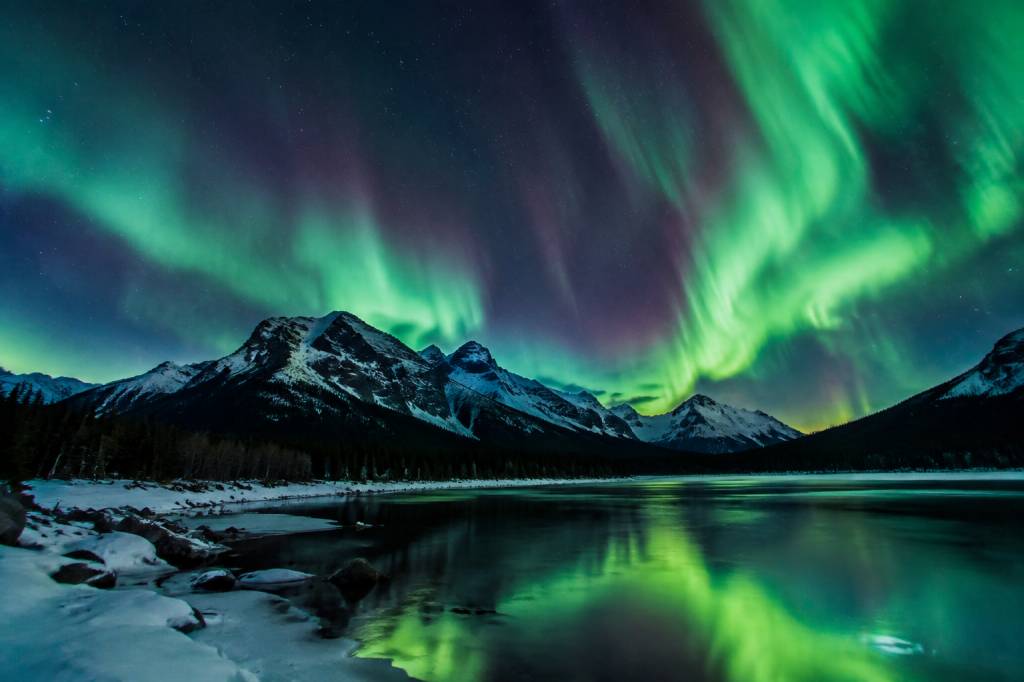
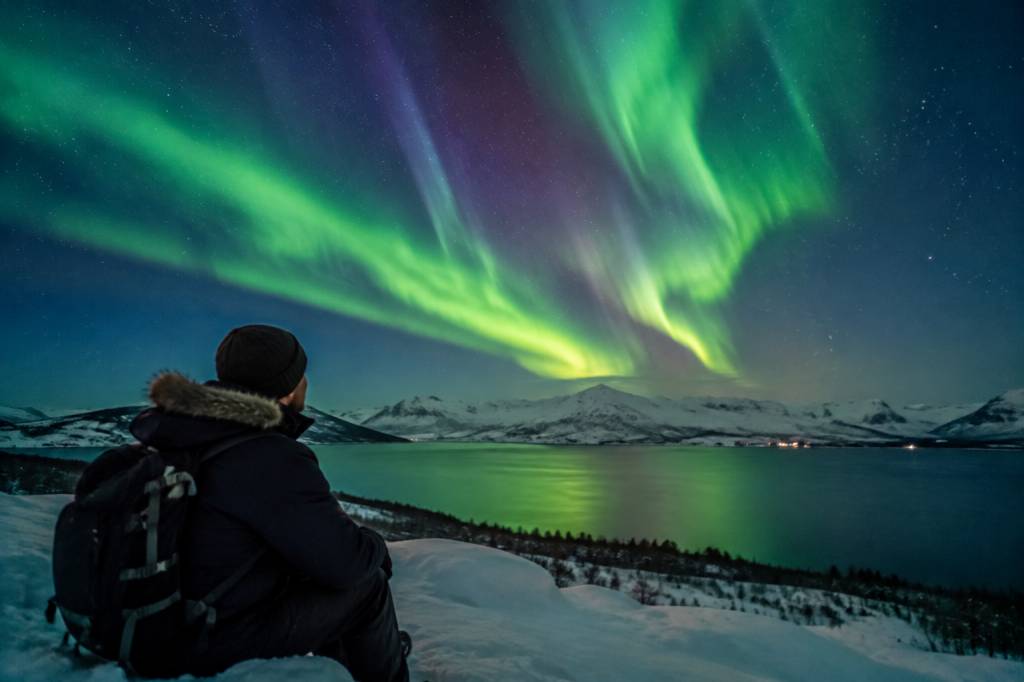
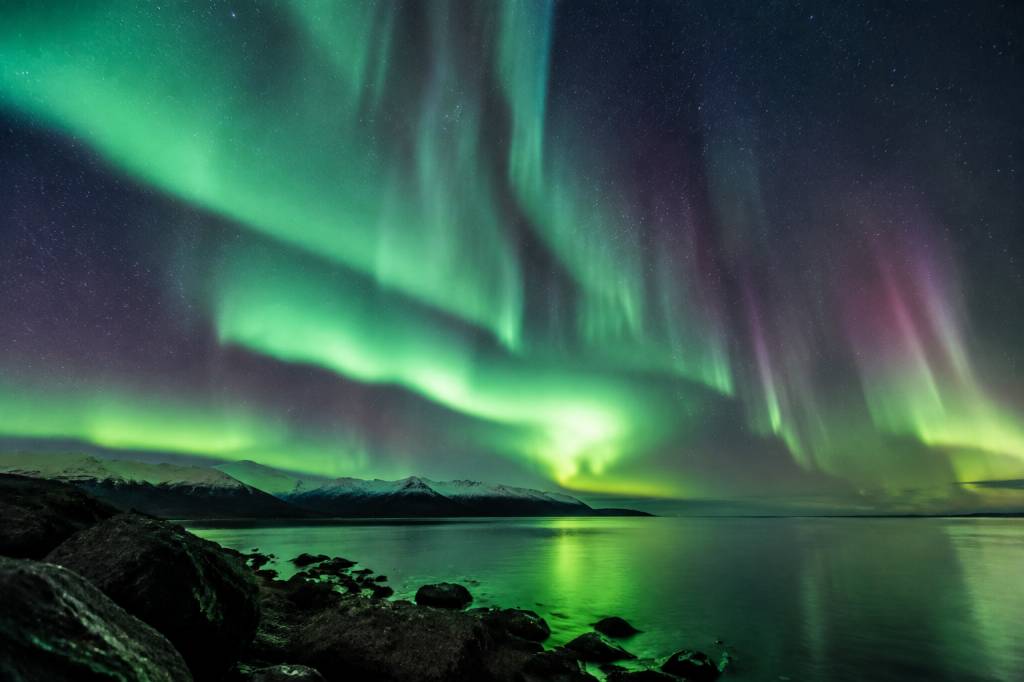
During stronger activity, the display may become clearly green, with yellow, pink or violet edges. These colours depend on altitude, particle energy and viewing conditions. Do not worry if the first ten minutes look quiet. Aurora activity often arrives in pulses.
A simple decision plan for tonight
Use this sequence to reduce unnecessary driving and forecast-related stress:
- Step one: check darkness times and choose the main viewing window.
- Step two: compare the live activity forecast with the local cloud map.
- Step three: select one primary location and one nearby backup.
- Step four: recheck the sky and satellite image just before departure.
- Step five: stay at least 20 to 30 minutes at the first location unless conditions are clearly worsening.
- Step six: move only when the backup area offers a genuine improvement in cloud or darkness.
If the forecast shows high activity but complete cloud cover across the region, wait for a change rather than chasing every update. If activity is moderate and the sky is clear, go outside. Clear skies under the auroral oval are often more valuable than an impressive number on a forecast graphic.
Manage expectations without missing the show
Aurora forecasts describe probabilities, not guarantees. Solar wind conditions can change quickly, and short-term predictions may be more useful than a three-day outlook. The best approach is to prepare well, remain flexible and accept that a quiet night is part of the process.
Check the sky more than once. Step outside before going to bed, look again around midnight and keep an eye on the northern horizon if the forecast remains favourable. Many travellers see their first aurora during a brief gap between clouds, not during a perfectly clear all-night sky.
Use the forecast as a decision tool, not as an appointment. Tonight’s best viewing time is the overlap between darkness, clear sky and geomagnetic activity. Find that overlap, choose a safe place with an open horizon, and give the northern sky enough time to show what it can do.