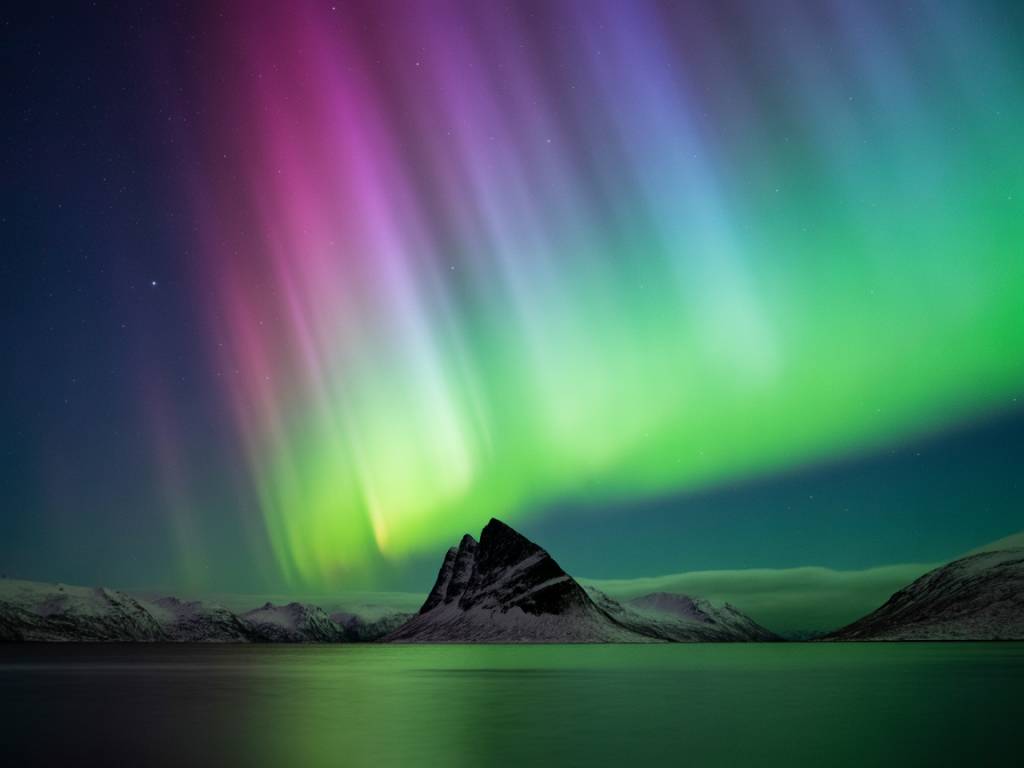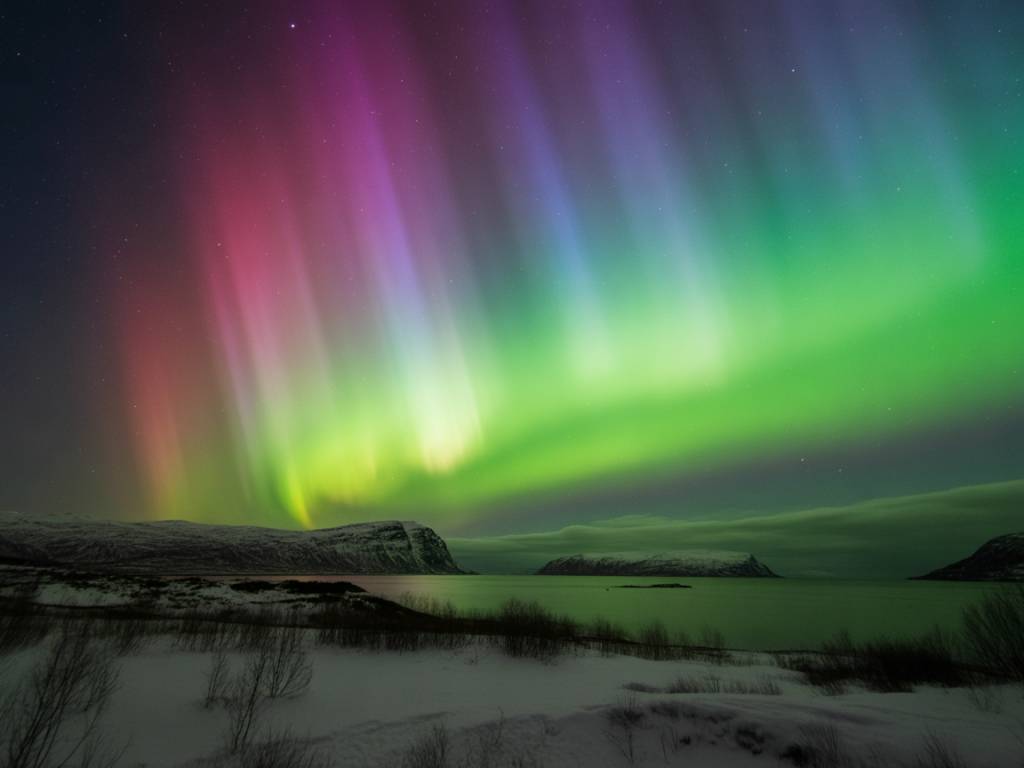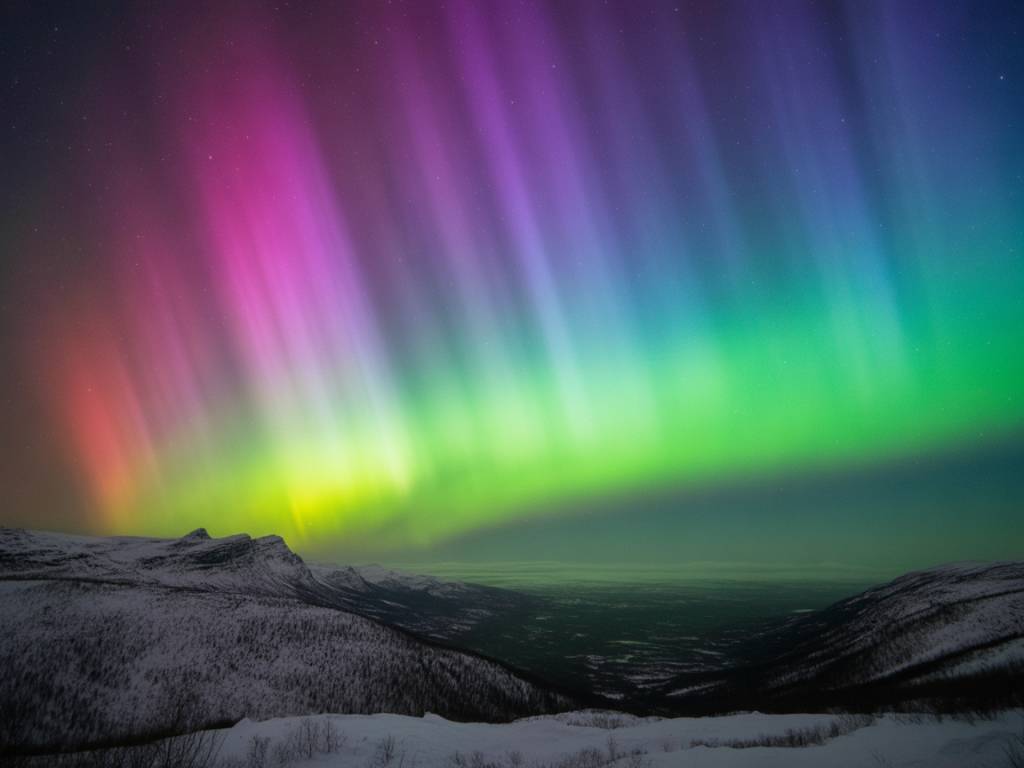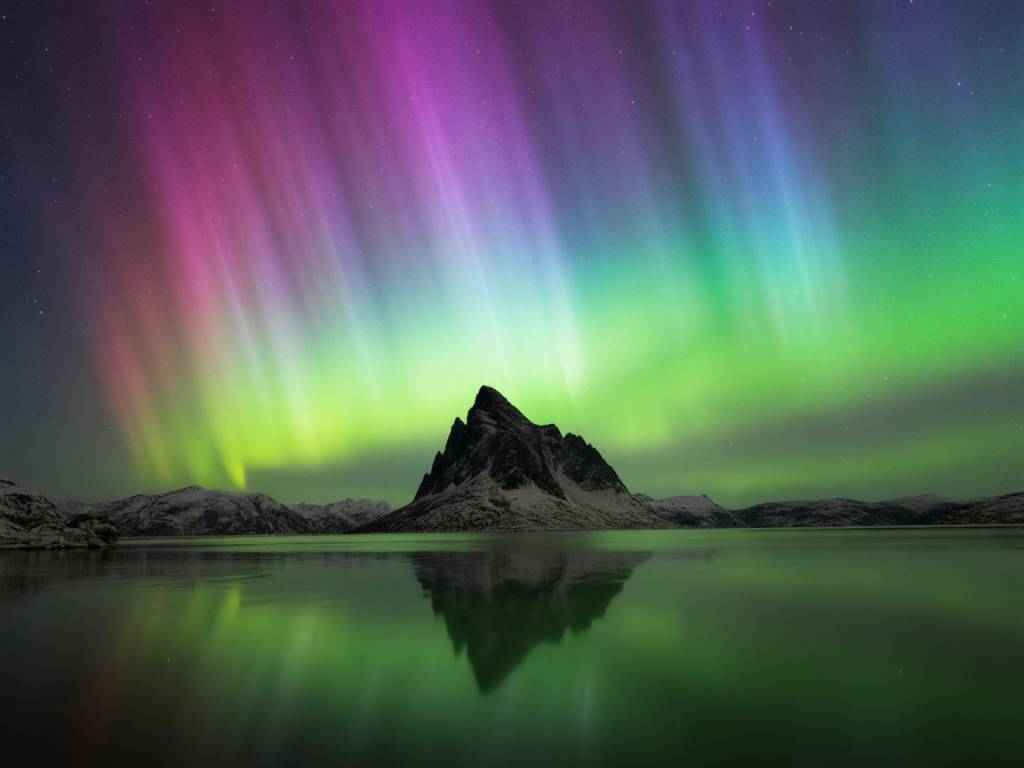

Seeing the aurora borealis is often described as a matter of luck. That is only partly true. The lights are never guaranteed, but a good northern lights forecast can significantly improve your timing, location and expectations. The key is to combine three types of information: solar activity, local cloud cover and darkness.
This matters even more when you are watching from a city. Urban locations offer heated accommodation, roads and flexible observation plans, but they also bring light pollution and restricted horizons. With the right approach, however, cities such as Tromsø, Reykjavik, Kiruna and Rovaniemi can still deliver memorable aurora displays.
This guide explains how to read an aurora alert, what the Kp index really tells you, when to go outside and how to organise an efficient city-based aurora hunt.
What creates the northern lights?
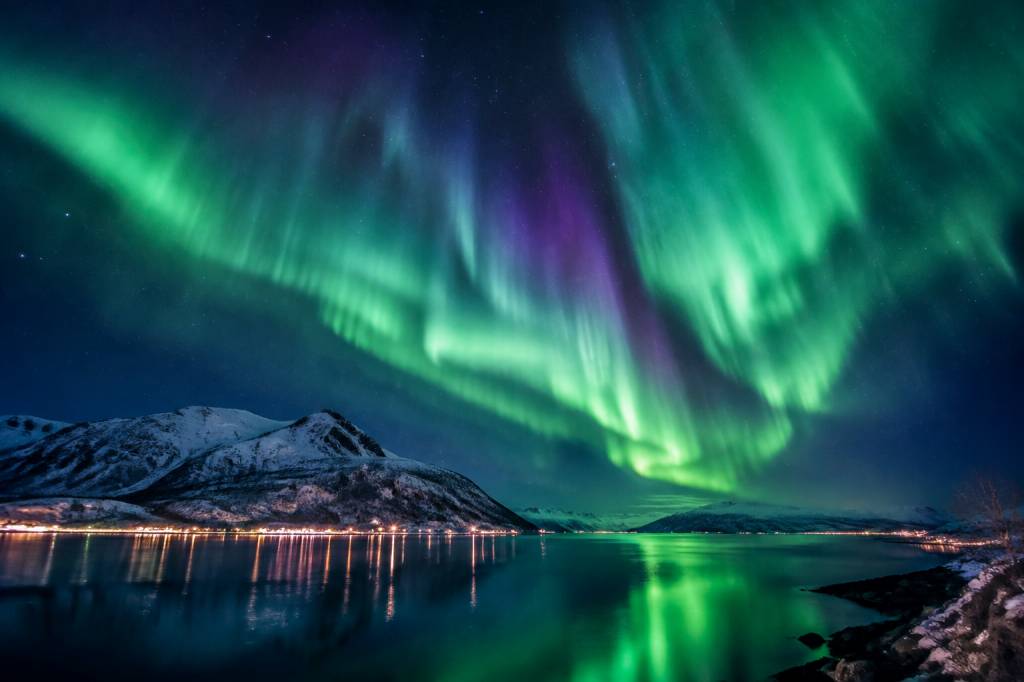
The aurora begins with activity on the Sun. Solar flares and coronal mass ejections can send streams of charged particles towards Earth. When these particles interact with Earth’s magnetic field, they are guided towards the polar regions. Collisions with gases in the upper atmosphere then produce the moving curtains of light known as the aurora borealis.
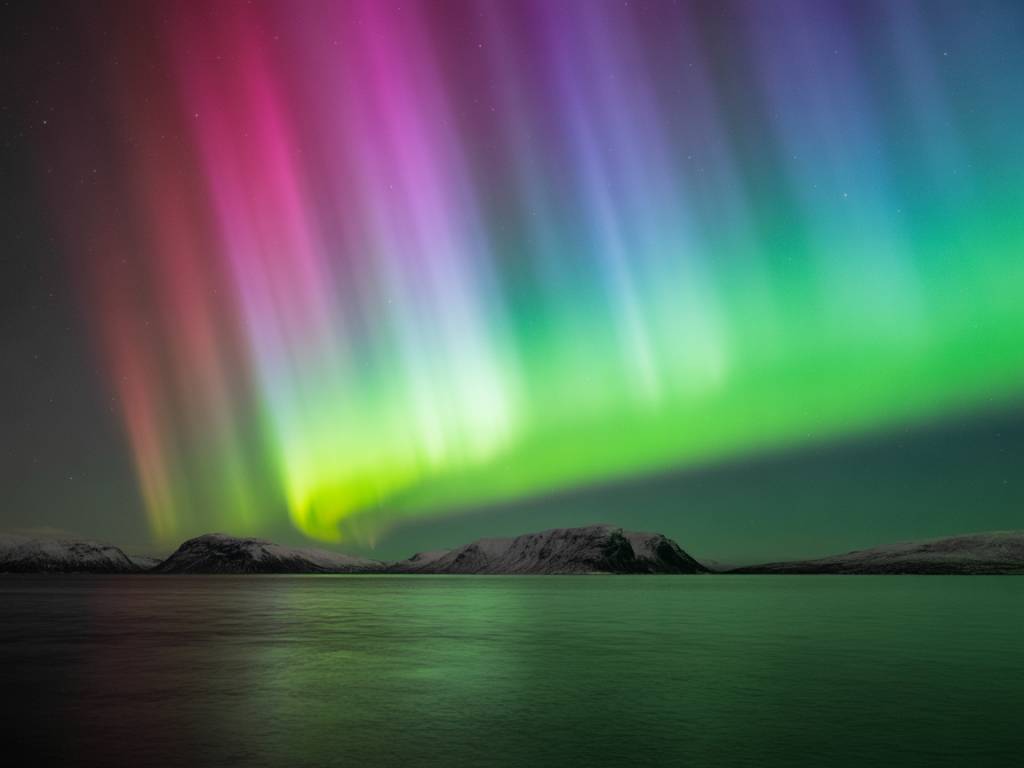
Oxygen and nitrogen emit different colours. Green is the most common shade, usually appearing at an altitude of roughly 100 to 150 kilometres. Red, violet and blue tones are less frequent and often require stronger geomagnetic activity or a camera exposure to become obvious.
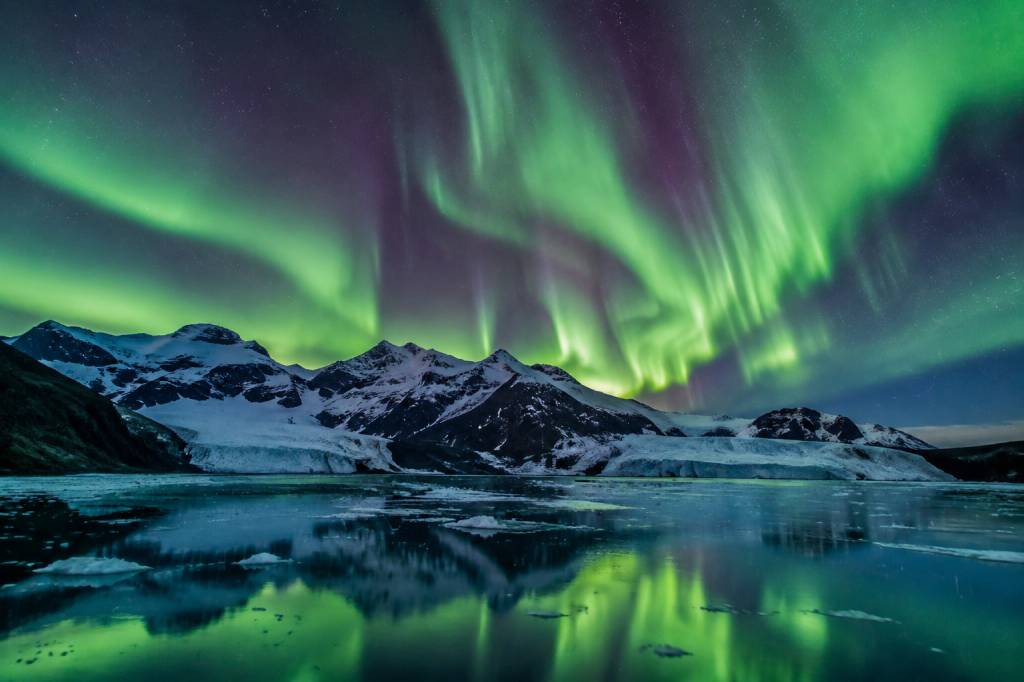
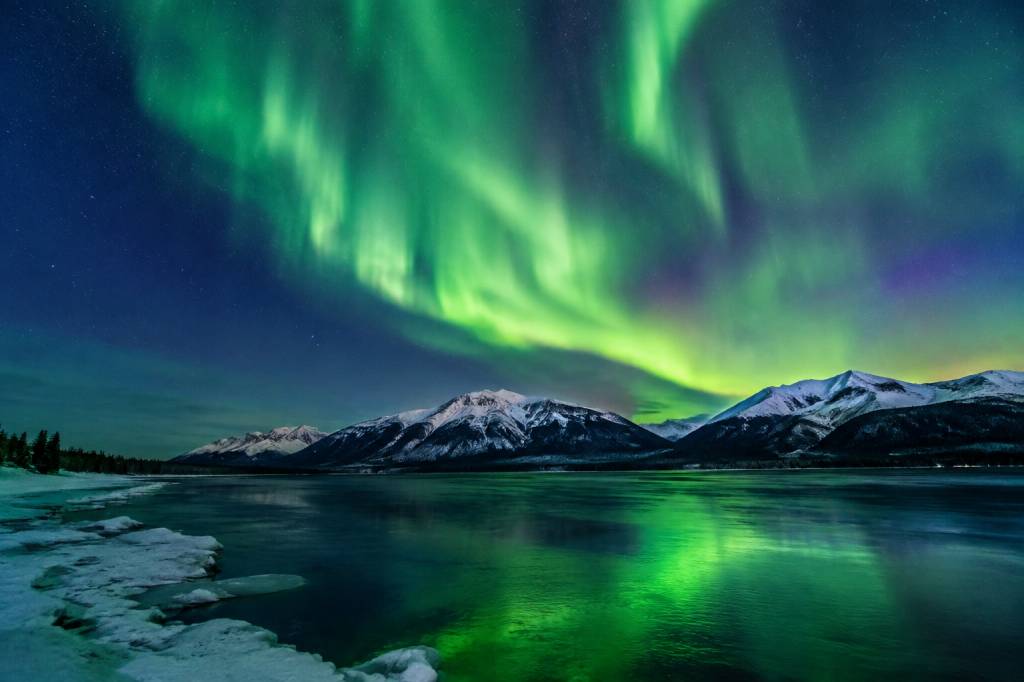
The result is a phenomenon that changes quickly. A quiet green arc can remain almost still for several minutes, then develop into rays, waves or a full corona overhead. This is why an aurora trip requires patience. The forecast can tell you when conditions are favourable, but it cannot promise exactly what the sky will do at 22:17.
How to read a northern lights forecast
A useful forecast does not rely on a single number. It combines several indicators that answer different questions:
- Is the aurora active? Look at solar wind speed, the Bz magnetic field and the expected geomagnetic storm level.
- Will the activity reach your location? Use the auroral oval and local latitude rather than relying only on a global forecast.
- Can you see the sky? Check cloud cover, precipitation, fog and visibility for the exact observation area.
- Is it dark enough? Confirm sunset, twilight and moon conditions for your travel dates.
A forecast several days ahead is useful for planning, but it is not precise enough to choose a specific hill or parking area. The most practical window is usually the final few hours before observation. This is when the nowcast becomes important. Satellite data, magnetometer readings and live auroral oval maps can show whether activity is moving towards your region.
Think of the forecast as a traffic report for the sky. A high chance tells you that the route may be worth taking. It does not mean the lights are already visible above your hotel.
Understanding the Kp index
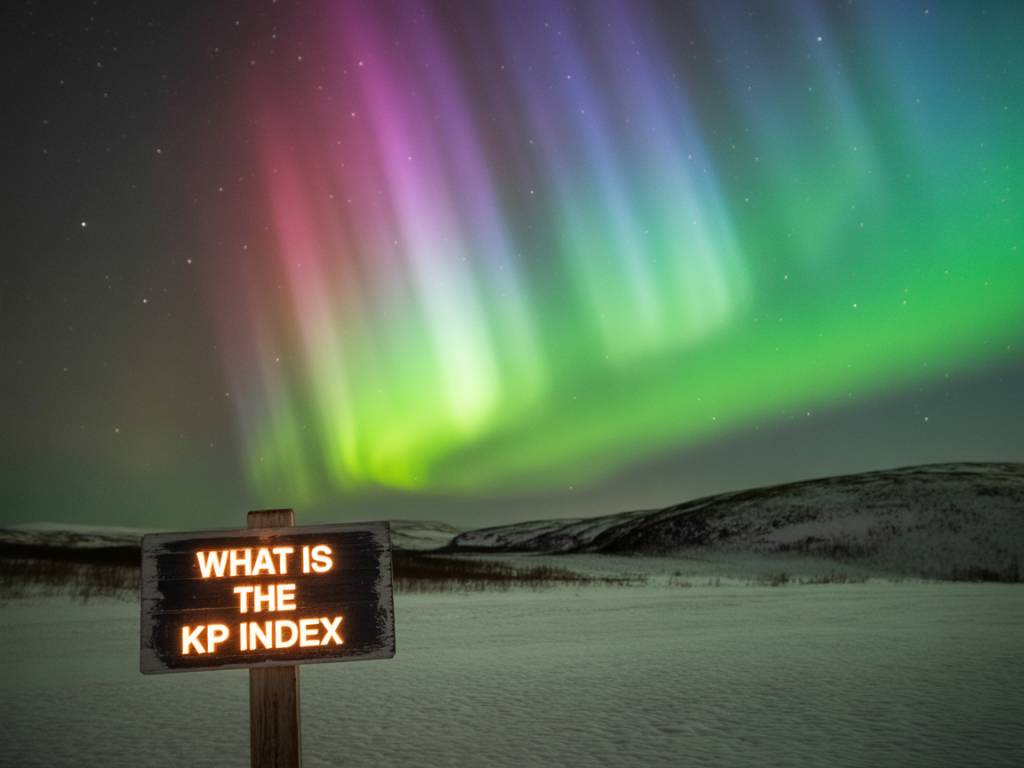
The Kp index measures global geomagnetic disturbance on a scale from 0 to 9. Higher values generally mean that the auroral oval expands further south. This makes the index useful for comparing locations, but it is often misunderstood.
- Kp 0–2: Quiet to low activity. Excellent for northern locations such as Tromsø, Alta or Kiruna when skies are clear.
- Kp 3–4: Good activity for many areas inside or near the auroral zone. Displays may become more dynamic.
- Kp 5 and above: Geomagnetic storm conditions. The aurora may be visible much farther south, although cloud and local timing still matter.
A high Kp value does not automatically mean a spectacular show. The index is a global, three-hour measure and can hide short-lived bursts. A Kp 2 display directly overhead in Tromsø may be far more impressive than a weak Kp 6 event seen through thin cloud in a southern city.
For this reason, do not cancel a clear night simply because the predicted Kp is modest. If you are already in the auroral zone, local conditions can be more important than a dramatic headline about a solar storm.
Why cloud cover is often the deciding factor
Solar activity attracts attention, but clouds stop more aurora trips than low geomagnetic activity. A strong display above a completely overcast sky is invisible from the ground. The best plan is therefore a combination of an active or potentially active sky and a clear observation area.
Check cloud cover at several altitudes if the service provides this information. Low cloud may block the horizon while higher cloud remains thin enough for brighter auroral rays to show through. Fog can be especially troublesome near lakes, rivers and coastal areas, even when the wider city forecast looks clear.
Do not treat the weather forecast for the city centre as a perfect guide to nearby countryside. In northern regions, conditions can change rapidly over short distances. A city may be cloudy while a nearby inland valley is clear, or the reverse may happen. This is where a flexible aurora hunting plan is useful.
The best time of night for aurora watching
The aurora can appear at any hour when it is dark, but activity often becomes more noticeable between approximately 21:00 and 02:00 local time. This is a useful planning window, not a rule. Displays can begin earlier or continue towards dawn, particularly during an active geomagnetic storm.
Start by checking astronomical darkness for your destination. In late summer and early spring, the first issue may be insufficient darkness rather than weak activity. In the far north, the summer midnight sun makes aurora watching impossible for part of the year, even when solar conditions are excellent.
During a city stay, avoid waiting only beside the hotel. Walk or travel to a darker viewpoint before the main observation window. Once your eyes have adapted, faint green structures become easier to detect. A ten-minute pause without checking your phone can make a surprising difference.
City aurora watching: what changes?
Watching from a city is not a compromise in every situation. It can be the most practical choice for travellers who prefer reliable transport, indoor facilities and multiple nights in one base. The main challenge is light pollution, which reduces contrast and makes faint activity difficult to see.
When comparing a city observation point, examine four details:
- Direction of the horizon: A clear northern view is useful in many situations, but strong storms can place the aurora overhead or in the southern sky.
- Artificial light: Parks, waterfronts and elevated viewpoints are often better than brightly lit streets.
- Accessibility: A viewpoint is only useful if it can be reached safely at night in winter conditions.
- Escape options: If cloud moves in, know whether a darker suburb or nearby rural location is reachable.
In Tromsø, city lights can make weak activity difficult to see, but a strong display may appear clearly above the rooftops. Reykjavik benefits from several accessible dark-sky areas outside the brightest centre, while destinations such as Kiruna and Rovaniemi offer a mix of urban accommodation and nearby open landscapes.
The important point is not to compare destinations only by their advertised Kp threshold. Compare latitude, cloud patterns, transport, local light pollution and the number of clear nights you can realistically spend there.
Planning a northern lights trip around the forecast
A well-planned northern lights trip includes more than one possible observation night. Weather and solar activity do not follow travel schedules, so staying for three to five nights gives you a much better margin than making a single-night visit.
Before travelling, prepare a simple decision plan:
- Choose a primary city or region inside the auroral zone.
- Identify two or three nearby observation areas with different cloud patterns or horizons.
- Check the seasonal hours of darkness and typical cloud conditions.
- Install or bookmark a reliable northern lights forecast and local weather service.
- Decide in advance how far you are willing to travel at night.
On each afternoon, review the forecast for the coming night. Do not make the final decision based on a long-range prediction issued several days earlier. If the solar forecast is promising but the city is cloudy, look for a nearby clear area only if roads and visibility are safe.
Rental cars provide flexibility, but winter driving in the Nordic countries requires experience and caution. An aurora is never worth rushing on an icy road. Guided aurora tours can be a sensible option when local drivers know how to read regional cloud breaks and choose safe stopping points.
Using an aurora alert correctly
An aurora alert should be treated as a prompt to check the sky, not as a guarantee that the lights are visible from your window. Alerts may be triggered by a rise in solar wind, a sudden geomagnetic impulse or a predicted increase in auroral probability.
When an alert arrives, follow this sequence:
- Check whether it applies to your latitude and time zone.
- Look at the current cloud cover at your exact location.
- Check the auroral oval or live activity map.
- Move away from direct street lighting and allow your eyes to adjust.
- Stay outside for at least 15 to 30 minutes if conditions remain favourable.
Phone notifications can arrive after a short display has already weakened. Keep one eye on real-time data, but do not spend the entire night refreshing an app. The sky is the final source of truth.
Aurora photography in a city
City photography requires slightly different settings from rural aurora photography. Artificial light can overexpose the foreground and reduce the apparent colour of the sky. Start with a tripod, manual focus set to infinity and a wide-angle lens if available.
- Use a relatively wide aperture, often between f/1.4 and f/2.8.
- Begin with an ISO between 800 and 3200, then adjust according to brightness.
- Use shutter speeds of a few seconds for fast-moving aurora and longer exposures for faint, slow activity.
- Turn off autofocus and focus on a distant light before the display becomes active.
- Review the histogram rather than relying only on the bright phone screen.
In a bright city, shorter exposures usually preserve more detail in the auroral rays and prevent buildings from becoming completely white. A camera may record green colour before your eyes see it clearly, but this does not mean every photograph represents the visual experience accurately. Use the camera as a tool, not as proof that the night was better than it felt.
Managing expectations during a weak display
The aurora is not always a bright green curtain. In low activity, it may look like a pale grey or green arc that becomes clearer when viewed slightly away from it. Human vision is less sensitive to colour in darkness, so many first-time observers mistake a faint aurora for a thin cloud.
Check whether the shape changes over several minutes. A real auroral arc may develop rays, shift position or ripple across the sky. Clouds usually move as a solid, textured layer and may obscure stars. When uncertain, compare the view with a long-exposure photograph, but keep watching the sky rather than the screen.
Strong displays can last only a few minutes, while quieter activity may continue for hours. Dress for waiting, keep spare batteries warm and avoid judging the entire night by the first ten minutes. Northern lights watching rewards patience, but good forecasting helps you spend that patience on the right night.
A practical city aurora checklist
- Confirm that astronomical darkness is available during your travel dates.
- Check the local cloud forecast, not only the global Kp prediction.
- Use Kp as a regional guide, not a promise of a display.
- Review real-time solar wind and auroral oval data before leaving your accommodation.
- Choose a viewpoint with a broad horizon and limited direct lighting.
- Carry warm clothing, gloves, a headlamp with a red-light mode and spare camera batteries.
- Allow extra time for walking, public transport or winter driving.
- Keep a backup observation point in case cloud or access problems appear.
- Watch the sky for at least several minutes before deciding that nothing is happening.
The most reliable approach to aurora watching is simple: select a northern destination with several dark nights, follow the short-term forecast, verify the clouds and stay flexible. A high Kp index can make the headlines, but a clear horizon and a safe place to stand are what turn a forecast into an actual sighting.