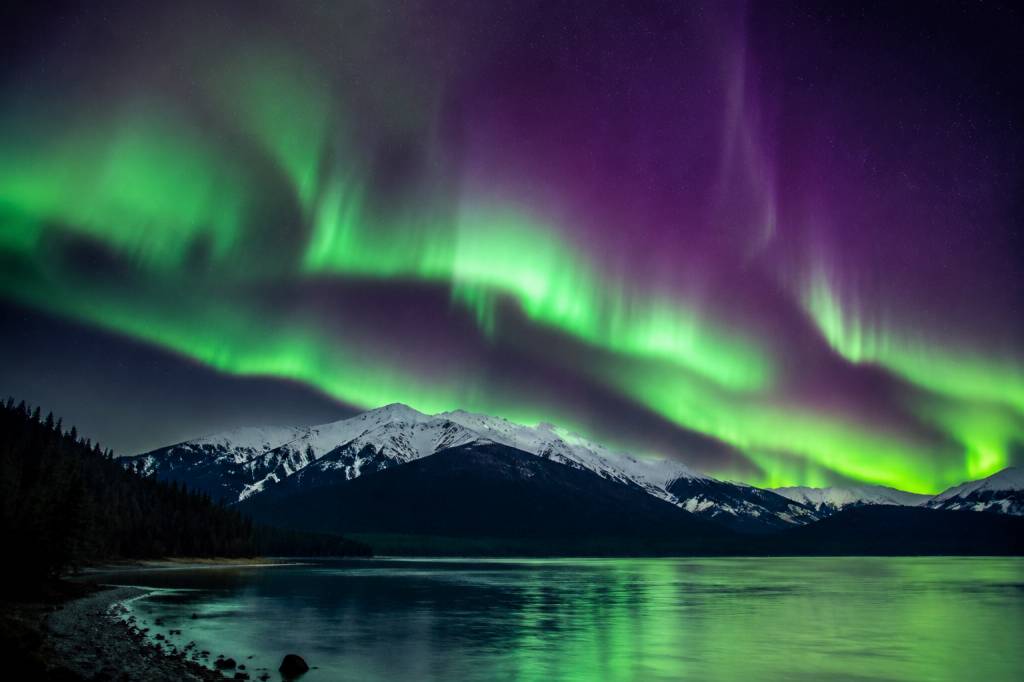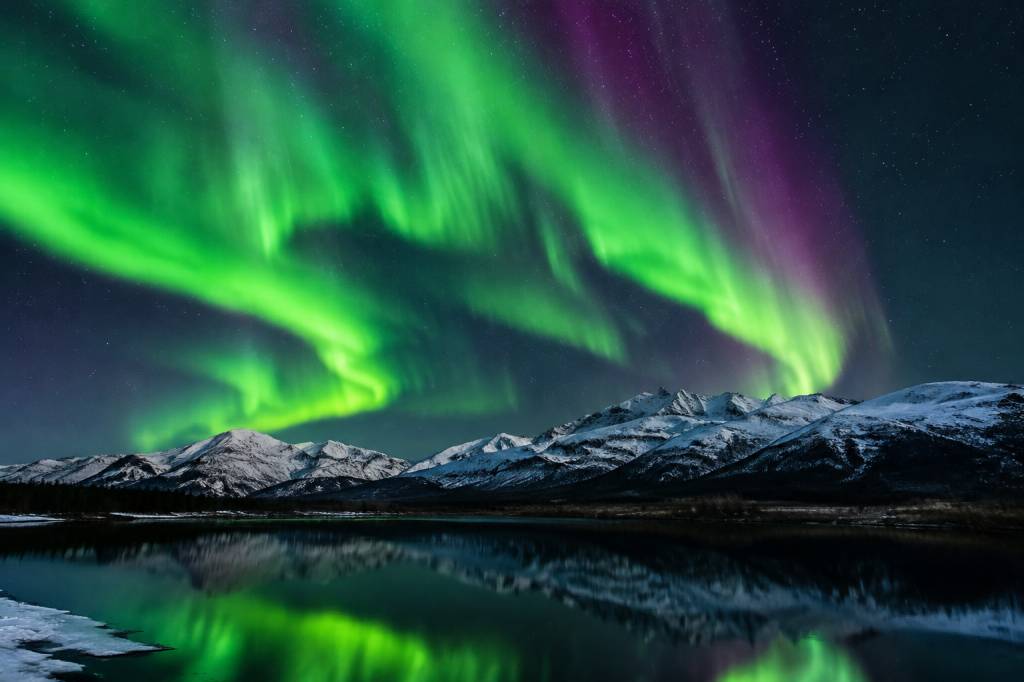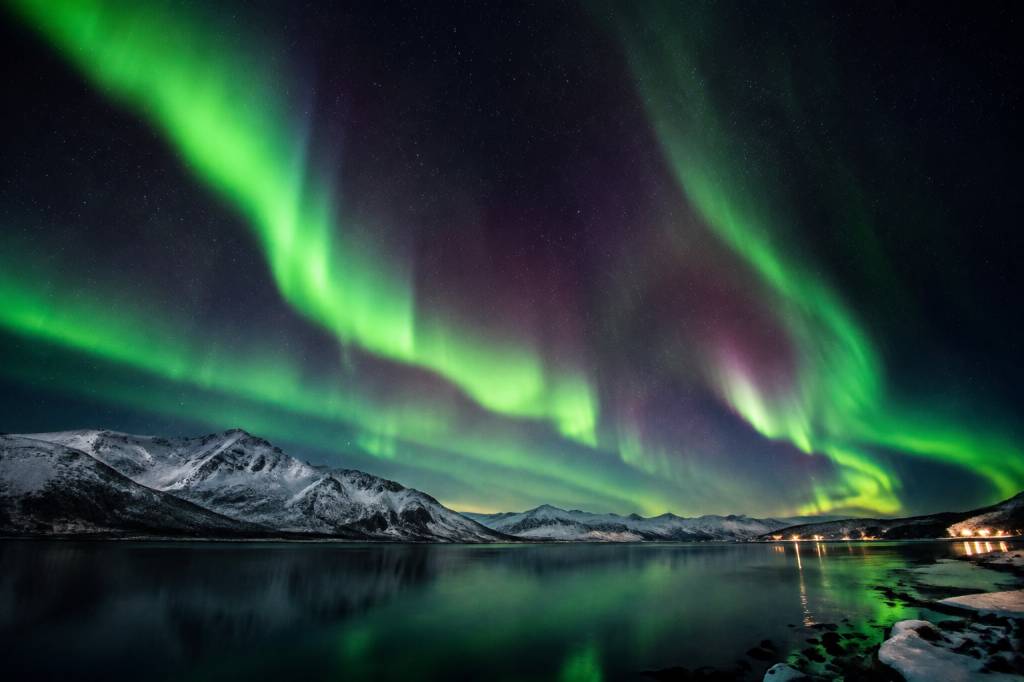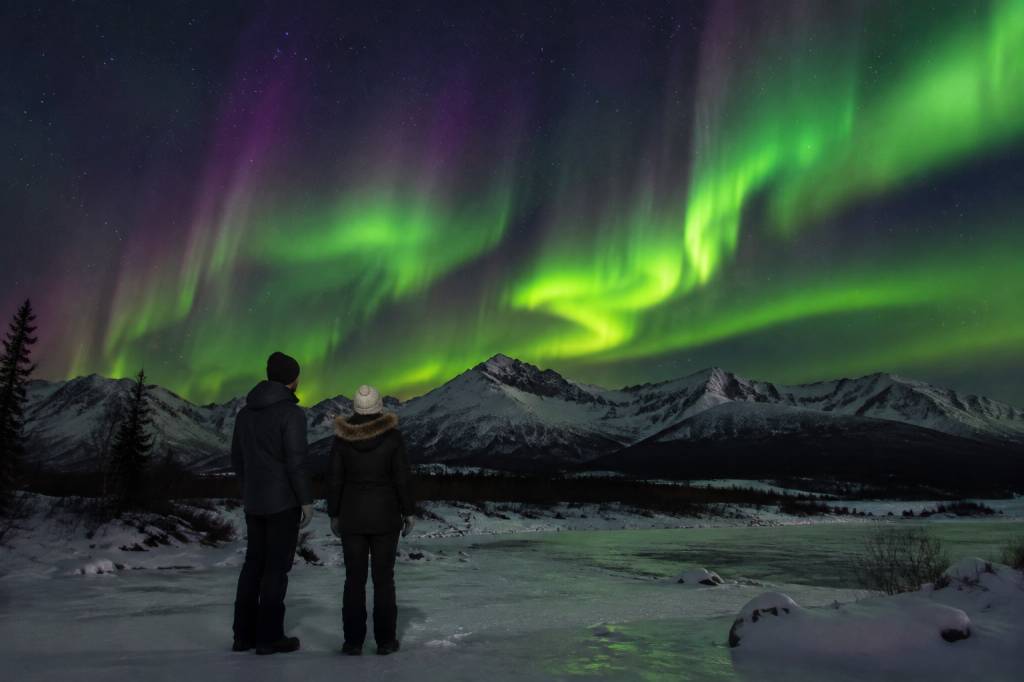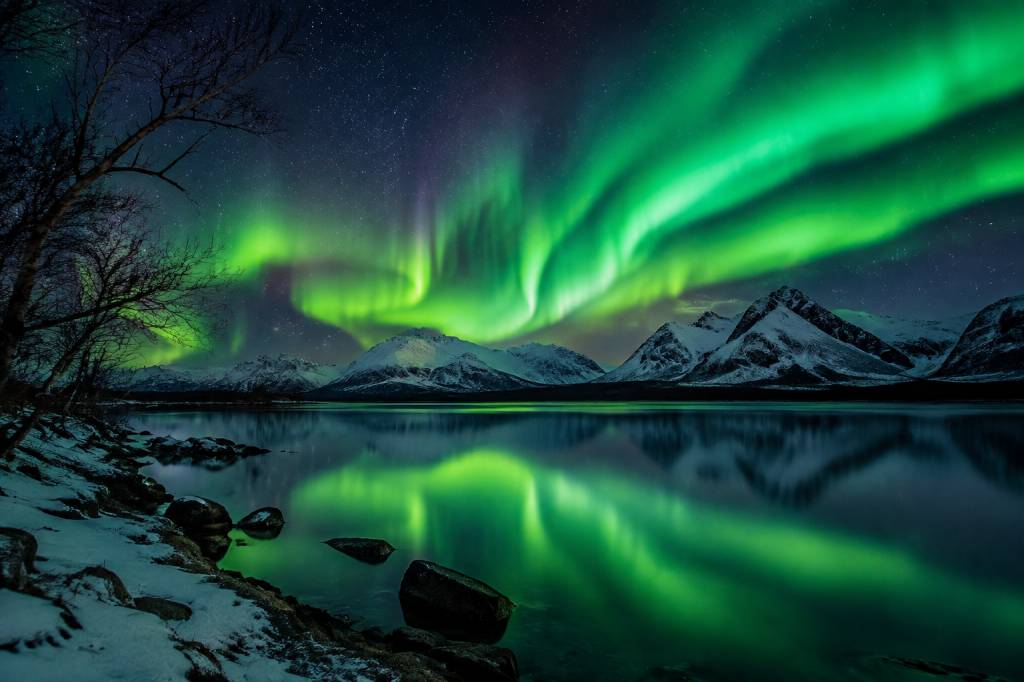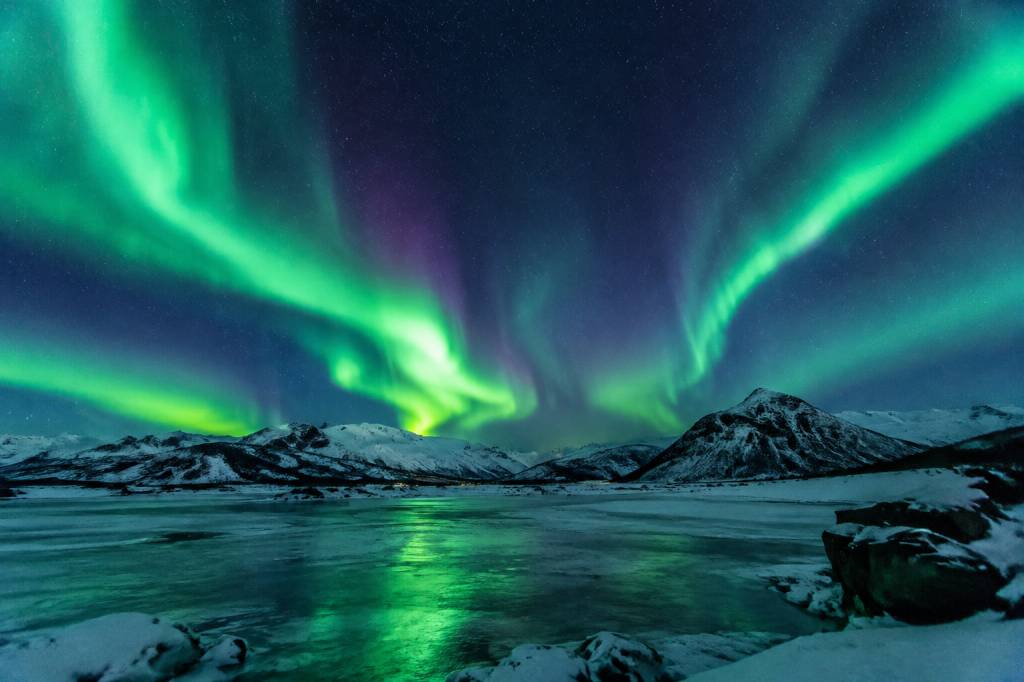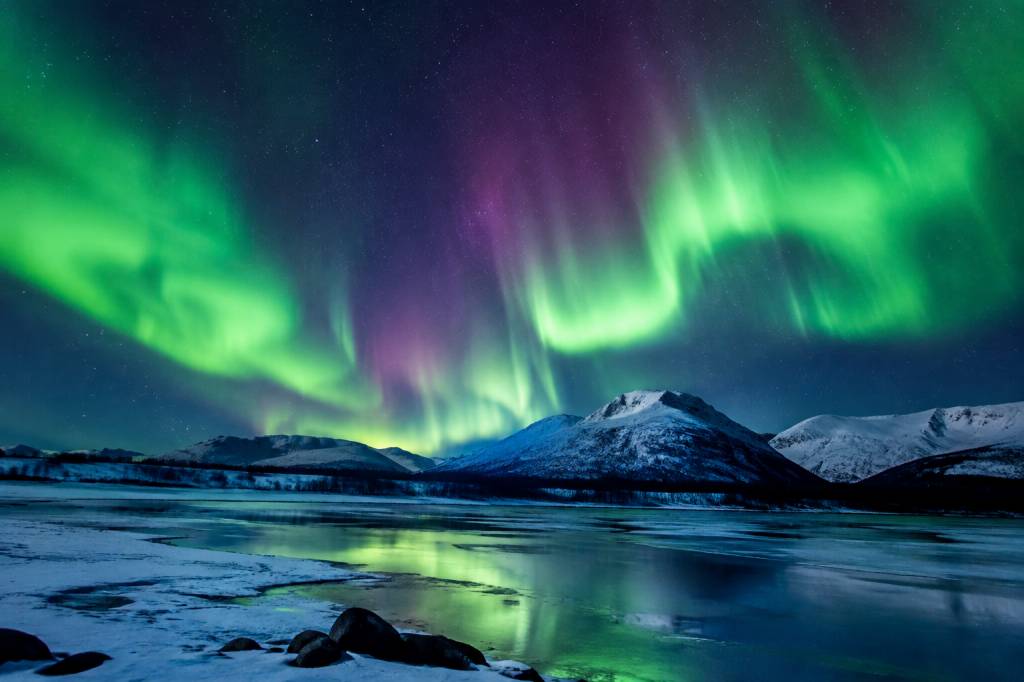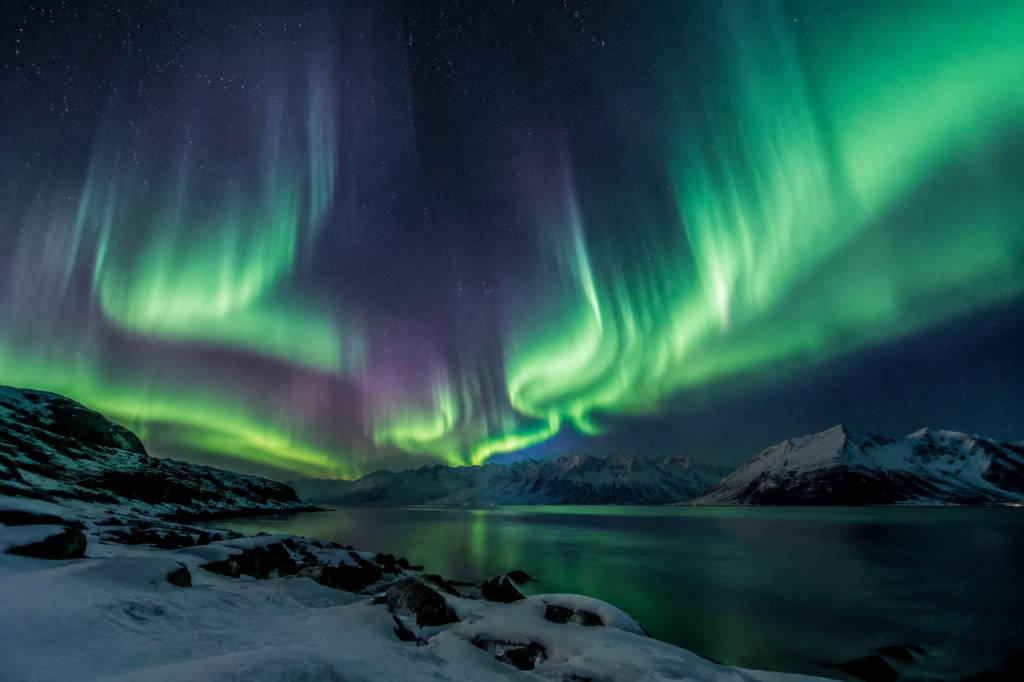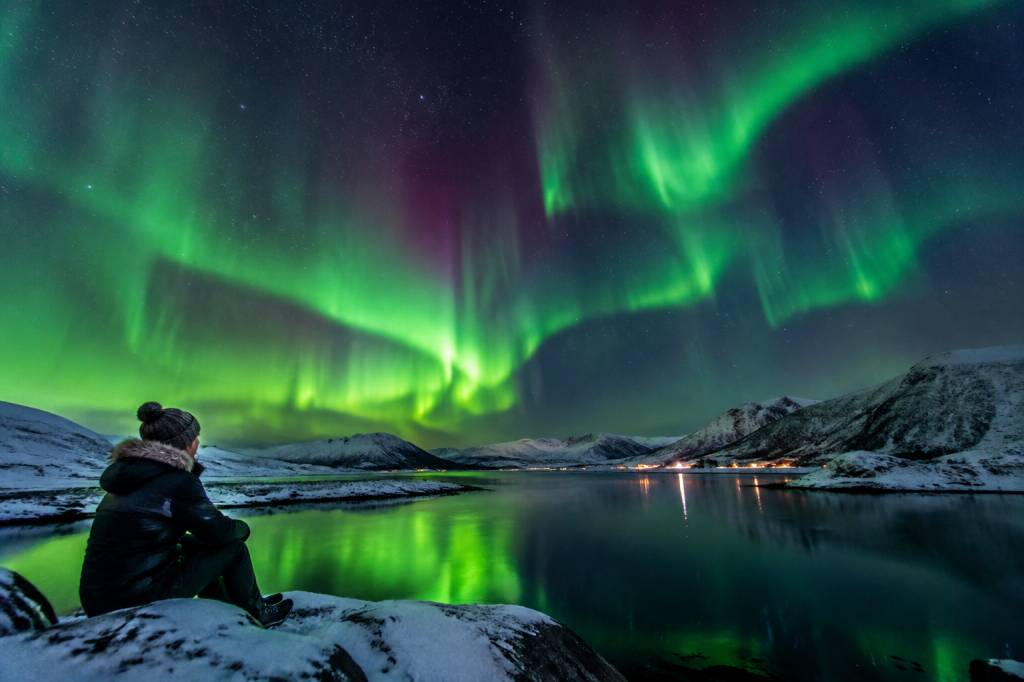

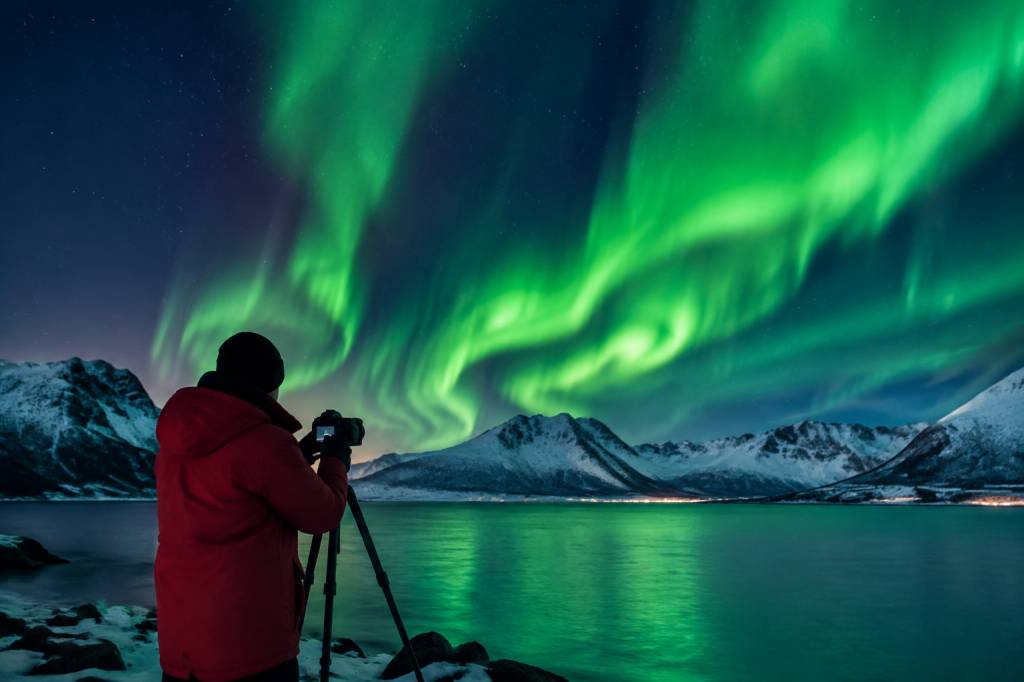
An aurora photography tour can save you hours of guesswork. A good guide reads the cloud forecast, chooses a safe viewpoint and changes plans when conditions shift. But no tour can guarantee the Northern Lights: clear skies and a suitable level of geomagnetic activity still need to line up. The best way to improve your chances is to choose the right base, allow enough nights and arrive ready to work in the cold.
Here are some of the strongest destinations for photographing the aurora, what to look for when booking a tour, and the camera techniques that make a real difference once the lights appear.
What makes a good aurora photography tour?
A photography tour should do more than drive you to a dark place. Look for a guide who monitors local cloud cover, understands the roads and has more than one viewing location in mind. A bright aurora behind thick cloud is still invisible, so cloud breaks often matter more than a high geomagnetic activity number.
Ask how long the tour lasts, how far it may travel and whether transport, warm drinks and camera help are included. Find out if the guide works with beginners. Some tours teach camera settings and help with focusing; others are primarily transport trips, with little time for individual advice. Neither is automatically better, but it helps to know what you are paying for.
Also check the group size and the cancellation policy. A small group can move more quickly and leave more room around tripods. A flexible operator may switch locations when a cloud band covers the original plan. No operator can promise an aurora sighting, and a clear explanation of that is a good sign.
Tromsø, Norway: a practical base with room to chase clear skies
Tromsø is one of the easiest places to organize an aurora photography trip. The city has frequent flights, a wide range of accommodation and many guided tours. It also sits within the auroral oval, so displays can occur on nights when the activity is not especially dramatic farther south.
The main challenge is weather. Coastal cloud can cover the city and nearby viewpoints, while inland areas may be clearer. Experienced guides may drive toward valleys or inland communities when the forecast supports it. Travel time varies with the route and conditions, so ask whether the tour has a defined driving limit and how late it can return.
For a self-guided foreground, look for safe, legal access around the wider Tromsø area rather than stopping on a roadside shoulder. Do not assume a viewpoint shown on a map has a winter parking area or a maintained path. Snowbanks can narrow roads, and icy surfaces are common. If you are new to winter driving, a guided trip is usually the less stressful option.
Tromsø suits travellers who want a city base, several tour choices and backup plans for cloudy evenings. Book more than one night if possible; one clear evening is useful, but a few nights give you more flexibility.
Abisko, Sweden: a strong choice for inland skies
Abisko is a small destination in Swedish Lapland, near the Norwegian border. Its inland position gives it a different weather pattern from the coast, and local conditions can sometimes be clearer than in nearby areas. That is not a guarantee of clear skies, but it is one reason photographers choose the region.
Many visitors stay in or near Abisko and join a local aurora outing or visit a designated viewing area. The surroundings offer striking mountain and lake scenery, but winter access should never be taken for granted. Check current opening information, transport arrangements and walking requirements before planning a shoot. A short-looking route on a summer map may be difficult in deep snow or darkness.
Abisko is a good fit for travellers who value a quieter base and are prepared for limited services compared with a larger city. Bring spare batteries and warm layers: cold drains camera batteries quickly, and waiting outdoors can feel much longer than the forecast suggested.
Kiruna and Swedish Lapland: dark settings and varied landscapes
Kiruna is another useful base for aurora trips in northern Sweden. It has transport links and accommodation, while the surrounding landscape offers open areas, forests and mountain scenery. Tour operators may use different locations depending on cloud, road conditions and the group’s mobility.
Before booking, ask whether a tour includes photography instruction or simply takes you outside the city. If you want foreground details such as trees, cabins or snow-covered terrain, tell the guide. A location that works well for watching the sky may not offer the composition you want, and a quick conversation can help set expectations.
In winter, check the forecast and local travel advice before setting out independently. Do not park where visibility is poor or where snow-clearing vehicles need access. A photograph is never worth blocking a road or walking onto an unsafe frozen surface.
Rovaniemi and Finnish Lapland: accessible, but plan beyond the city lights
Rovaniemi is a convenient entry point to Finnish Lapland, with accommodation, transport and plenty of winter activities. It is also a larger settlement, so city lights can affect the darkness of some nearby spots. A guided tour can take you to a less illuminated area when skies and roads allow.
Farther north, destinations such as Saariselkä and Inari offer smaller communities and broad Arctic landscapes. They can be attractive for photographers seeking a quieter setting, but transport and tour availability may be more limited. Check the distance from your accommodation to the meeting point and confirm how you will get back after a late finish.
Finnish Lapland is a good option if you want to combine aurora watching with other winter activities. Keep the aurora plan flexible, though. A snowmobile or husky outing is not automatically an aurora photography tour, and you may have little time to set up a tripod during an activity designed for movement.
Reykjavík, Iceland: a city base with strong landscape options
Reykjavík offers flights, restaurants and a wide range of tours, while the surrounding countryside provides volcanic, coastal and mountain scenery. The city itself is brighter than a dark rural location, so photography tours usually travel away from the centre when conditions are suitable.
Iceland’s weather can change quickly. Wind, cloud and road closures can affect plans, especially outside the capital region. Choose a tour operator that checks official road and weather updates and is willing to change or cancel a route when conditions are unsafe. A clear forecast is not an invitation to drive onto an exposed road in poor conditions.
For a stronger chance of photographing the aurora, plan several nights and avoid building your entire trip around a single tour. Iceland has plenty to see in daylight, so a cloudy aurora night does not have to become a wasted evening.
How to choose the right destination
There is no single best place for every traveller. Compare the practical details, not just dramatic marketing images. Consider how many nights you can stay, how comfortable you are with cold and late returns, and whether you want a city or a remote base.
-
Choose Tromsø for a convenient city base and a large choice of guided tours.
-
Choose Abisko or Kiruna for Swedish Lapland scenery and an inland setting.
-
Choose Finnish Lapland if you want to combine aurora hunting with other winter activities.
-
Choose Reykjavík for an easy urban base and access to Icelandic landscapes, while keeping an eye on wind and road conditions.
Wherever you go, staying for several nights improves your options. It does not make the aurora certain, but it gives you more chances to find a clear patch of sky.
Read the forecast without getting stuck on the KP number
The KP index describes geomagnetic activity on a scale from 0 to 9. It is useful context, but it is not a personal guarantee that you will see the lights from your hotel. A modest display under clear, dark skies can be more useful to a traveller than a high activity forecast hidden behind cloud.
Check three things together: local cloud cover, darkness and aurora activity. Look at an hourly cloud forecast close to your viewing time, then check for changes rather than treating a morning forecast as fixed. In northern destinations, winter nights are long, but moonlight can brighten the landscape and reduce contrast. A full moon does not prevent aurora viewing; it simply changes the look of the scene.
Give yourself a practical decision point. For example, check conditions a few hours before a tour, then let the guide make the location call. Refreshing several apps every five minutes will not move the cloud. It will, however, make your evening feel longer.
Camera settings for your first aurora photographs
Start with a camera that lets you control shutter speed, aperture and ISO manually. A wide-angle lens is helpful because it captures more sky and gives you room to include a foreground. A tripod is essential for sharp long exposures; image stabilization cannot replace a stable support during a multi-second exposure.
Use these settings as a starting point, not a fixed recipe:
-
Focus: Set focus manually and check it on a bright star using your screen’s magnification. Autofocus often struggles in a dark sky.
-
Aperture: Open the lens as wide as it allows, often around f/1.8 to f/2.8.
-
Shutter speed: Begin around 2 to 8 seconds. Use shorter exposures for fast-moving curtains and longer ones for faint, slow displays.
-
ISO: Try roughly 1600 to 6400, then adjust for your camera, lens and brightness. Higher ISO can reveal more light but also adds image noise.
-
File type: Shoot RAW if you plan to edit, and use a two-second timer or remote release to reduce camera shake.
Take a test frame and inspect it. If stars look like short lines, shorten the exposure. If the aurora is washed out, reduce the exposure time or ISO. Bright displays can change quickly, so check your settings after each noticeable shift rather than leaving the camera on one setup all night.
Compose the scene, not just the sky
A green arc filling the frame can be impressive, but a photograph often feels more connected to a place when it includes a foreground: a line of trees, a cabin, a mountain ridge or a person standing well away from the camera. Keep foreground subjects safely on established ground and avoid placing people near road edges or unstable snow.
Arrive before the display if possible and make a few test compositions in twilight. Once the aurora appears, you will be able to adjust quickly instead of searching for a horizon while wearing gloves. Keep a small red-light headlamp in your bag; it helps you manage equipment without flooding other photographers with bright white light.
Dress for waiting, not walking
Photography involves standing still, which feels colder than moving through the same temperature. Wear several warm layers, insulated boots, gloves you can operate a camera in and spare hand warmers. Bring a thermos and a dry layer for the journey back. If your feet or fingers become numb, stop shooting and warm up. You cannot take useful photographs if you cannot safely manage your equipment.
Cold also affects batteries. Keep spares in an inside pocket and rotate them as needed. A battery that appears empty may work again after warming indoors. Protect your camera from snow and condensation: when returning to a warm building, place cold equipment in a closed bag first and let it warm gradually.
Set expectations and keep a backup plan
Most tour photographs show exceptionally bright displays, often edited for contrast and colour. The sky you see with your eyes may look more subtle, especially at first. A camera gathers light over several seconds, so it can record colour and structure that are less obvious in real time. That difference does not mean the experience is disappointing; take a moment to watch without looking through a screen.
Have a simple backup plan for a cloudy night: visit a local museum, enjoy a warm meal or photograph the town after dark. If the tour is cancelled for safety reasons, follow the operator’s instructions rather than attempting the same drive alone. Northern conditions reward patience, sensible clothing and flexible plans more than frantic forecast checking.
Choose a destination that suits the trip you actually want, book a guide who explains how decisions are made, and give the sky more than one chance. Then keep your camera ready, your hands warm and your expectations realistic. The aurora is not on a schedule, but a well-planned night puts you in a much better position when it appears.