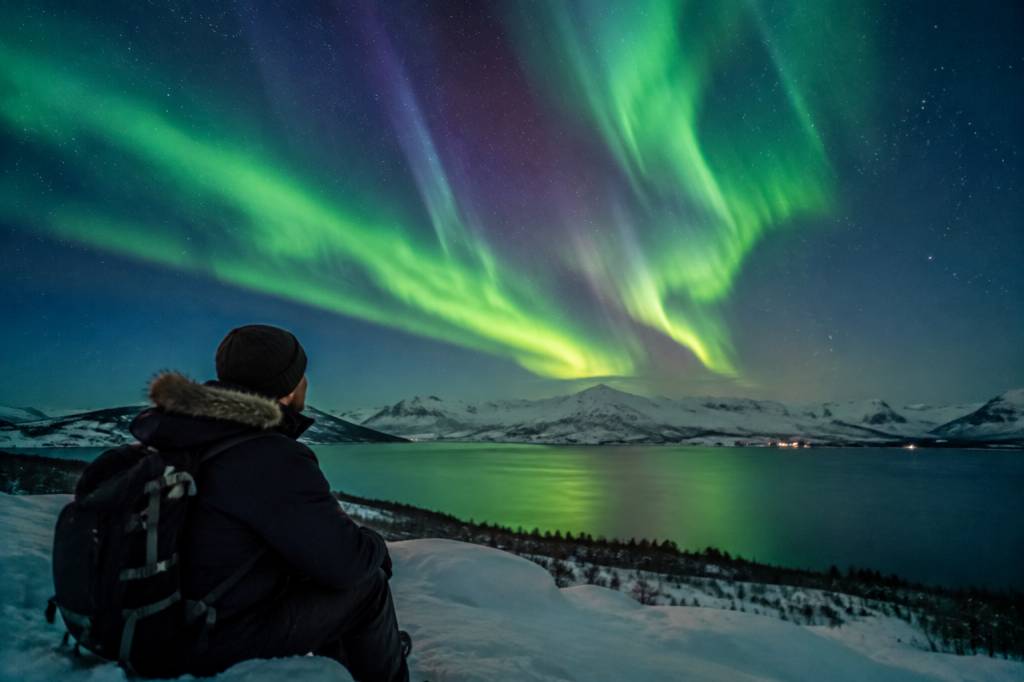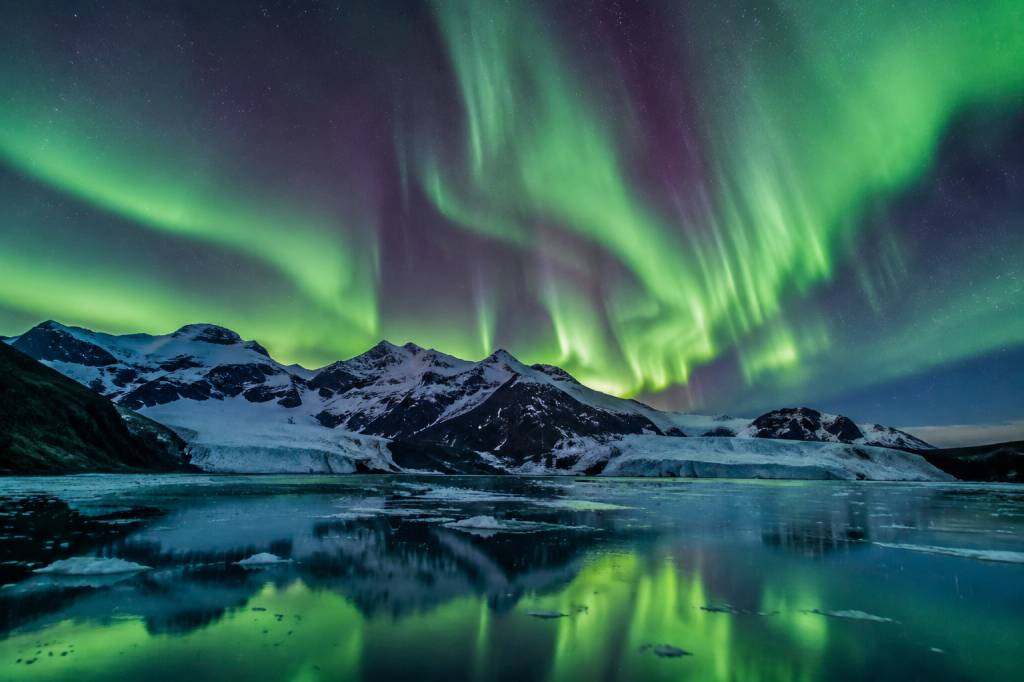

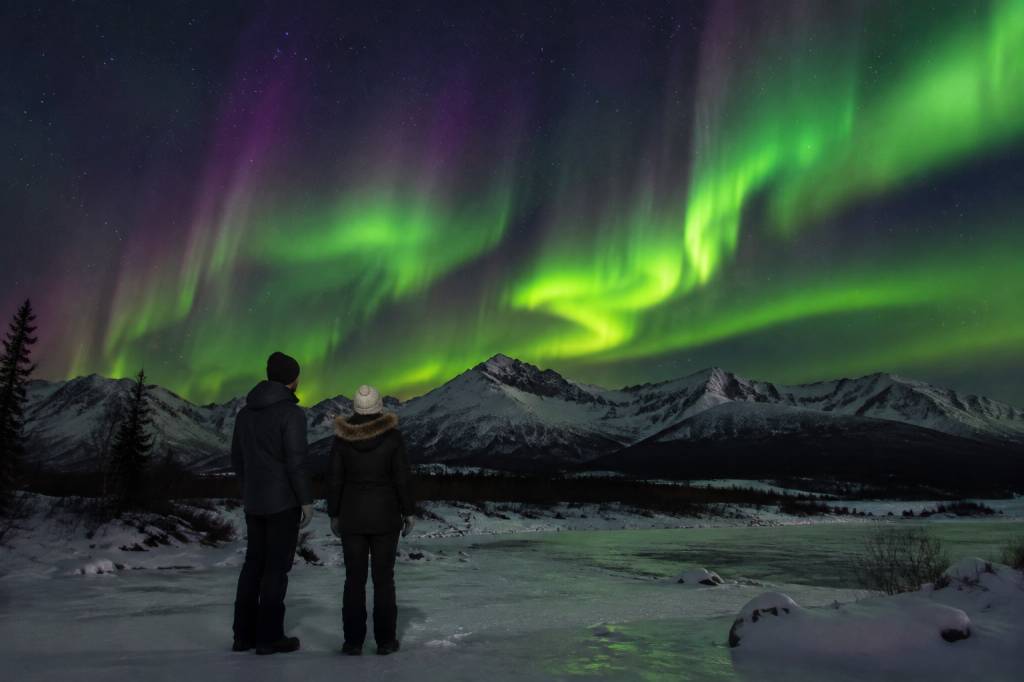
Anchorage is a practical base for an aurora trip, but it is not a guaranteed viewing spot. The city sits beneath the auroral oval often enough to make sightings possible, especially from late August through April, yet clouds, daylight, and city lights can all get in the way. A northern lights tour can help you get away from the brightest streets and make decisions as conditions change. It cannot make the sky clear or promise a display.
Here is what to expect from an Anchorage aurora tour, how to choose a viewing area, and how to prepare for a long night outdoors.
Can you see the northern lights in Anchorage?
Yes. The aurora can appear over Anchorage, and some visitors see it without leaving town. Your chances are generally better outside the brightest parts of the city, where there is less artificial light and a more open view of the northern sky. A dark location makes a faint display easier to notice, but it does not increase auroral activity itself.
Timing matters. In summer, Alaska’s nights are too bright for dependable aurora viewing. The season usually runs from late August into April, with the darkest stretch around winter. Even then, a clear night is essential: a strong aurora behind thick cloud is still invisible from the ground.
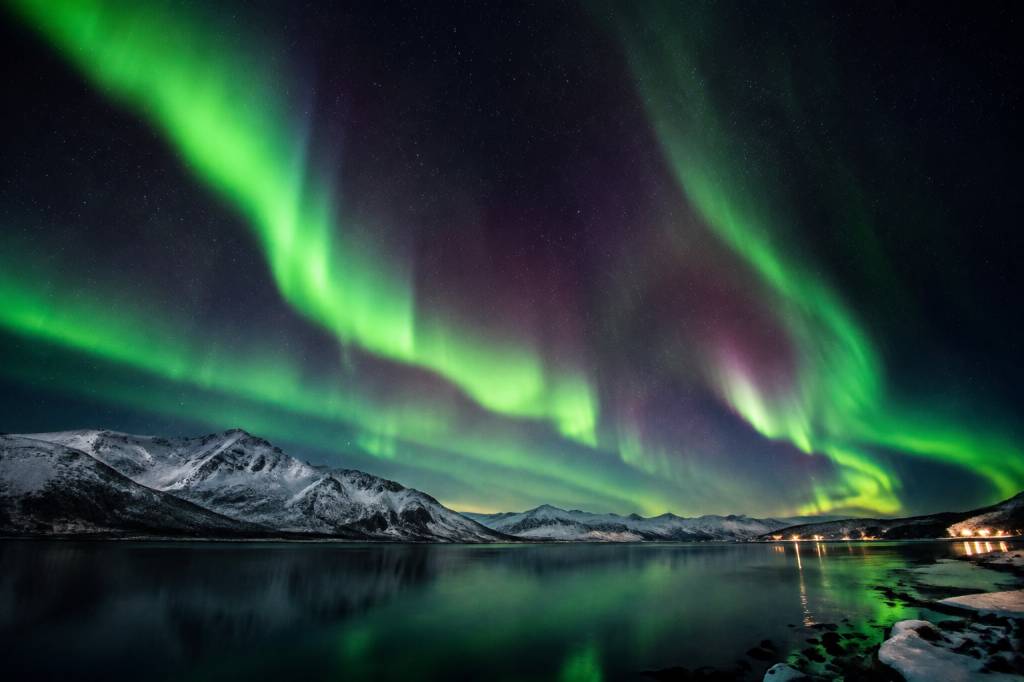
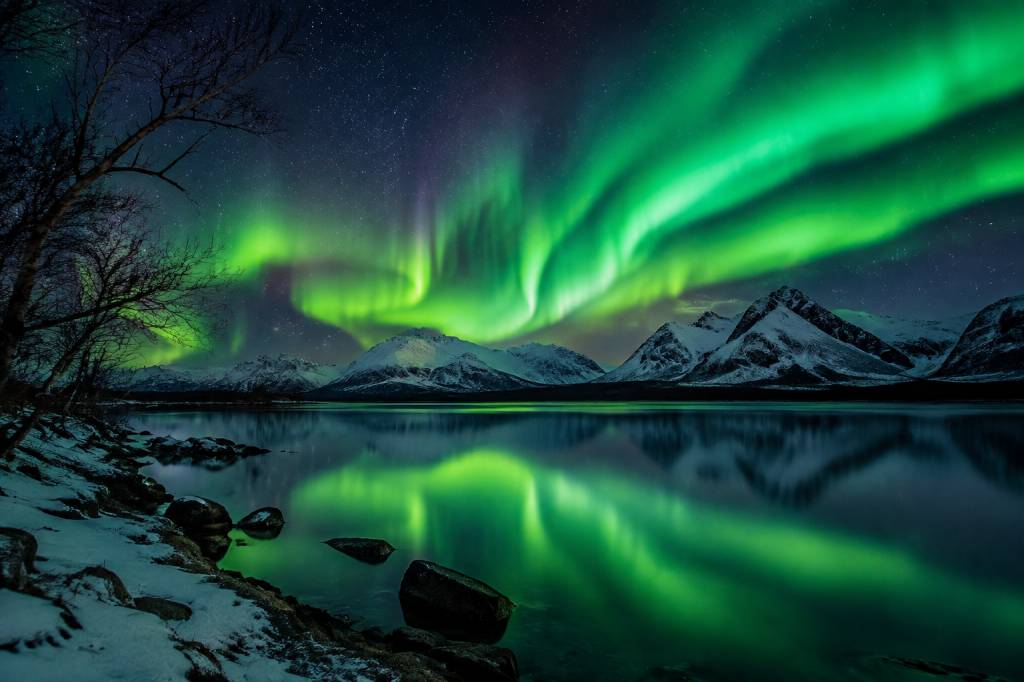
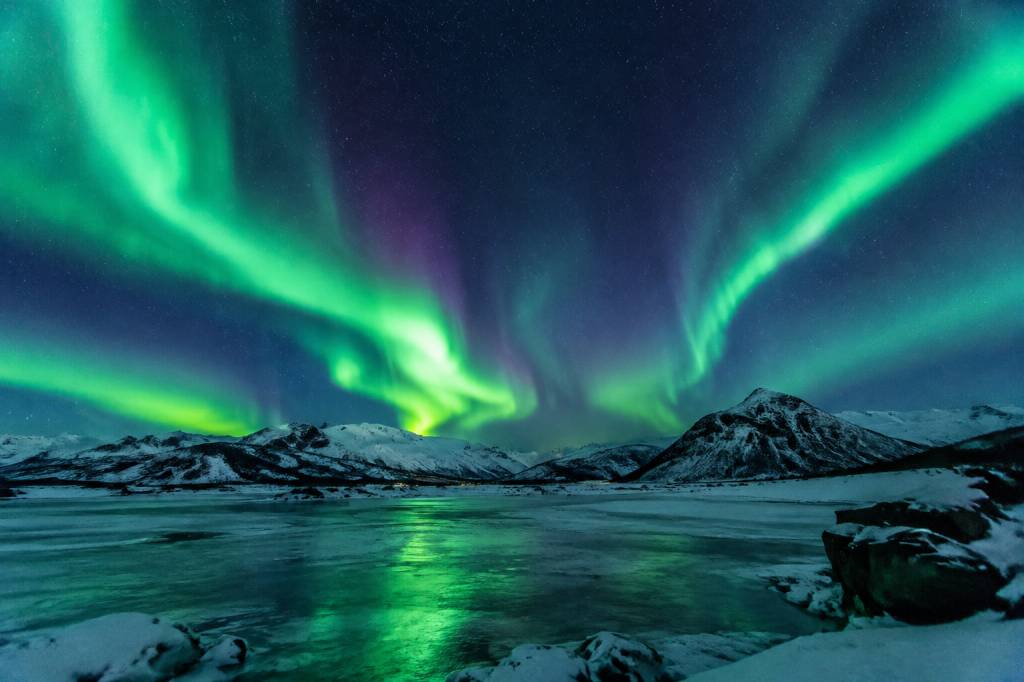
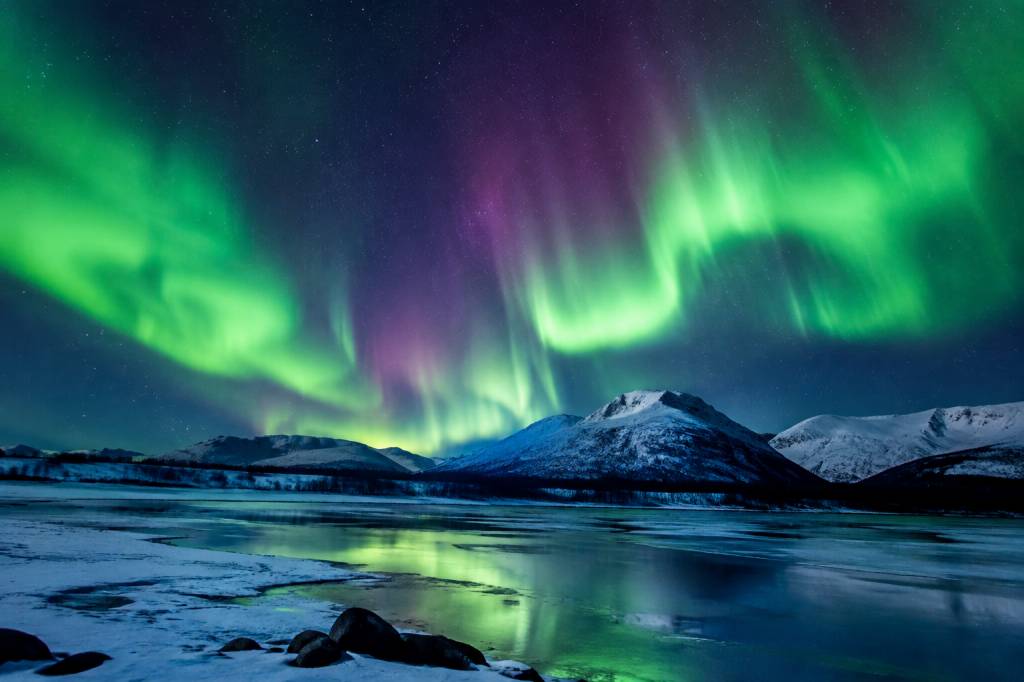
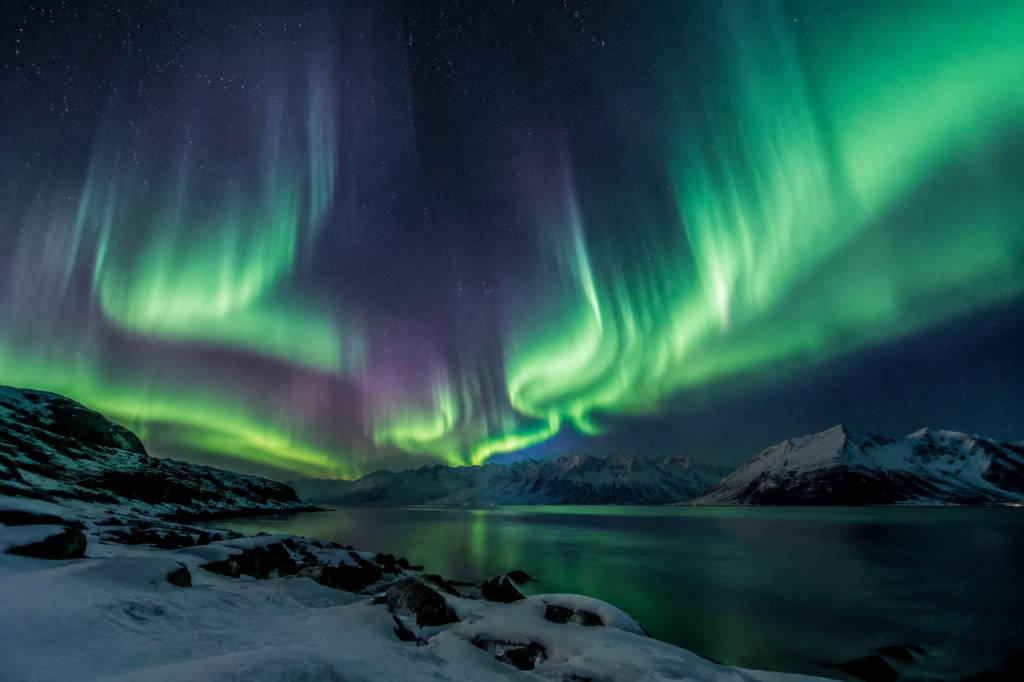
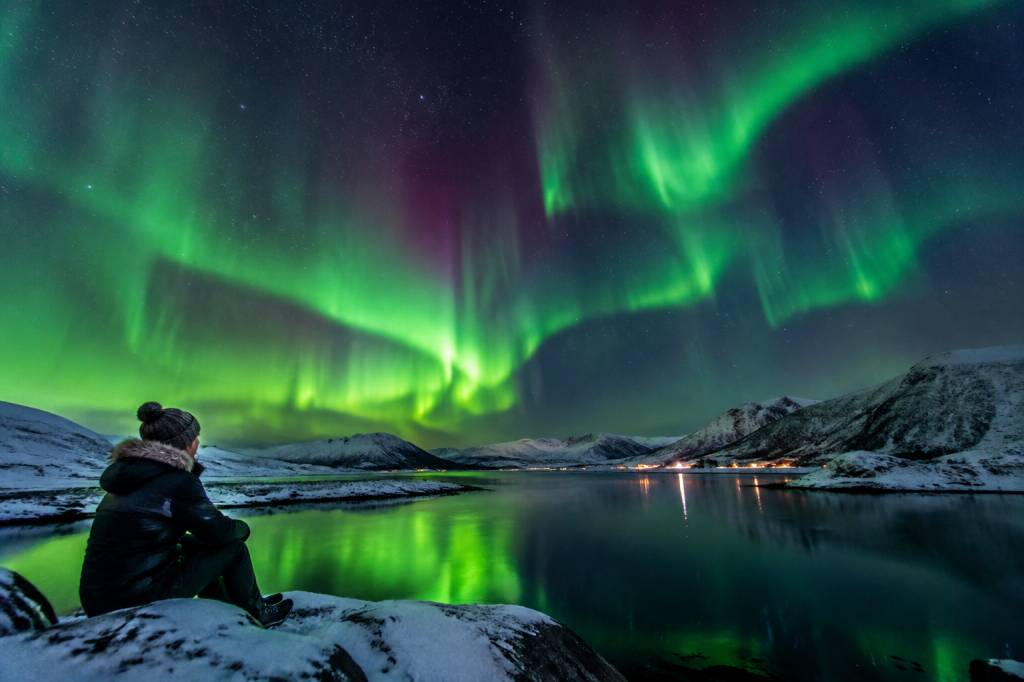
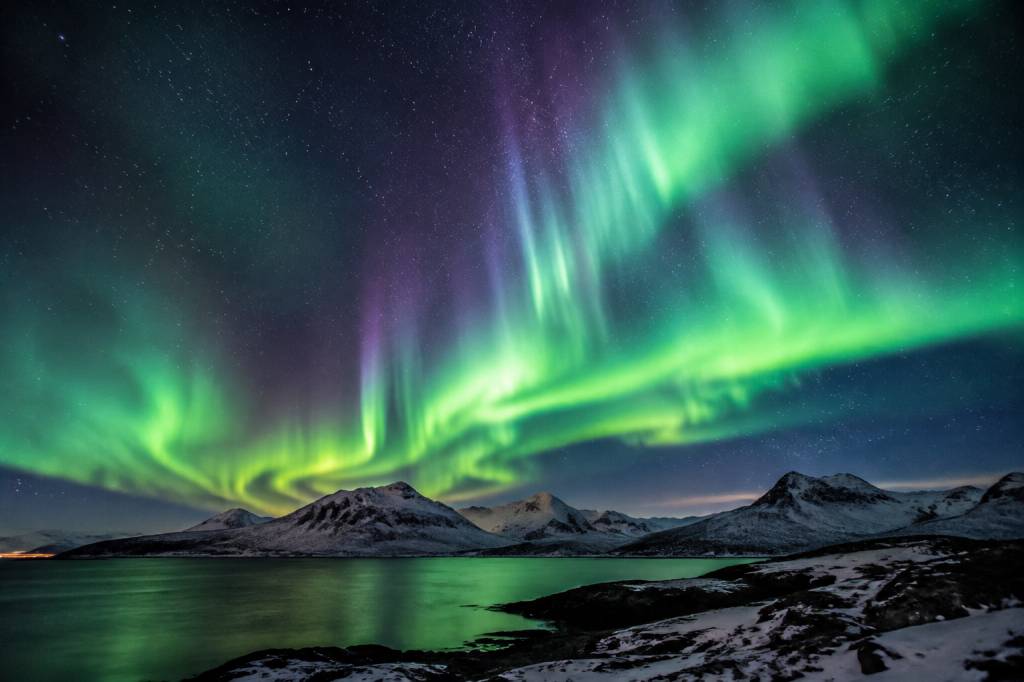
Set expectations before you go. A display might look like a pale green band or haze, especially to the naked eye. Cameras can reveal more colour than you see directly. Brighter activity may form moving curtains or arcs, but there is no reliable way to promise that on a particular night.
What an Anchorage northern lights tour does
A good tour combines transport, local knowledge, and flexibility. Your guide checks the cloud forecast and aurora outlook, then chooses a suitable area within the tour’s operating range. If clouds develop at the first stop, the guide may try another location, provided road conditions, time, and safety allow.
That flexibility is useful because Anchorage weather can vary over a short distance. The city may be cloudy while a nearby area has clearer skies, or the reverse. Still, a tour cannot always drive out of the clouds. The best operators explain their limits and avoid treating a forecast as a guarantee.
Tour formats vary. Some are small-group outings in a heated vehicle; others include a longer drive, a lodge or cabin stop, photography help, or a warm drink. Check what is actually included. A “northern lights tour” does not necessarily provide winter clothing, meals, hotel pickup, or professional photographs.
Where tours go to look for the aurora
Most Anchorage-based tours look beyond the central city, choosing a spot according to the night’s cloud cover, road conditions, and the operator’s route. Possible viewing areas may include the outskirts of Anchorage or locations farther into the surrounding region. The exact destination can change from night to night, so ask the company how far it typically travels and how long the drive may take.
Some itineraries head toward the Chugach Mountains or the Eagle River area. Others may travel farther, depending on the tour and conditions. Places such as Hatcher Pass are not a simple last-minute detour: winter access, road status, and driving conditions can limit where a vehicle can go. Do not assume that a tour will visit a particular named location unless it is clearly listed in the itinerary.
Ask about the viewing setup before booking. Is the stop beside the vehicle, or does it involve walking? Is there a sheltered place to wait? How long are guests usually outside? These details matter when temperatures are low and you may be standing still for an hour or more.
Choosing a tour that fits your trip
Start with the practical details, not just the tour’s aurora photos. Pictures show what happened on one night; they do not show the conditions you will get on yours. Look for clear information about pickup, duration, group size, route flexibility, cancellation rules, and what happens if clouds prevent viewing.
-
Check the operating dates. Confirm that the tour runs during your travel dates and that the season has enough darkness for viewing.
-
Ask about the route. Find out whether the destination is selected on the night or fixed in advance, and whether the drive time is included in the advertised duration.
-
Read the weather policy. A tour may operate in cloudy conditions without offering a refund. Understand the cancellation and rescheduling terms before paying.
-
Check the vehicle and group size. A warm vehicle nearby makes waiting easier. Smaller groups can be simpler to manage, but they are not automatically more likely to see the aurora.
-
Clarify what is provided. Ask about hot drinks, tripods, photography assistance, hotel pickup, and cold-weather gear rather than assuming they are included.
If seeing the aurora is a top priority, consider booking near the beginning of your Anchorage stay. That leaves you more than one night to try. A single tour is a single weather opportunity; several nights give you more chances to catch a clear window.
How to read the forecast without overthinking it
Aurora apps and websites often show a KP index, a measure of geomagnetic activity. It is useful context, but it is not a simple “high number equals bright lights” switch. Anchorage can sometimes see auroral activity when the KP value is modest, while a higher value does not help if clouds cover the sky or the display is poorly placed for your location.
For a tour decision, check three things together: darkness, cloud cover, and aurora activity. Cloud cover is often the immediate deal-breaker. Look at a local cloud forecast as well as the broader aurora outlook, and remember that both forecasts are uncertain. Conditions can change between an afternoon check and midnight.
Ask your guide what they are watching and when they will make the final location decision. You do not need to decode every chart. The useful question is simple: “Where is the best chance of clear sky within a safe driving distance tonight?”
What the night usually feels like
An aurora outing is mostly waiting. You may drive for a while, reach a dark pullout or viewing area, and spend time checking the sky. There may be long quiet stretches with no visible activity. Then a faint arc can appear, brighten, and change shape—or fade before you have finished adjusting your camera.
That is part of the experience, not a sign that the tour has gone wrong. Guides may scan the sky, check updated forecasts, and move if conditions justify it. Bring patience, and do not plan a tight early-morning activity immediately after a late-night tour. Some outings run well past midnight, depending on the schedule and conditions.
Dark adaptation helps. Give your eyes time to adjust, and use a dim red light if you have one. Bright phone screens make faint displays harder to see. When you do take a photo, lower the screen brightness again rather than leaving it glowing in the dark.
What to wear and bring
Dress for standing outdoors, not for the temperature you feel while walking from your hotel to a vehicle. Wind and stillness make a cold night feel colder. Wear several layers, including a warm base layer, an insulating middle layer, and a wind-resistant outer layer. Add a hat, warm gloves or mittens, thick socks, and winter boots with room for your toes.
-
Bring spare gloves. Taking photos can leave your fingers exposed, and a dry backup pair is useful.
-
Pack hand and foot warmers. They can add comfort, but they should not replace proper clothing.
-
Take water and a small snack. Follow the tour operator’s rules about eating and drinking in the vehicle.
-
Bring a camera only if you want to use one. A phone can record a bright display, but you can also enjoy the sky without photographing it.
-
Carry any personal medication you need. Tell the guide about relevant mobility or health concerns before departure.
For camera photography, use a tripod if permitted, switch to manual or night mode, and expect to experiment with exposure and focus. Cold batteries drain faster, so keep a spare close to your body. Ask the guide before setting up equipment near a road or in a shared viewing area.
Going out on your own instead
You can look for the aurora without booking a tour, but you will need to manage transport, forecasts, and winter driving yourself. Do not stop on a road shoulder simply because the sky looks promising. Use legal parking areas, keep clear of traffic, and check road conditions before leaving the city.
Some visitors choose a dark spot on Anchorage’s outskirts, while others stay within town and accept the extra light. A location with an open northern view can help, but avoid private property and areas where access is restricted. Never walk onto unfamiliar ice, close to a steep drop, or across a dark road to improve a photograph.
If you are not experienced with winter driving, a guided outing is often the lower-stress choice. Snow, ice, limited visibility, and wildlife can make a short drive take longer than expected. A tour guide also knows when it is sensible to stop chasing clearer skies and return safely.
Plan for a good night, not a guaranteed display
Before booking, check the tour duration, pickup point, cold-weather arrangements, and weather policy. Leave room in your itinerary for more than one attempt if the aurora is a major reason for visiting. On the day, follow the cloud forecast, listen to your guide, and be ready for the destination to change.
Most important, treat the aurora as a natural event rather than a scheduled performance. Anchorage offers a useful base, experienced local guides, and access to darker areas beyond the city lights. With warm clothing, realistic expectations, and some flexibility, you can spend less time worrying about forecast charts and more time watching the sky.