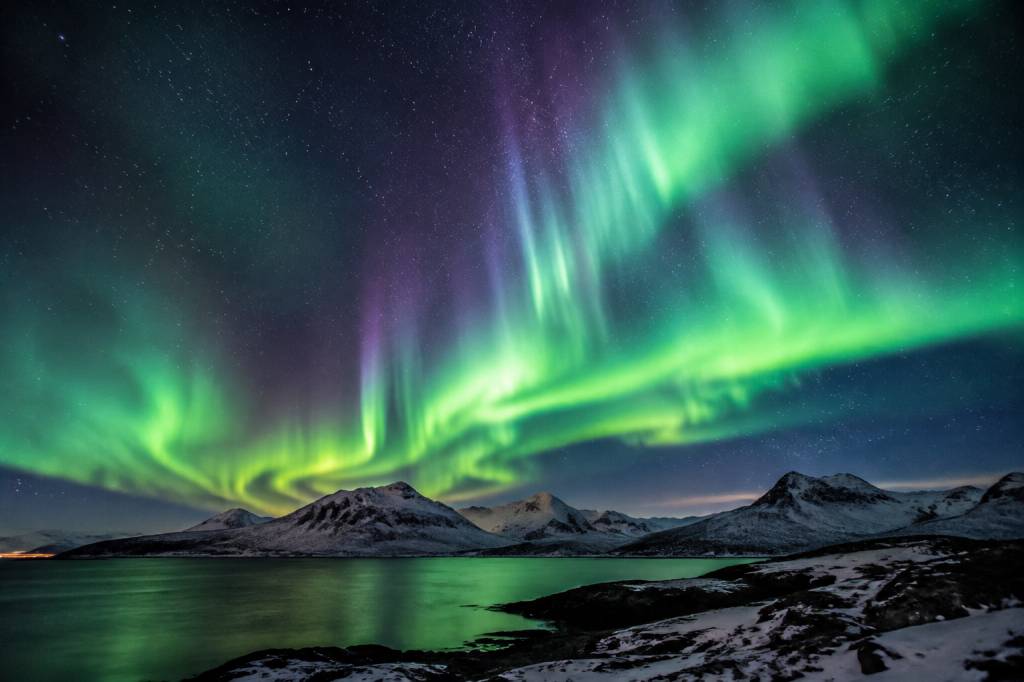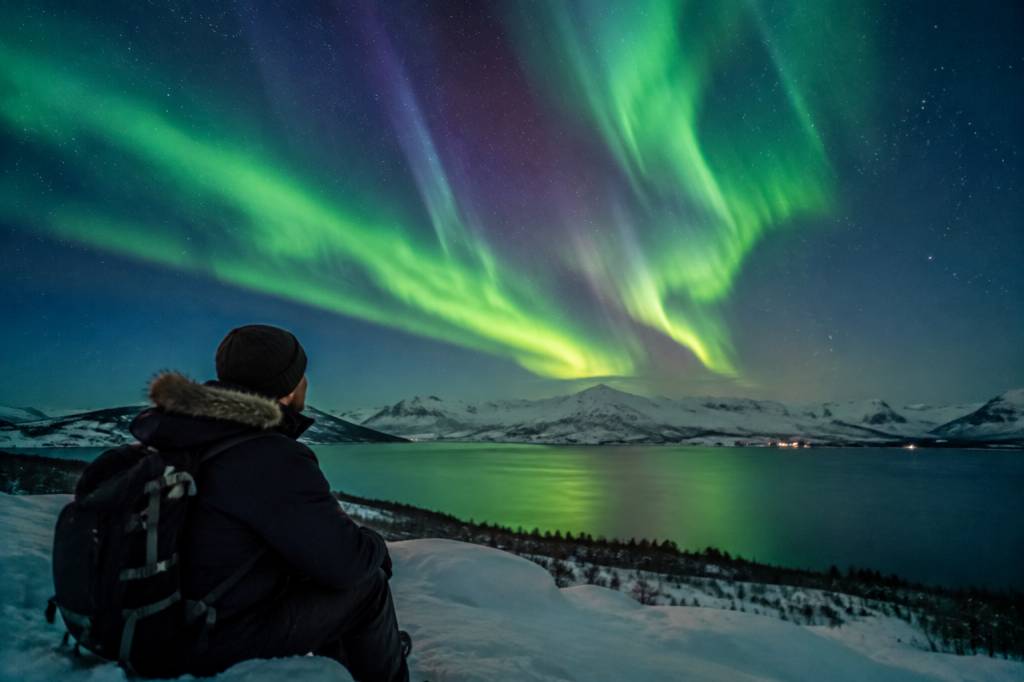

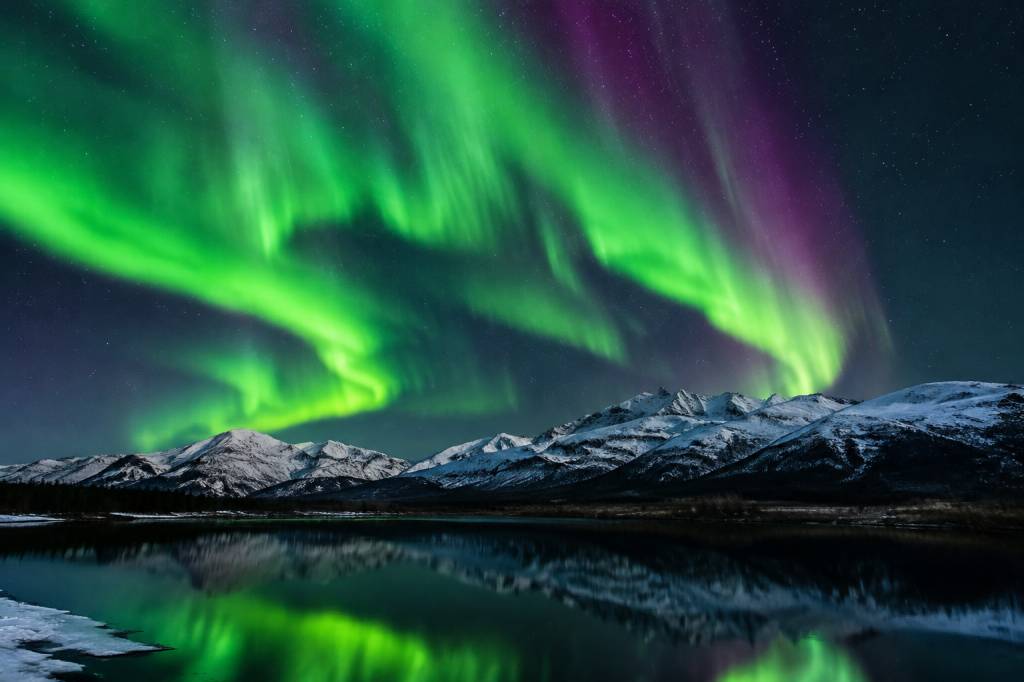
Alaska is one of the best places in North America to photograph the northern lights, but a successful photo trek takes more than a camera and a clear night. Distances are large, winter roads can be difficult, and a bright aurora may appear only after hours of waiting. The right plan gives you several accessible viewpoints, a safe way to reach them, and enough flexibility to follow changes in cloud and solar activity.
Below are practical locations for an Alaska aurora photo trip, along with field-tested guidance on timing, camera settings, cold-weather gear, and backup plans. Think of forecasts as tools for choosing where to wait—not guarantees that the sky will perform on schedule.
Choose your Alaska base before choosing a viewpoint
Fairbanks is the most practical base for many first-time visitors. It sits beneath the auroral oval, has a useful range of accommodation and services, and offers several dark-sky options within driving distance. It is also a convenient starting point for longer trips toward the Arctic Circle or the Denali region.
Anchorage has more flights and urban comforts, but the city itself is farther south and brighter. A strong aurora can be visible there, especially during a geomagnetic storm, but a trip based only in Anchorage gives you less dependable access to dark skies. If the northern lights are your main goal, consider flying to Fairbanks or allowing time to travel north.
Before booking, check the season and the logistics. The aurora season generally runs from late August into April, when Alaska has sufficiently dark nights. September and March can offer milder travel conditions than midwinter, but clouds, snow, and temperatures vary from year to year. In summer, the long daylight makes aurora viewing impractical across much of the state.
Best locations for northern lights photography
Fairbanks and the surrounding area
Fairbanks combines straightforward access with a good choice of nearby landscapes. Get away from the city’s strongest lights, then look for a safe, legal place to stop with an open view of the northern sky. Chena Hot Springs Road is a well-known route for aurora outings, with forest and mountain scenery along the way. It is a public road, not a chain of guaranteed photo pullouts: use established, permitted stopping places, and never leave a vehicle in a travel lane or block a driveway.
Chena Hot Springs Resort can be a useful destination for visitors who want accommodation and facilities in a remote setting. Check opening details, road conditions, and any access requirements before setting out. The resort is not a substitute for checking the forecast, and nearby buildings or lights may affect your composition. A short walk to a darker, permitted viewpoint can make a substantial difference.
For a simpler first night, scout a viewpoint near Fairbanks in daylight. Note where to park, which direction the road faces, and whether trees or hills block the northern horizon. A familiar location is valuable when you are working in darkness and wearing gloves.
Denali and the Alaska Range
The Denali area offers dramatic mountain scenery, but it is not a guaranteed aurora foreground. Clouds can hide the range, winter access and services are limited, and the National Park Road has seasonal restrictions. Do not assume that you can drive deep into the park in winter. Check current National Park Service access information, road conditions, and accommodation availability before planning a photo stop.
When conditions cooperate, a distant mountain ridge can give an aurora image depth and scale. In daylight, identify a safe viewpoint outside restricted areas, then return only if the road is open and conditions are suitable. If the mountains disappear behind cloud, shift your attention to a more accessible Fairbanks-area location rather than chasing an uncertain view in worsening weather.
Coldfoot and the Dalton Highway
For experienced winter travelers, Coldfoot and the Dalton Highway offer a much farther-north option. The landscape is remote, dark, and compelling, but the journey requires serious preparation. Services are sparse, weather can change quickly, and roadside stopping must be handled with care. The Dalton Highway is an active freight route; trucks need space, and a photo opportunity is never worth stopping somewhere unsafe.
Do not treat a drive to Coldfoot as a casual extension of a Fairbanks evening. Check current road and weather reports, carry suitable emergency supplies, and make sure your vehicle and travel plan are appropriate for winter conditions. Consider a guided trip if you do not have experience driving in remote Alaska. A shorter, safer session near town is better than an ambitious route you cannot complete confidently.
Anchorage and nearby viewpoints
If you are staying in Anchorage, look for a dark, open viewpoint outside the brightest parts of the city and verify access before you go. Hills and coastal areas can provide attractive foregrounds, but local lighting, cloud cover, and road conditions matter more than a famous place name. A strong display may be visible from the city, though buildings and streetlights can reduce contrast.
For a practical backup, photograph the city under a clear night sky or capture the changing light around dusk. That way, a weak aurora forecast does not have to mean a wasted evening.
Read the forecast as a planning tool
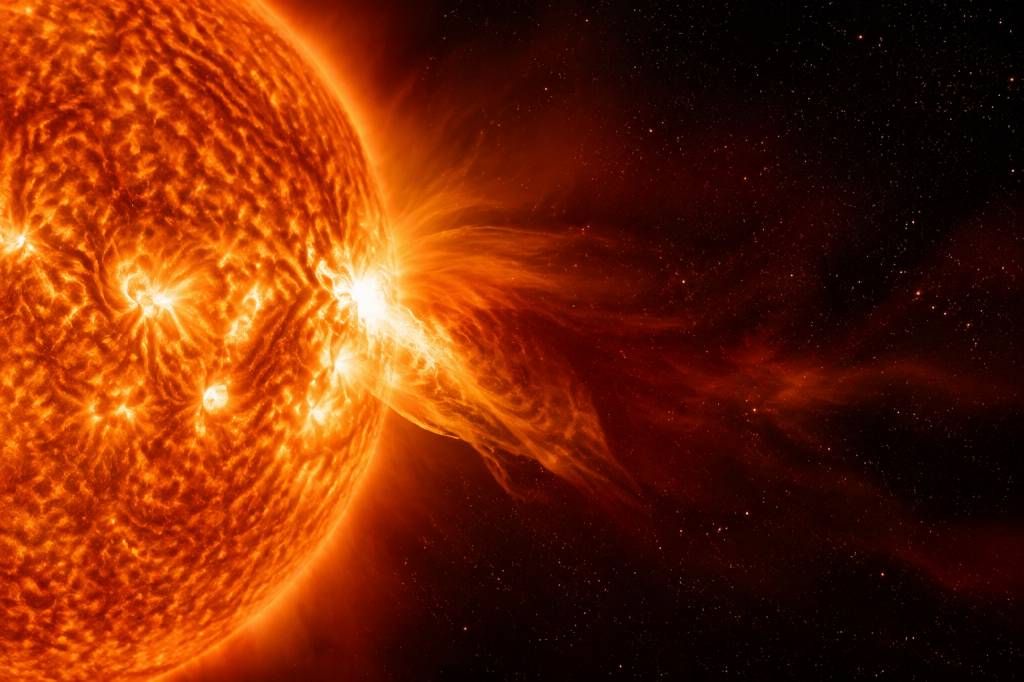
Three factors help you decide whether and where to go: auroral activity, cloud cover, and darkness. The Kp index describes geomagnetic activity on a global scale. A higher Kp can make the aurora more active and visible farther south, but it does not tell you exactly what will appear above one Alaska viewpoint. Fairbanks can produce excellent displays at modest Kp values because of its location.
Cloud cover is often the deciding factor. Check a local cloud forecast for the specific area and time you plan to photograph, then compare it with satellite imagery if available. A clear forecast near Fairbanks does not mean the sky is clear along the Dalton Highway. Conditions can differ over surprisingly short distances, and cloud forecasts are not precise enough to justify a risky late-night drive.
Solar wind and aurora maps can help you understand the broader picture, but keep your decisions simple: choose a safe location with a reasonably open sky, arrive before the best window, and have one nearby alternative. Allow time for activity to change. The display may start as a faint band, strengthen for a few minutes, then fade while you wait.
Camera settings for your first aurora session
Start with manual exposure and focus. A wide-angle lens is useful for showing the sky and foreground together. A fast lens—around f/2.8 or wider—lets in more light, but a kit lens can still work if you adjust exposure and accept a little more noise.
-
File format: Shoot RAW so you have more flexibility to adjust exposure, color, and noise later.
-
Focus: Switch to manual focus and focus on a bright star or distant light. Magnify the live view to check sharpness, then avoid touching the focus ring.
-
Aperture: Begin near the lens’s widest setting. If the edges of the image look poor, close down slightly and test again.
-
Shutter speed: Try about 2–8 seconds for a lively, fast-moving aurora. A quieter display may tolerate 8–15 seconds, though long exposures can blur the structure.
-
ISO: Start around 1600–3200 and adjust after checking a test frame. Use the lowest setting that gives you a bright enough exposure without losing the aurora’s detail.
-
White balance: Choose a fixed value, such as 3500–4000 K, or leave it for RAW editing. A fixed setting makes it easier to compare frames in the field.
These are starting points, not rules. If the aurora is moving rapidly, shorten the shutter speed and raise ISO if needed. If it is faint and steady, a longer exposure may help. Check the histogram and highlights rather than judging brightness from the camera screen alone; the screen can look deceptively vivid in the dark.
Build a composition, not just a sky picture
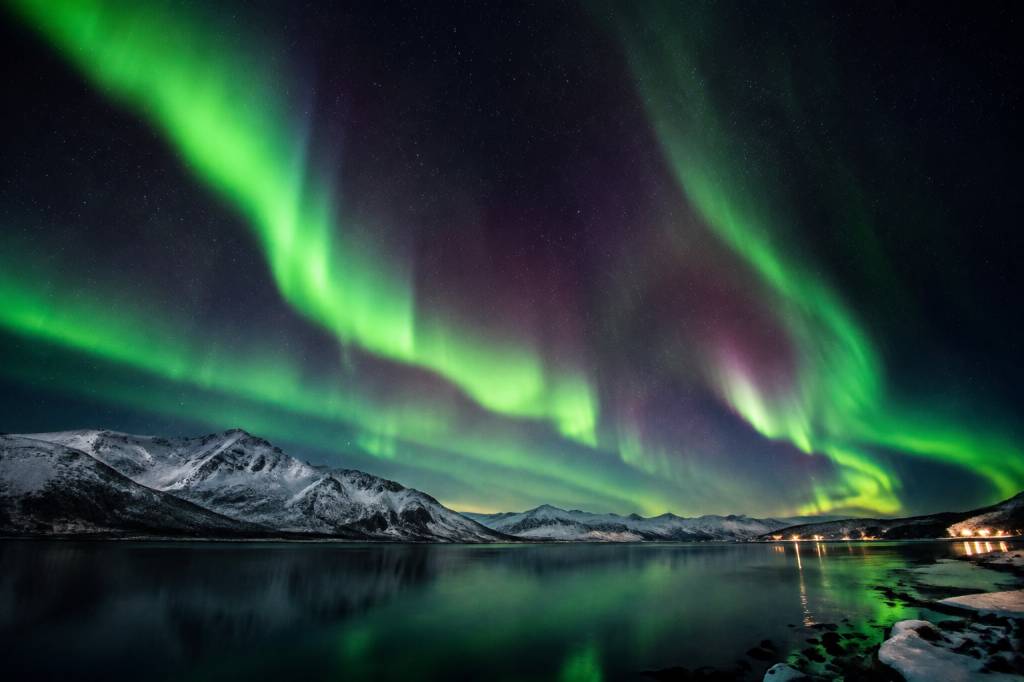
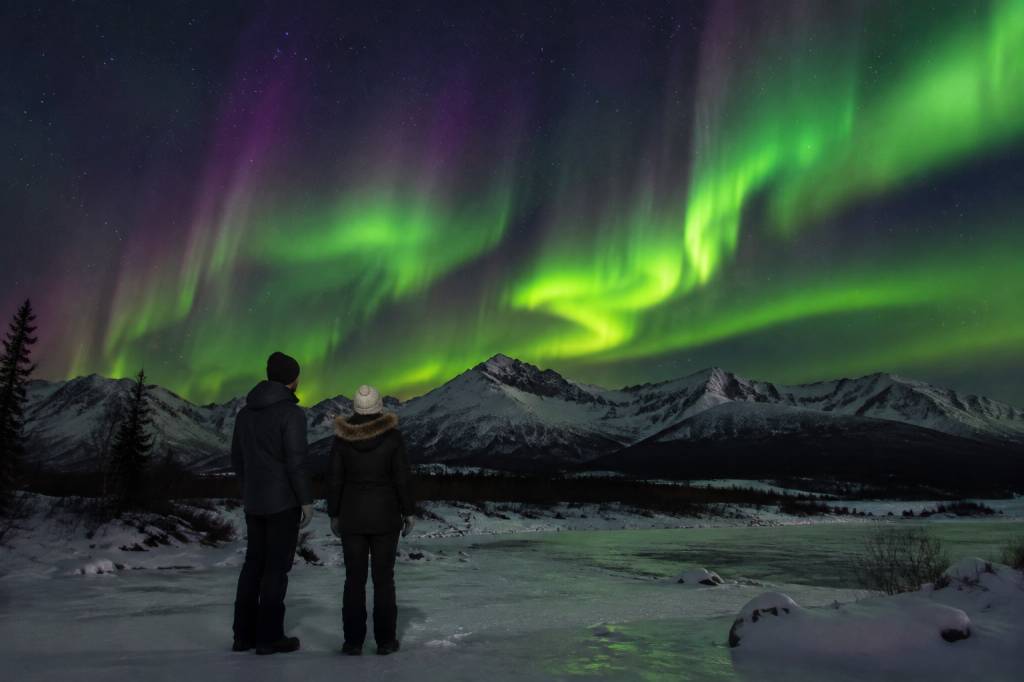
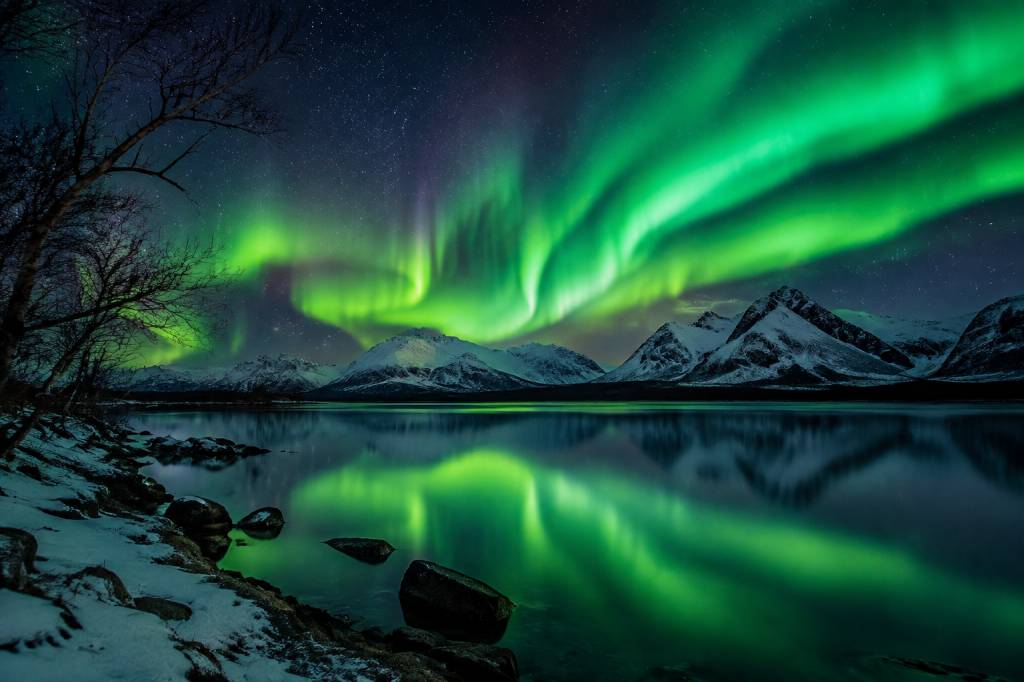
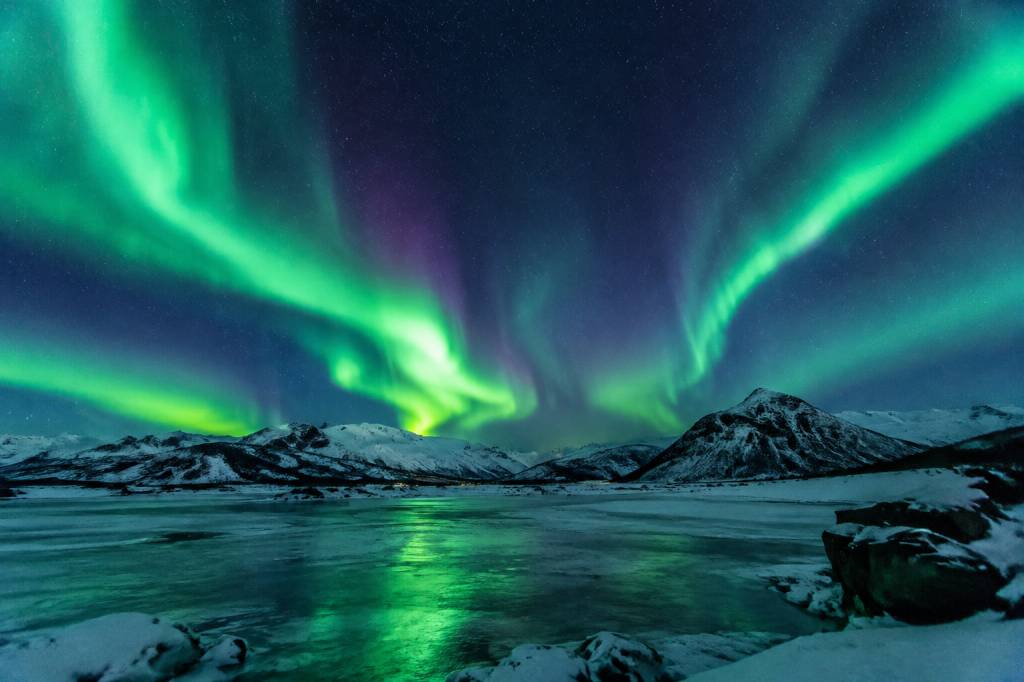
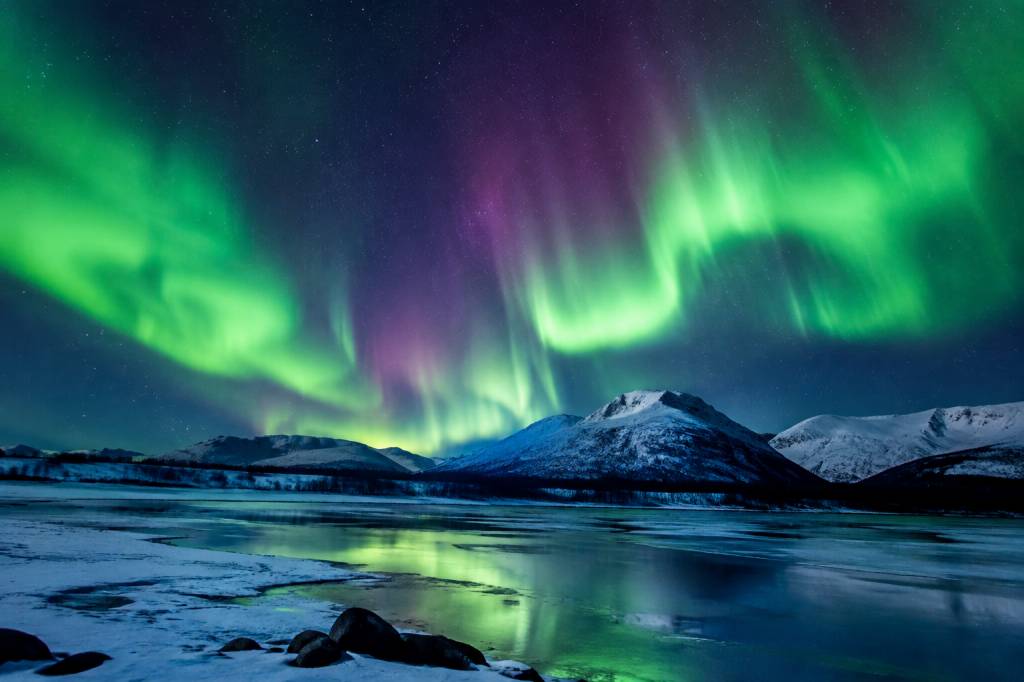
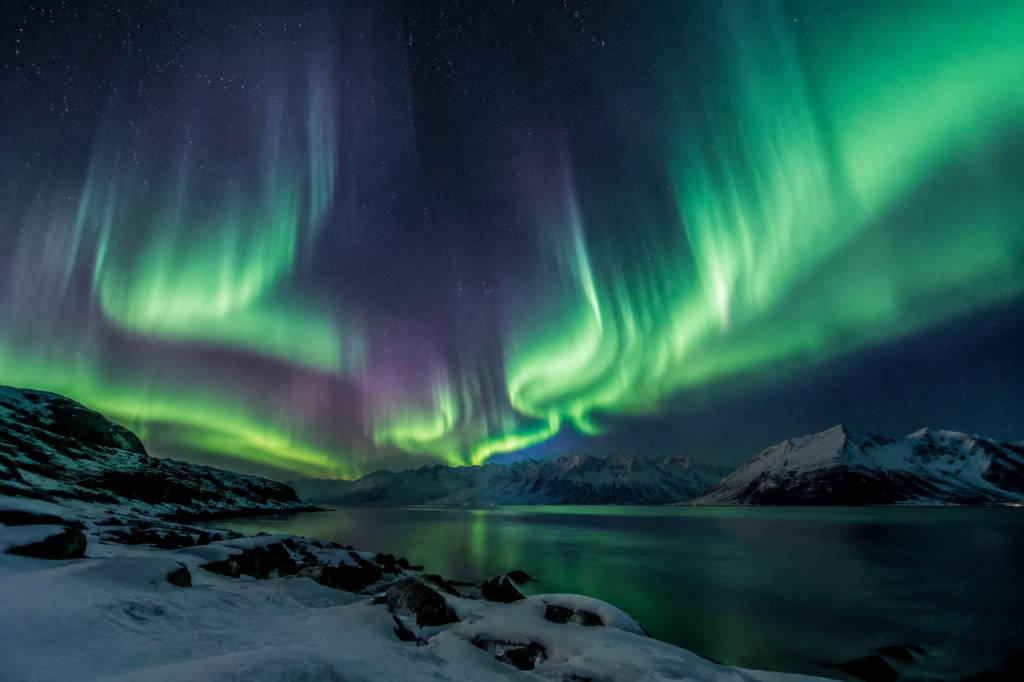
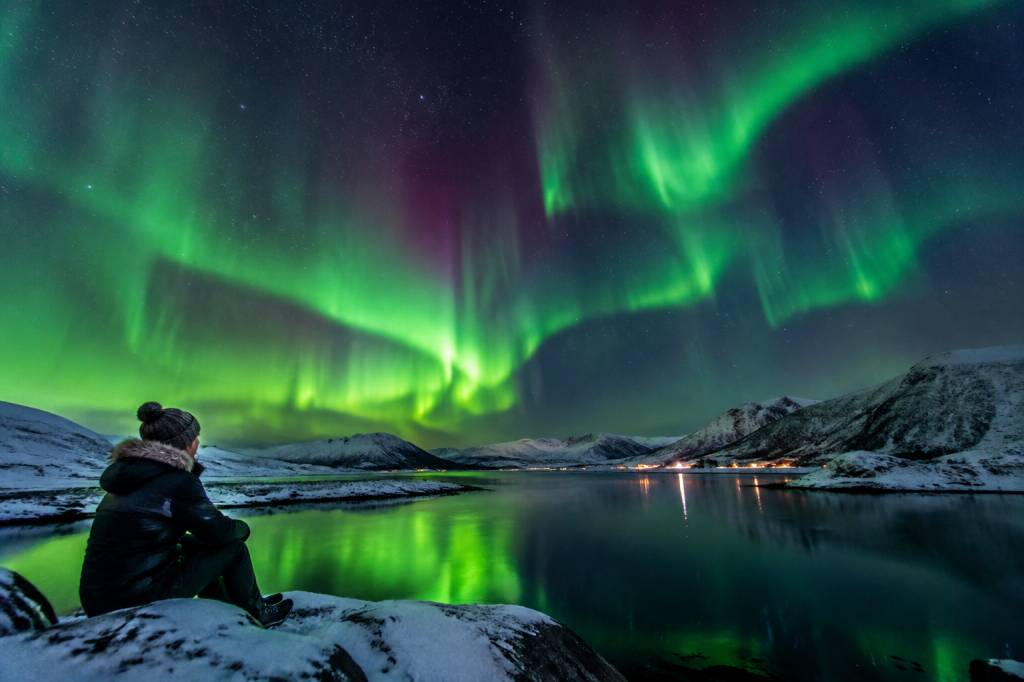
A frame filled only with green light can be striking, but it may not show where you were. Add a foreground: a snow-covered spruce, a ridge, a cabin viewed from a permitted public area, or a line of mountains. Keep the horizon low when the aurora fills the sky; raise it when the land has strong shapes or reflected light.
Scout in daylight whenever possible. Look for a clear foreground that does not require standing on a road or crossing unsafe terrain. At night, take a test frame with a headlamp briefly illuminating the foreground only if it is safe and does not disturb other photographers. A dim, warm light often looks more natural than a bright white beam.
Try a few vertical frames as well as wide landscapes. Tall curtains of light can extend beyond the top of a horizontal composition. If the display is overhead, turn around and look in every direction—the best structure may not be where you expected.
Pack for cold hands, cold batteries, and changing conditions
Alaska cold affects people and equipment. A camera battery loses capacity faster in low temperatures, and a cold tripod can be uncomfortable to handle. Keep spare batteries in an inner pocket, change them with gloves on where possible, and carry more than you expect to need. A remote release or a two-second timer helps avoid camera shake.
-
Use a sturdy tripod with secure feet and check each leg lock before the session.
-
Bring warm, layered clothing, insulated boots, a hat, and gloves that let you operate basic controls.
-
Pack a headlamp with a red-light mode, plus a spare power source for your phone and camera.
-
Carry water, snacks, and an emergency layer. For remote drives, bring vehicle-appropriate winter emergency supplies.
-
Protect equipment from snow and wind, and avoid breathing directly onto the lens in freezing conditions.
When you return to a warm building, leave the camera in its closed bag until it gradually warms up. This reduces condensation forming on cold equipment. If the lens fogs, do not wipe it aggressively; give it time to acclimatize.
Plan the trek around safe access
Tell someone where you are going and when you expect to return. Check road conditions before departure and again before a longer drive. Keep your phone charged, but do not assume you will have reliable service outside populated areas. Download maps for offline use and mark your intended parking places in advance.
Never stop in a travel lane, on a blind bend, or where another driver might not see you. Do not park on private land without permission, and avoid walking onto frozen water unless local authorities confirm it is safe. Winter darkness makes distances and slopes difficult to judge. If a viewpoint is not clearly accessible, choose another one.
A guided photo tour can be a good option for visitors unfamiliar with winter driving or local conditions. Ask what the tour includes: transport, warm shelter, time at each stop, and a plan for cloud cover. A responsible guide should explain that sightings are never guaranteed.
Keep a backup plan for cloudy nights
Clouds happen. If the forecast closes in, do not keep driving farther into deteriorating conditions just to chase a map. Recheck nearby cloud cover, choose a safe alternative, or call the session early. You can use a cloudy evening to scout a new foreground, prepare your camera, review test exposures, or rest before the next clear window.
For a first photo trek, keep the plan modest: base yourself near Fairbanks, scout one accessible viewpoint in daylight, and identify a second option within a reasonable drive. Set up early, make a test image, then watch the sky instead of staring at the forecast every minute. The best Alaska aurora photograph often comes from a simple combination: a safe place, a clear patch of sky, a steady tripod, and enough patience to wait for the light to move.